background image

ENGLISH

Number

Name

1

Menu button

2

Navigation / down button

3

Navigation / up button

4

AUTO button

5

On off

6

Post

7

VESA mount

8

HDMI / DP / AUD out + DC inputs

9

Panel


ASSEMBLY

1.  Install the post in the rear of the screen, you will 

hear a click when it´s in place.

2. Use the provided screw to install the base to the 

post.(We advice to do this step with the screen 

facing down in a flat surface.)

INSTALLATION

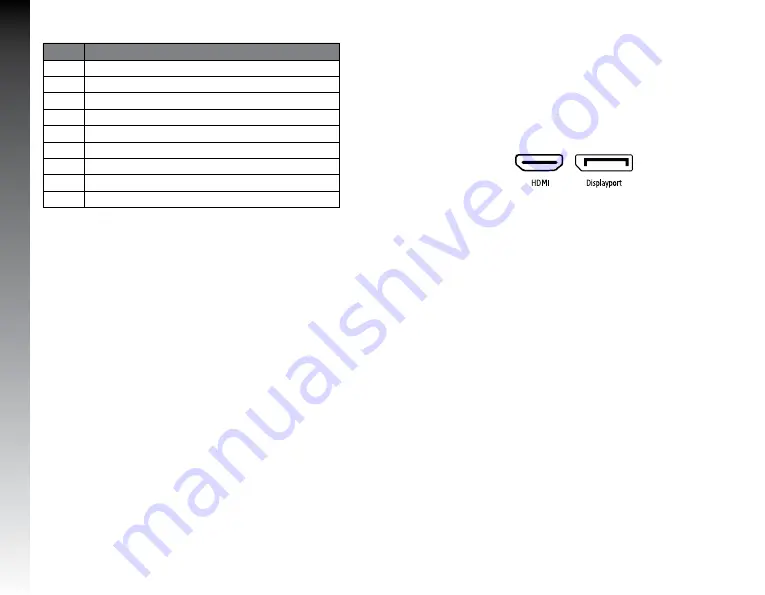
1.  Connect the Displayport or HDMI cable of your 

computer to the corresponding port on the back 

of the monitor (8).


1.    Connect the power supply cable to the monitor.
2.  On: Press universal button (5) to turn on your 

monitor.

3.  Off: Press universal button (5) to turn off your 

monitor.

4.   When the monitor is operating under normal  

conditions, the LED indicator light will be green 

(or       blue); If the monitor is in saving mode, 

the LED indicator     light will be red. When the 

power indicator is off it means that the monitor is 

in power off mode. Please disconnect the power 

cable when the monitor is not being used.

Summary of Contents for MG300

Page 1: ...Gu a r pida Quick guide...

Page 2: ...o y gozar de los beneficios registra tu compra en nuestra p gina web y participa de las promociones en We invite you to register your product and enjoy the benefits Register your purchase on our websi...

Page 3: ...del monitor no lo roc e con l quidos ni le introduzca objetos No cubra ni obstaculice los orificios de ventilaci n dispuestos en la parte posterior del monitor Noinstaleelmonitorcercadeaparatosdecale...

Page 4: ...ble Displayport o HDMI de tu computadora a el puerto correspondiente en la parte posterior del monitor 8 2 Conecta el cable de alimentaci n de poder al monitor 3 Encendido Presiona bot n de encendido...

Page 5: ...para cambiar la imagen del men principal para el cambio de configuraciones Presiona Men para cambiar la configuraci n del submen y presionar arriba y abajo en el men Presiona arribayabajoparaajustarla...

Page 6: ...products to clean the monitor spray it with liquids or insert objects Do not cover or obstruct the ventilation holes on the back of the monitor case Do not install the monitor near heating devices and...

Page 7: ...TION 1 Connect the Displayport or HDMI cable of your computer to the corresponding port on the back of the monitor 8 1 Connect the power supply cable to the monitor 2 On Press universal button 5 to tu...

Page 8: ...in the main menu select MENU Press up and down to change the main menu image to change Press Menu to change submenu settings and press up and down in the menu Press up and down to adjust the settings...

Page 9: ...o Villa No 3 Col San Agust n C P 45645 Tlajomulco de Z iga Jalisco M xico Tel 33 3044 6666 Importadora Global Rida S A de C V Matilde M rquez No 68 Colonia Pe n de los Ba os C P 15520 Alcald a Venusti...

Page 10: ...o Villa No 3 Col San Agust n C P 45645 Tlajomulco de Z iga Jalisco M xico Tel 33 3044 6666 Importadora Global Rida S A de C V Matilde M rquez No 68 Colonia Pe n de los Ba os C P 15520 Alcald a Venusti...

Page 11: ...www gamefactor mx...

Reviews: