en-us
Cleaning and maintenance
20
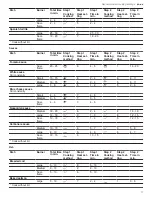
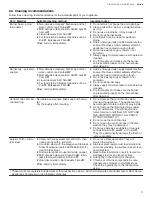
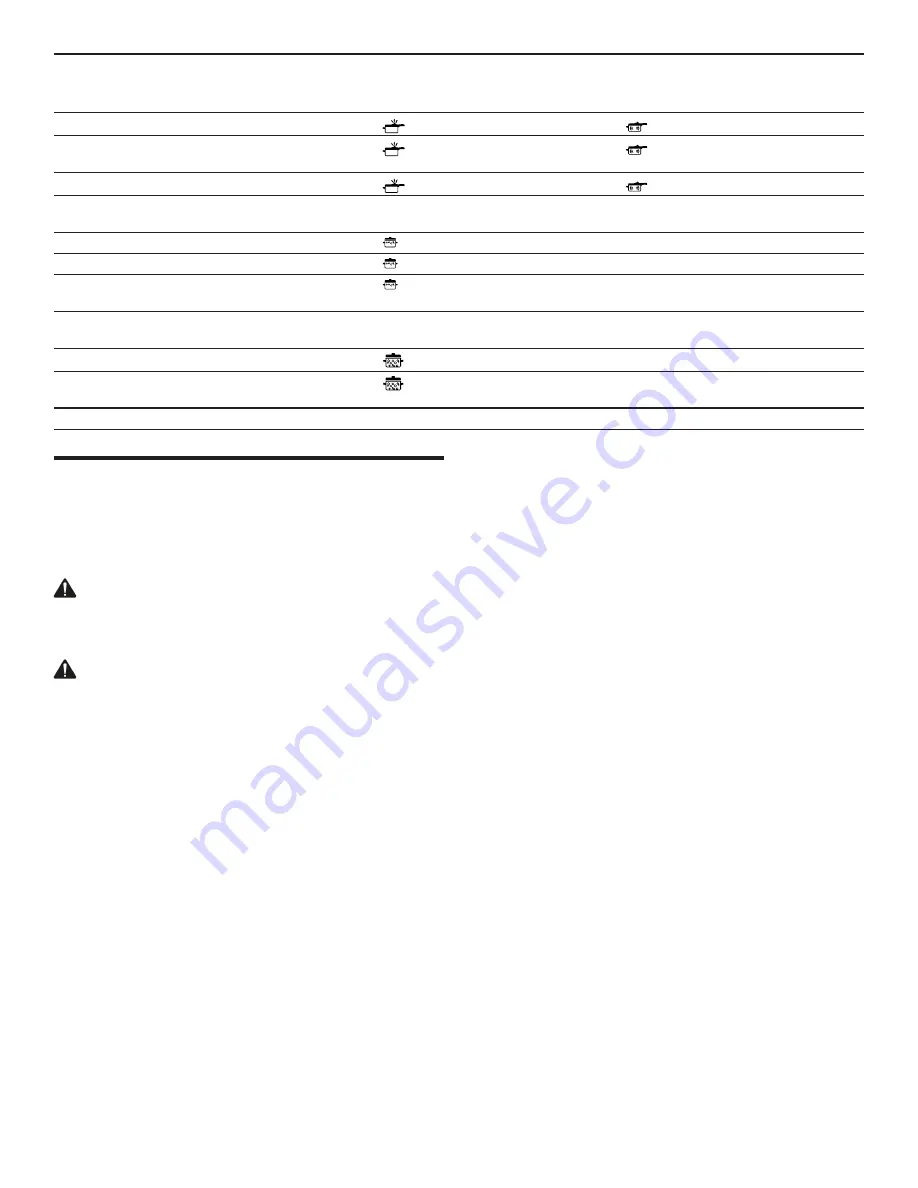
Dish
Burner
Total time
in min.
Step 1
Cooking
method
Step 1
Heat set-
ting
Step 1
Time in
min.
Step 2
Cooking
method
Step 2
Heat set-
ting
Step 2
Time in
min.
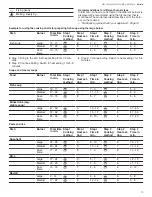
Large
25 - 30
9
10 - 12
6
15 - 18
Dual-
flame
22 - 27
9
7 - 9
7
15 - 18
Medium
30 - 35
9
12 - 14
7
18 - 21
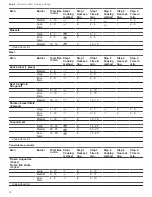
Custard
Stir constantly
Large
3 - 8
1
5
3 - 8
Medium
8 - 13
1
5
8 - 13
Dual-
flame
8 - 13
1
3
8 - 13
Sponge cake, in dou-
ble boiler
Large
35 - 40
9
35 - 40
Dual-
flame
40 - 45
9
40 - 45
1
Cook without lid
Cleaning and maintenance
8 Cleaning and maintenance
Cleaning and maintenance
To keep your appliance working efficiently for a long time,
it is important to clean and maintain it carefully.
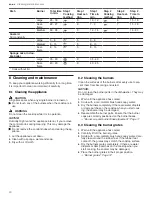
8.1 Cleaning the appliance
CAUTION
All igniters spark when any single burner is turned on.
▶
Do not touch any of the burners when the cooktop is in
use.
WARNING
Do not clean the cooktop while it is in operation.
NOTICE:
Humidity might enter the appliance interior, if you remove
the control knobs during cleaning. This may damage the
appliance.
▶
Do not remove the control knobs when cleaning the ap-
pliance.
1.
Let the appliance cool down.
2.
Clean with a sponge, water and soap.
3.
Dry with a soft cloth.
8.2 Cleaning the burners
Clean the surfaces of the burners after every use to pre-
vent them from becoming encrusted.
NOTICE:
Do not clean the burner parts in the dishwasher. They may
be damaged.
1.
Wait until the appliance has cooled.
2.
Scrub with a non-metallic brush and soapy water.
3.
Dry the burners completely. If there are water droplets
or damp patches on the cooktop when you start cook-
ing, the enamel may be damaged.
4.
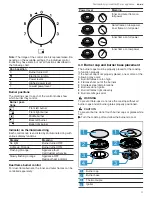
Reassemble the burner parts. Ensure that the burner
caps are correctly positioned on the burner bases.
"Burner cap and burner base placement", Page 11
8.3 Cleaning the burner grates
1.
Wait until the appliance has cooled.
2.
Carefully lift off the burner grates.
3.
Scrub with a non-metallic brush and soapy water. Care-
fully clean around the rubber feet. If the rubber feet
come off, the grates may scratch the cooktop surface.
4.
Dry the burners grates completely. If there are water
droplets or damp patches on the cooktop when you
start cooking, the enamel may be damaged.
5.
Place the burner grates in their proper position.


