28
Driver installation guide
Section 1 – Installing drivers and applications
The product you bought comes with a totally re-designed and vastly improved installation package. This new
installer was designed to work the same way on all supported operating systems. It was also designed to be
intuitive to most users and easy to follow for anyone familiar with installing software on a computer running
Windows. Therefore a certain level of familiarity with the Windows operating system is assumed in this manual.
The basic instructions presented in this section should be sufficient for most installation needs.
The main installation steps are as follows: (you may skip some of the steps if you do not wish or need to install
certain drivers or applications)
A –
If you have not already done so, insert your Gage Software CD into the CD-ROM drive of your computer.
The AutoRun feature of Windows should kick-in and bring up the installer’s main screen. If this does not take
place, you can start the installer by double-clicking on the gage.exe item that you will find on the CD.
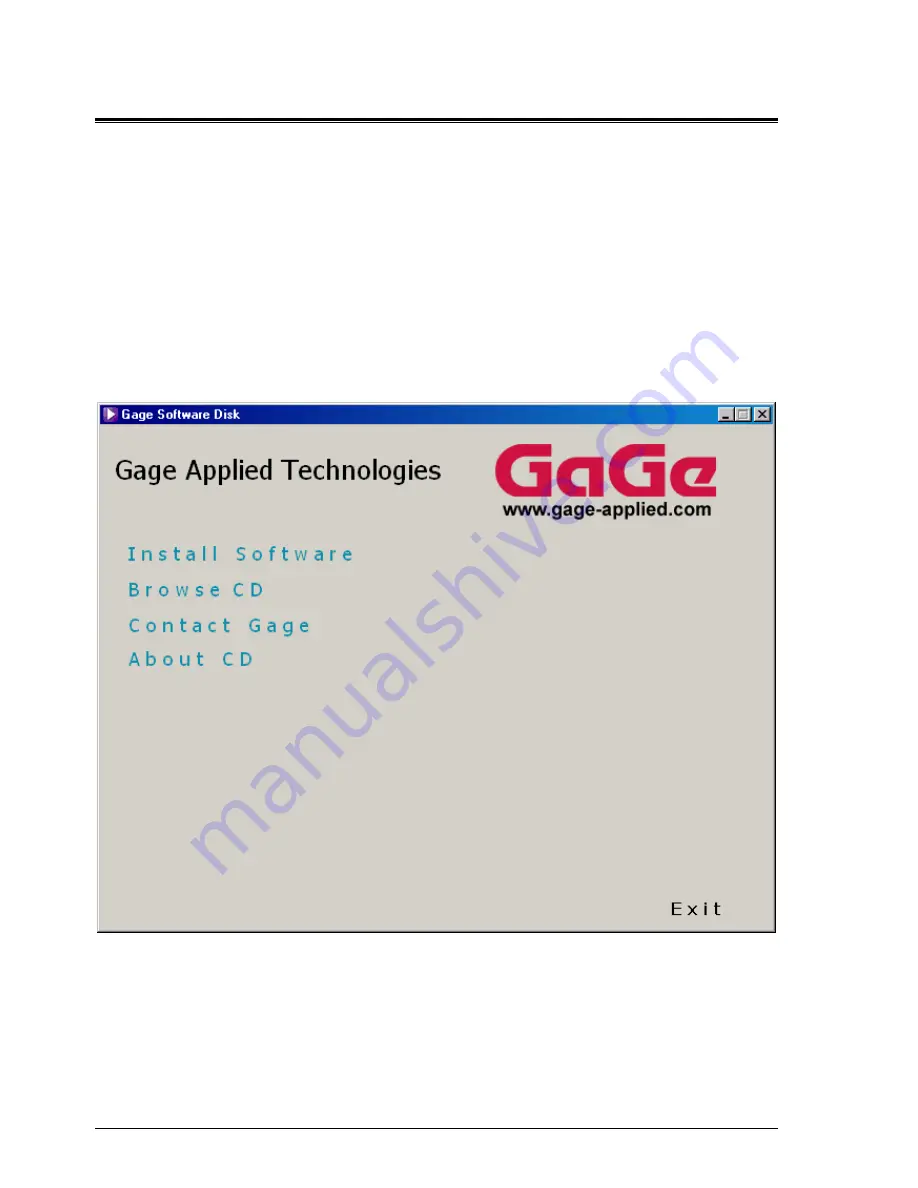
The Gage software disk main screen will appear (see Figure 19 below).
Figure 19: The Gage Software Disk’s main screen
This window offers four possible options (not counting the Exit option):
•
Install Software
•
Browse CD
•
Contact Gage
•
About CD
The fourth option, About CD, is an important first step whenever troubleshooting the installation or asking for
technical support from Gage. It provides valuable information about the various software drivers and application
Summary of Contents for CompuScope 14100C
Page 6: ......
Page 24: ...18 Installing CompactPCI PXI Master Slave multi card systems Notes ...
Page 30: ...24 Memory organization on CompuScopes except for CS85GC Notes ...
Page 75: ...Driver installation guide 69 Help About CsTest ...
Page 76: ...70 Driver installation guide Notes ...
Page 90: ...84 CompuScope 85GC Notes ...
Page 174: ...168 Notes Notes ...


