G-RAID
2
Product Guide
Page 9
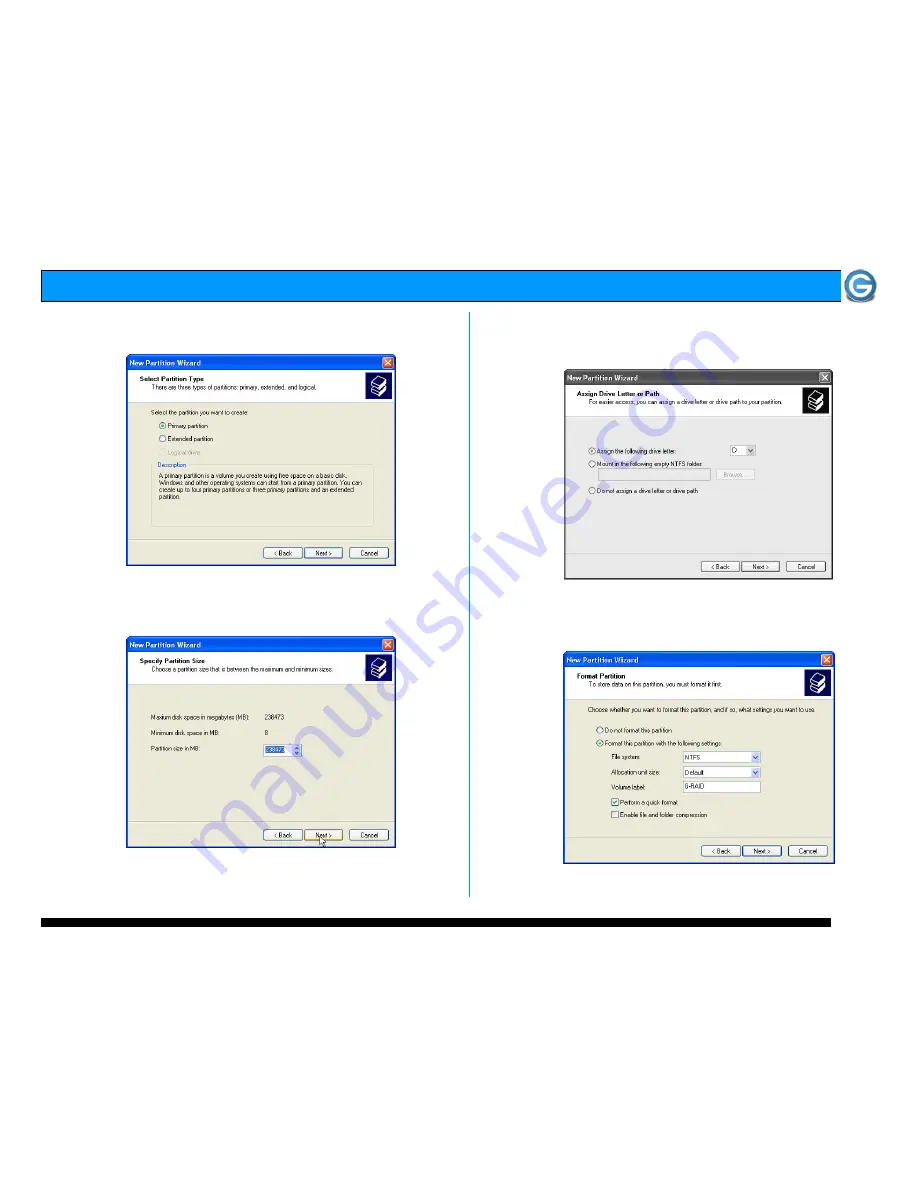
8. The following window will appear. Click on the <Next>
button to continue.
9. The window shown below will appear. Click on the
<Next> button to continue. This will create one large
volume using all of the available space on G-RAID2.
Note: Multiple partitions can be created on G-RAID2. Consult your
Windows documentation for instructions on setting up multiple partitions.
10. Windows will automatically assign a drive letter, in this
example “D”. Accept this assignment and click on the
<Next> button to continue.
11.
Enter a Volume Label: (in this example, G-RAID2),
check the Perform a quick format box and click on the
<Next> button to continue.
2
Summary of Contents for G-RAID2
Page 2: ...G RAID2 Product Guide Page 2...


