5. WAYPOINTS
5-2
4. Press the numeric keys to enter the name of the waypoint (six digits) then push
the
ENTER
knob. The currently indicated waypoint number is the youngest num-
ber among the unused numbers. If you do not need to change the number, go to
step 5. Each time a numeric key is pressed, the cursor jumps one place leftward.
To set the number “000005”, for example, press the
0
,
0
,
0
,
0
,
0
,
5
keys in order.
5. Push the
ENTER
knob to save the waypoint. The currently selected shape and
color for the waypoint mark is shown at the bottom right of the screen as the icon
(default: circle in red).
Note 1:
The waypoint icon may not be shown at the bottom right of the screen depend-
ing on the menu setting. If it is not shown, you can show it as follows:
1) Press the
MENU
key to open the main menu.
2) Select [0. SYSTEM SETTING], [1. DISPLAY FORMAT] in order.
3) Select [WAYPOINT STATUS] on page 3 then set to [SHOW].
Note 2:
If above operation is done when the cursor is off, the waypoint is entered at
own ship position.
Note 3:
If the waypoint number set at step 4 is already used, the following message
appears.
Select [RUN] to overwrite, or [CANCEL] to cancel then enter a different number.
5.1.3
How to enter waypoints by manually entering latitude and lon-
gitude position
1. Press the
MENU
key to open the main menu.
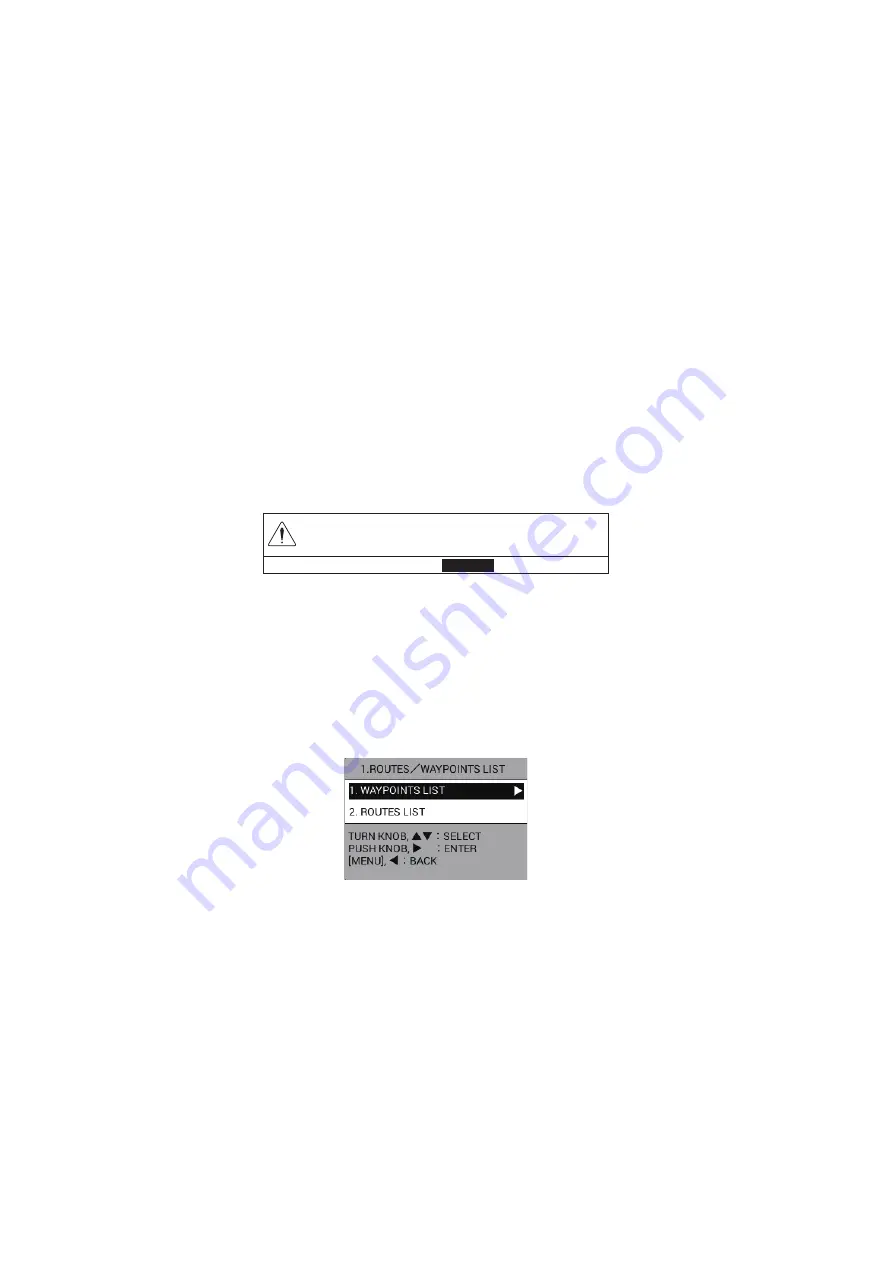
2. Select [1. ROUTES/WAYPOINTS LIST].
WAYPOINT XXXXXX ALREADY EXISTS.
OVERWRITE?
RUN
CANCEL


