EN
13
8 - Setting the Clock and Timer
To Set the Time of Day
1. Touch
TIME
until the display shows the “SET TIME” writing.
2. Touch
+
or
-
to set the desired time, the hours will begin
flashing: continue until the correct hour value and
AM
or
PM
indication is selected.
3. Touch
TIME
again to confirm the hour and minutes will start
flashing.
4. Touch
+
or
-
to set the desired minutes value or hold the
key to change by 10 minute increments.
5. Touch
TIME
again or wait for 5 seconds in order to confirm
the time.
NOTE: The Time of Day can never be set if any time function is
already set: first delete all the active time functions.
To Set the Timer
1. Touch
TIME
until the display shows the “TIMER” text.
2. Touch
+
or
-
to set the desired timer value, the hours will
begin flashing: continue until the desired value is set.
3. Touch
TIME
again to confirm the hour, now the minutes will
start flashing.
4. Touch
+
or
-
to set the desired minutes value or hold the
key to change by 10 minute increments.
5. Touch
TIME
again or wait for 5 seconds in order to confirm
the time.
6. “TIMER” will be continuously displayed.
7. When the time ends, reminder beeps will sound for 15
minutes or until the
TIME
key is pressed.
8. Timer format is usually HR:MIN, switching into MIN:SEC
during the last minute.
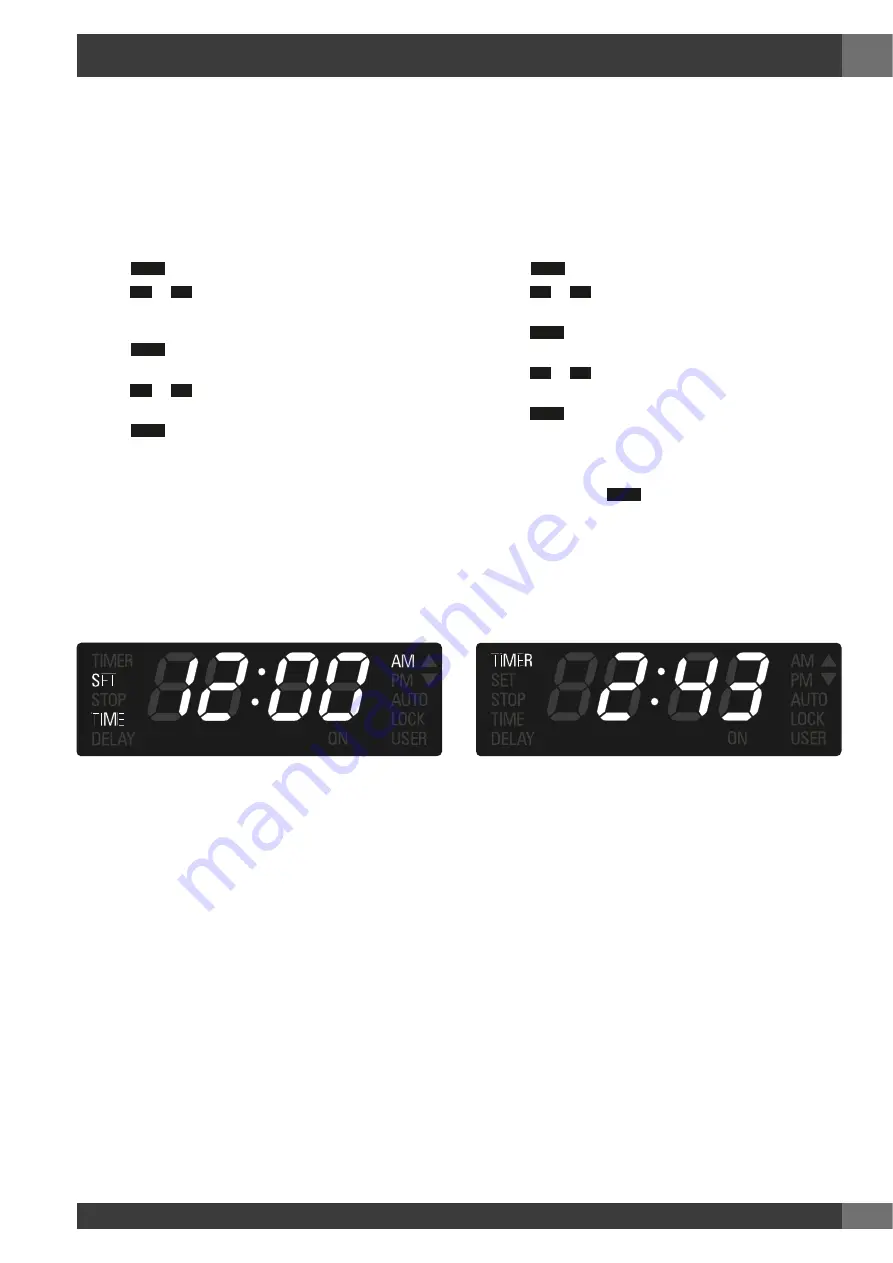
9. The displayed value is always rounded to the lower minute.
For example: 2:43 is displayed as the timer counts from
2:43:59 to 2:43:00.
The time of day is displayed in hours and minutes.
Always set the clock immediately after installation or after a power failure. Once power returns to the oven, the clock displays the
time 12:00
AM
. The clock time will appear during all oven operations except when there is the timer or any timed cooking operations
running. The oven is preset to a 12-hour clock and indicates
AM
and
PM
.
Summary of Contents for F6PDF366S1
Page 2: ......
Page 4: ......
Page 37: ...EN 33 25 Features of your Cooktop BURNER B C B Burner Cap C Burner Gas Spreader ...
Page 48: ...EN 44 ...
Page 94: ...FR 46 ...
Page 140: ...ES 46 Note Note Nota ...
Page 141: ......
Page 142: ...09FL8030 ed 06 2017 ...


