Using ScanSnap with the Quick Menu (for Windows Users)
117
3.
Click the [Scan to E-mail] icon
.
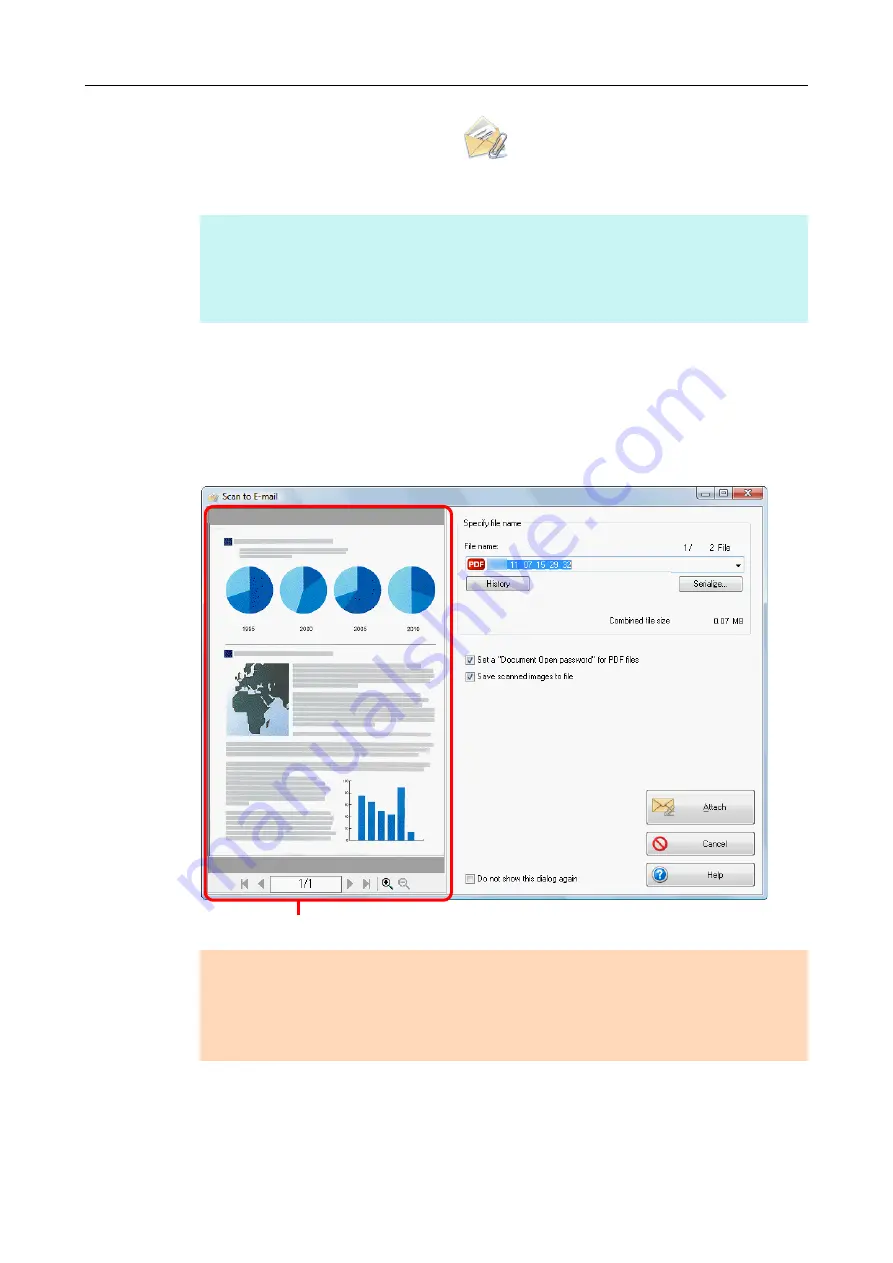
The [Scan to E-mail] dialog box appears.
4.
Check the scanned image in the preview area.
In the [Scan to E-mail] dialog box, you can rename the file, specify whether to set a
"Document Open Password", and save the scanned image in the folder specified for
[Image saving folder] after sending it by e-mail.
For details about the [Scan to E-mail] dialog box, refer to the ScanSnap Manager Help.
HINT
You can configure the settings to not show the [Scan to E-mail] dialog box. If you configure the
settings to not show the [Scan to E-mail] dialog box, a new message window appears with the file
attached.
For details about how to change the settings,
ATTENTION
You cannot start scanning after the Quick Menu is displayed and before the [Scan to E-mail]
dialog box is closed. Close the [Scan to E-mail] dialog box before scanning the next document.
Do not move, delete, or rename scanned image in other applications after the Quick Menu is
displayed and before the [Scan to E-mail] dialog box is closed.
Preview


