35
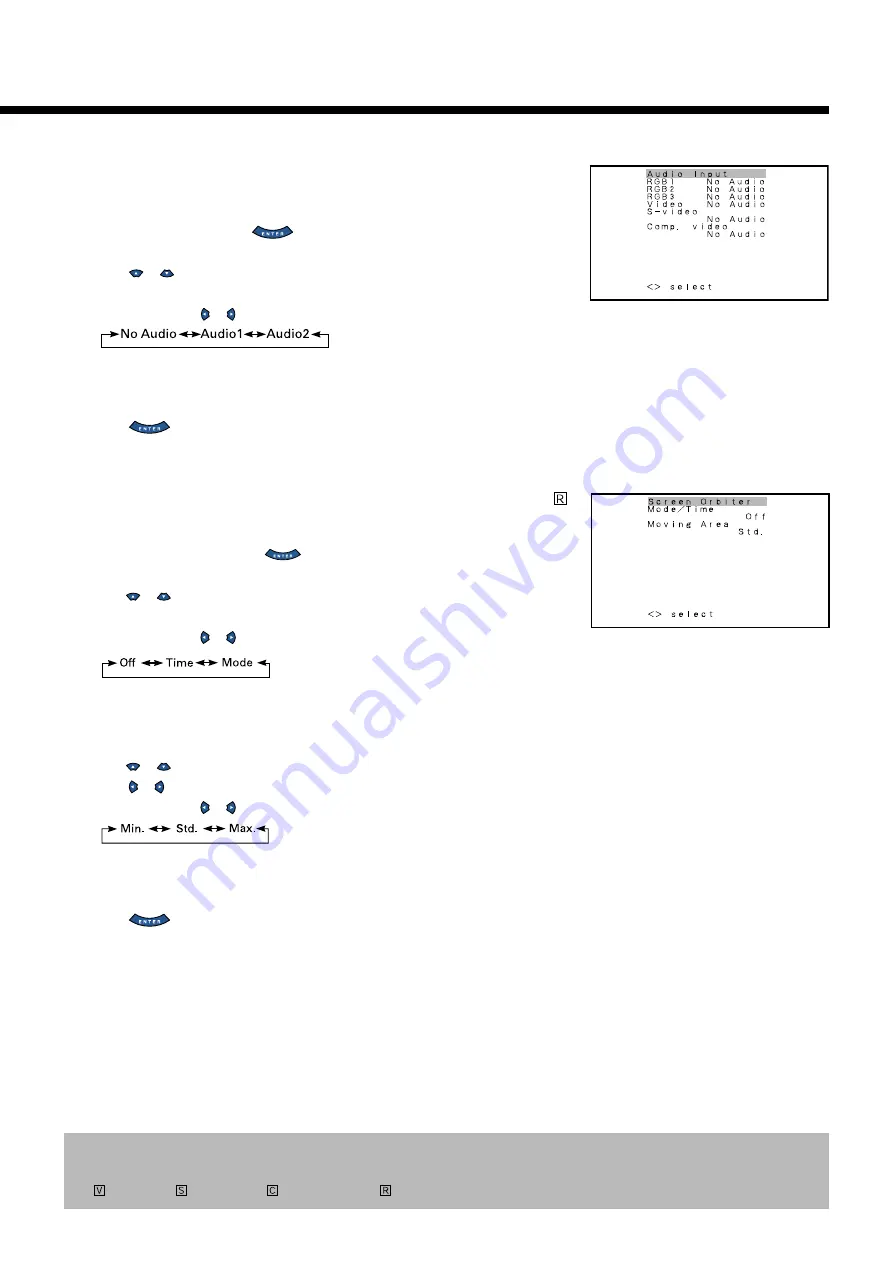
• Selecting input terminals (Audio Input)
All modes
You can use this option to select one of the two available terminals to receive sound from input
equipment.
(1) Select “Audio Input” and press
.
The “Audio Input” selection screen will appear.
(2) Press
or
to select input equipment.
(3) Select a desired input terminal.
Each time you press or , one of the available choices appears in the following sequence:
No audio:
No sound in the corresponding mode.
Audio 1, Audio 2: Selects Audio 1 or 2 for receiving sound in the corresponding mode.
* Repeat steps (2) and (3) for each piece of input equipment.
(4) Press
to store.
*Audio Input menu will not be displayed when "No Audio"is selected.
• Minimizing phosphor burn-in (Screen Orbiter)
You can use this option to move the screen position to minimize phosphor-induced “burn-in”.
Follow the steps below.
(1) Select “Screen Orbiter” and press
.
The “Screen Orbiter” setting screen will appear.
(2)Press
or
to select “Mode/Time”.
(3)Select a desired pattern.
Each time you press or , one of the available choices appears in the following sequence:
Off:Disables Screen Orbiter.
Time: Moves the pattern approximately every one hour.
Mode: Moves the pattern when the power is turned ON or when you switch between modes.
(4)Press
or
to select “Moving Area”.
(5) Press or to select the range for moving the pattern.
Each time you press or , one of the available choices appears in the following sequence:
Min.: Pattern moves in small range. (About 5 pixels)
Std.:
Pattern moves in moderate range. (About 10 pixels)
Max.: Pattern moves in wide range. (About 15 pixels)
(6) Press
to store.
“Screen Orbiter” setting screen
* On-screen information disappears if you do not take any action for about 60 seconds.
* The following abbreviations used in this document represent input modes in which you can make adjustments:
: Video mode,
: S-video mode,
: Comp.video mode,
: RGB mode
“Audio Input” selection screen


