English
E-33
• FEATURES setup screen has the following 5 options.
Adjustment
: Can make a fine adjustment of pictures such as Dot Clock, Clamp Position.
Function
: Allows setting of 24-frame mode. (See P. E-34.)
On Screen Menu : Can make a display setting such as OSD, Language. (See P. E-34.)
Input Terminal
: Can make an input terminal setting such as Video Input. (See P. E-35 – E-37.)
Others
: Can make other settings. (See P. E-38 – E-40.)
ADJUSTMENT
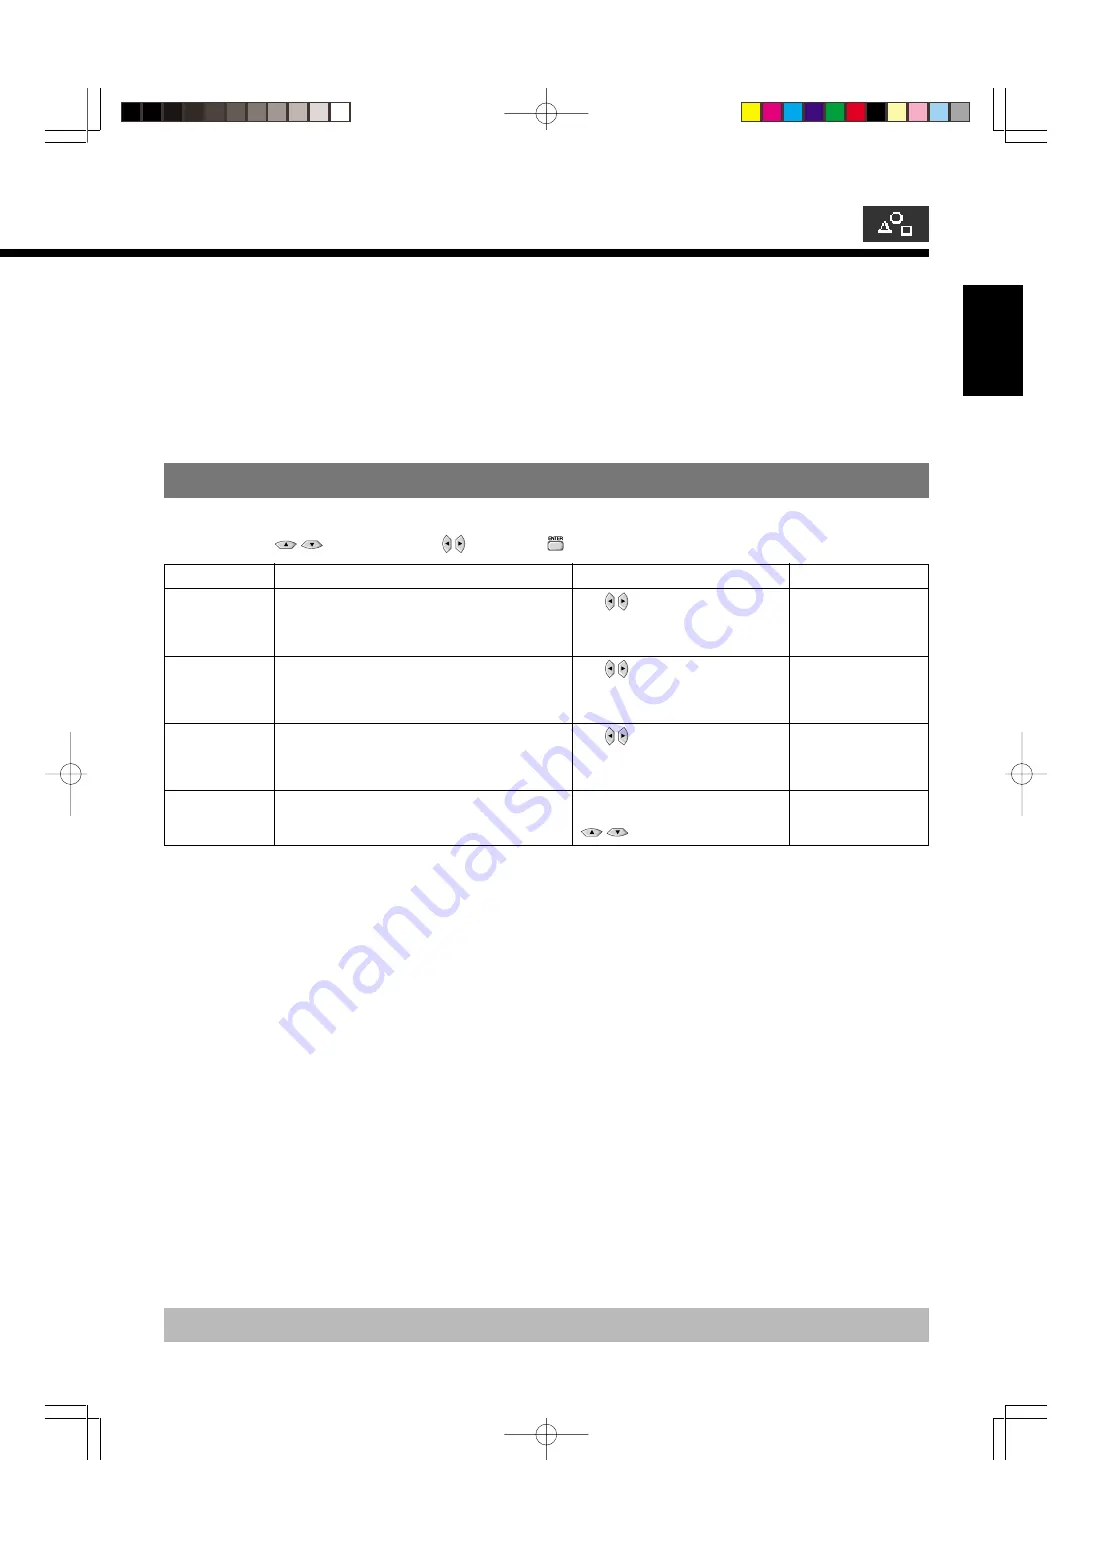
Dot Clock, Clock Phase, Clamp Position, and Auto Calibration are adjusted as shown in the following chart.
Select the item with
, and then adjust with . Finally, press
to implement the adjustments.
* On-screen information disappears if you do not take any action for about 60 seconds.
Adjustment Item
Contents of Adjustments
Operation
Adjustment Range/Remarks
–60 to +60
Auto/Manual
Manual: 1 to 32
–8 to +8
Execute/Cancel
Dot Clock
(RGB2, RGB3)
Clock Phase
(RGB2, RGB3)
Clamp Position
(RGB2, RGB3,
Comp. video)
Auto Calibration
(RGB2, RGB3)
You may find that pictures blur, depending on the
clock frequency of your PC’s processor.
If you experience blurring, you can obtain a clearer
picture by adjusting the “Dot Clock”.
Pictures may blur as the clock phase of your PC
may be different. In this case, adjust the clock
phase manually. Normally, the automatic setting
ensures the optimal value.
Adjusts the clamp position in accordance with the
input signal received from connected equipment.
Normally, the automatic setting ensures the optimal
value.
Adjusts the dynamic range of images to the
optimum. Performed while a white screen signal is
received.
Use to select the optimal value
at which blurring of pictures is
eliminated.
Use to select the optimal value
at which blurring of pictures is
eliminated.
Use to select the optimal value.
Display the Auto Calibration screen
and select Execute, and then use
to select the item.
E-P42VHA10E-OV(32̲33)
03.1.16, 11:57
Page 33
Adobe PageMaker 6.5J/PPC


