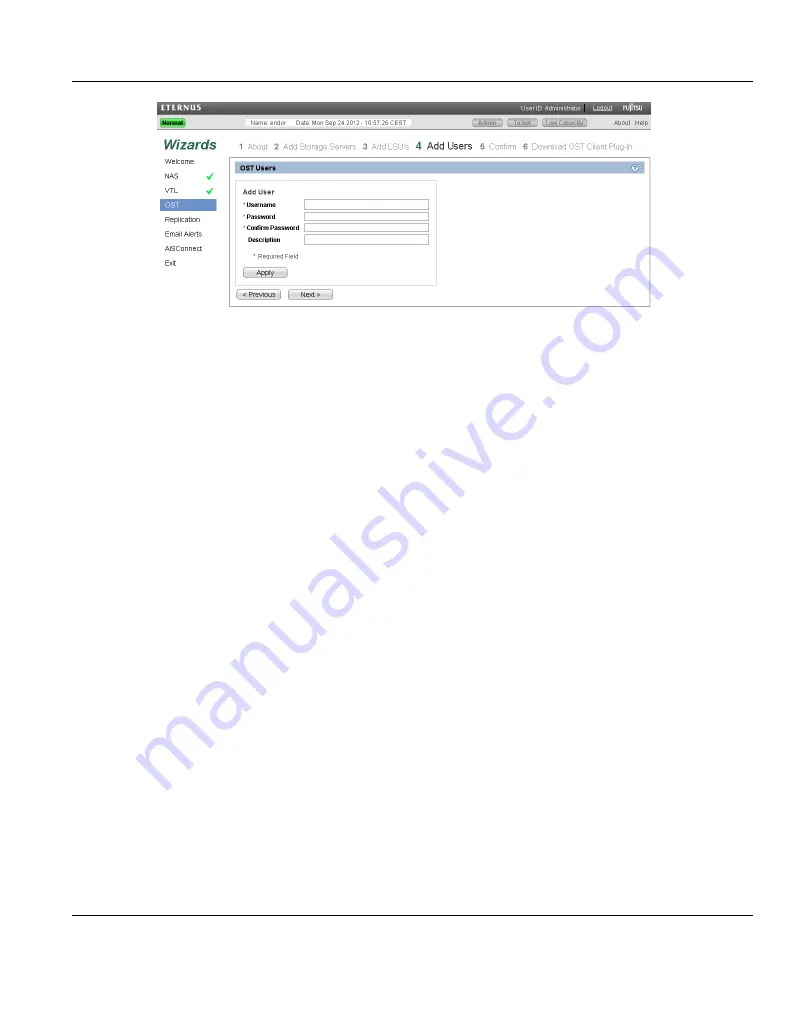
Figure 114: OST Wizard: Add Users
Step 5: Confirm
1. Review the settings you selected to make sure they are correct (see
). The items to be added display in the
,
LSUs Added
, and
Users Added
tables. If necessary, click
Previous
to return to a
previous step to make changes.
2. To make changes to storage servers, LSUs, or users you added, click
Previous
to
return to the appropriate step. Select the incorrect item and click
Delete
to remove it, and
then add a new item.
3. After you have confirmed all settings, click
Finish
. The wizard configures the
ETERNUS CS800 with the settings you selected.
ETERNUS CS800
167
8 Configuration Wizards
Summary of Contents for ETERNUS CS800
Page 1: ...ETERNUS CS800 V3 2 User Guide English ...
Page 2: ......
Page 3: ...English ETERNUS CS800 User Guide V3 2 Edition October 2015 ...
Page 26: ...26 ...
Page 42: ...42 ...
Page 78: ...78 ...
Page 132: ...6 3 Running the Getting Started Wizard Figure 91 Confirm Page 132 ETERNUS CS800 ...
Page 143: ...Figure 97 Remote Management Pages Map ETERNUS CS800 143 7 Remote Management ...
Page 144: ...144 ...
Page 184: ...8 7 AIS Connect Figure 128 AISConnect Wizard Confirm 184 ETERNUS CS800 ...
Page 198: ...198 ...
Page 321: ...Figure 206 Network Configuration ETERNUS CS800 321 10 Configuration ...
Page 335: ...Figure 215 Date Time Page To set the system date and time ETERNUS CS800 335 10 Configuration ...
Page 339: ...Figure 216 Access Control Settings Page ETERNUS CS800 339 10 Configuration ...
Page 362: ...362 ...
Page 432: ...432 ...
Page 476: ...476 ...
Page 494: ...494 ...
Page 600: ...600 ...


