


7
Installation
Note
Place the range hood on the sheet etc.
in order not to scratch the floor.
3
Checking accessory parts
Take out the main unit and accessory parts (screws, exhaust port, etc.)
from the packing box, and check whether there is any shortage.
Note
When attaching the exhaust port, pay attention to its shutter opening direction.
If it's installed incorrectly, it may cause bad discharge, abnormal noise, etc.
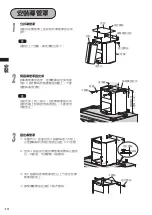
6
Fixing the exhauset port
The fixing screws are supplied with attaching to
the top plate.
Insert the exhaust port to the insertion slot on
the top of the enclosure, and fix using 2 screws.
Then attach the supplied soft tape around the
exhaust port.
5
Fixing the hangers
The fixing screws are supplied with attaching
to the top plate.
Firmly fix the hangers by fastening truss head
machine screws (M5
×
10).
Hanger
Soft tape
Insertion slot
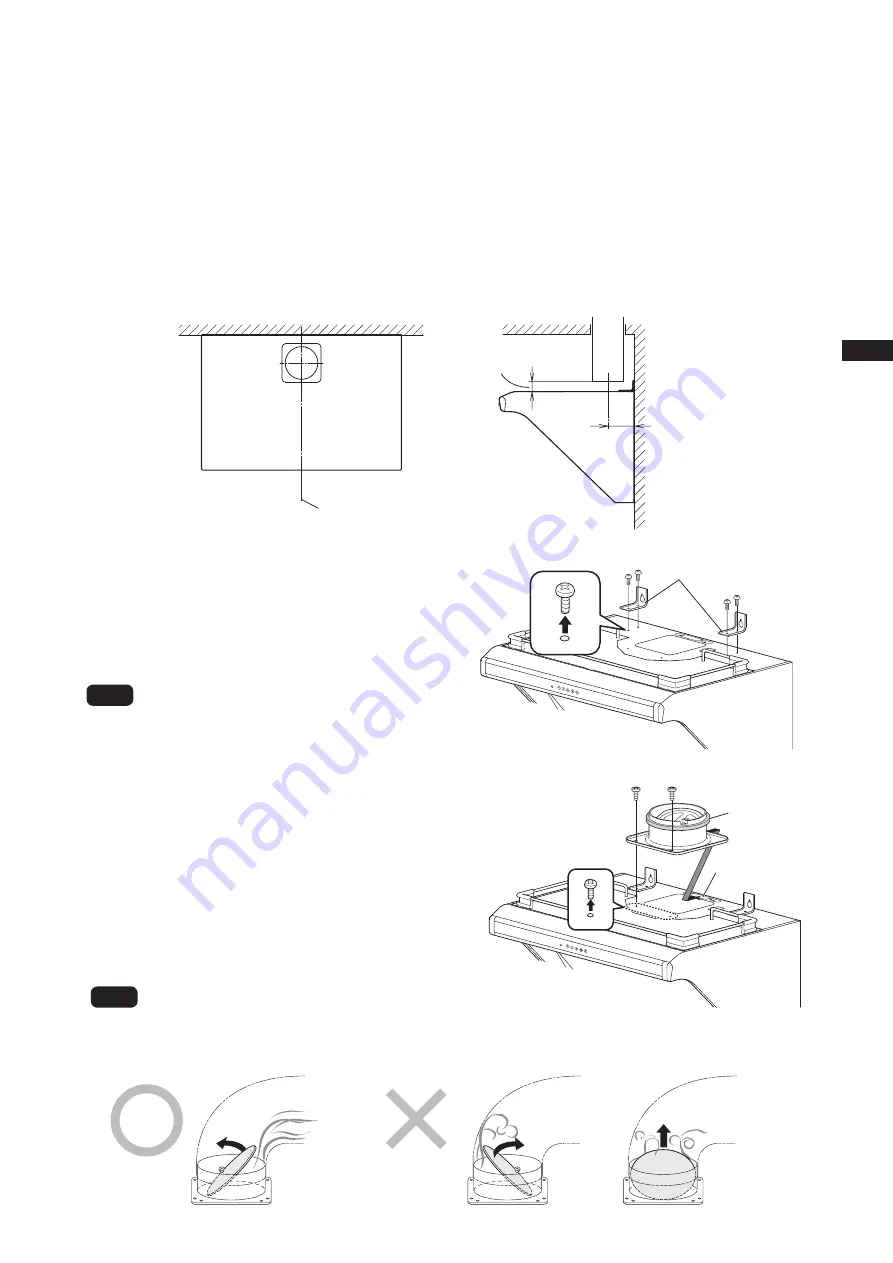
Correct
Wrong
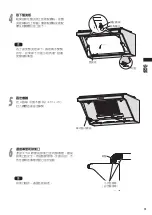
4
Preparing exhaust duct
1) Referring to "Dimensions" on page 5, make a hole on the wall for exhaust duct.
2) Set
∅
150 stainless or spiral duct to the top of the cooker hood as shown, and perform finish
work around it. (In case of the concrete, tile, and mud wall.)
30~50
(Unit: mm)
125
Center line


