DPP275dw_QSG_P2
.
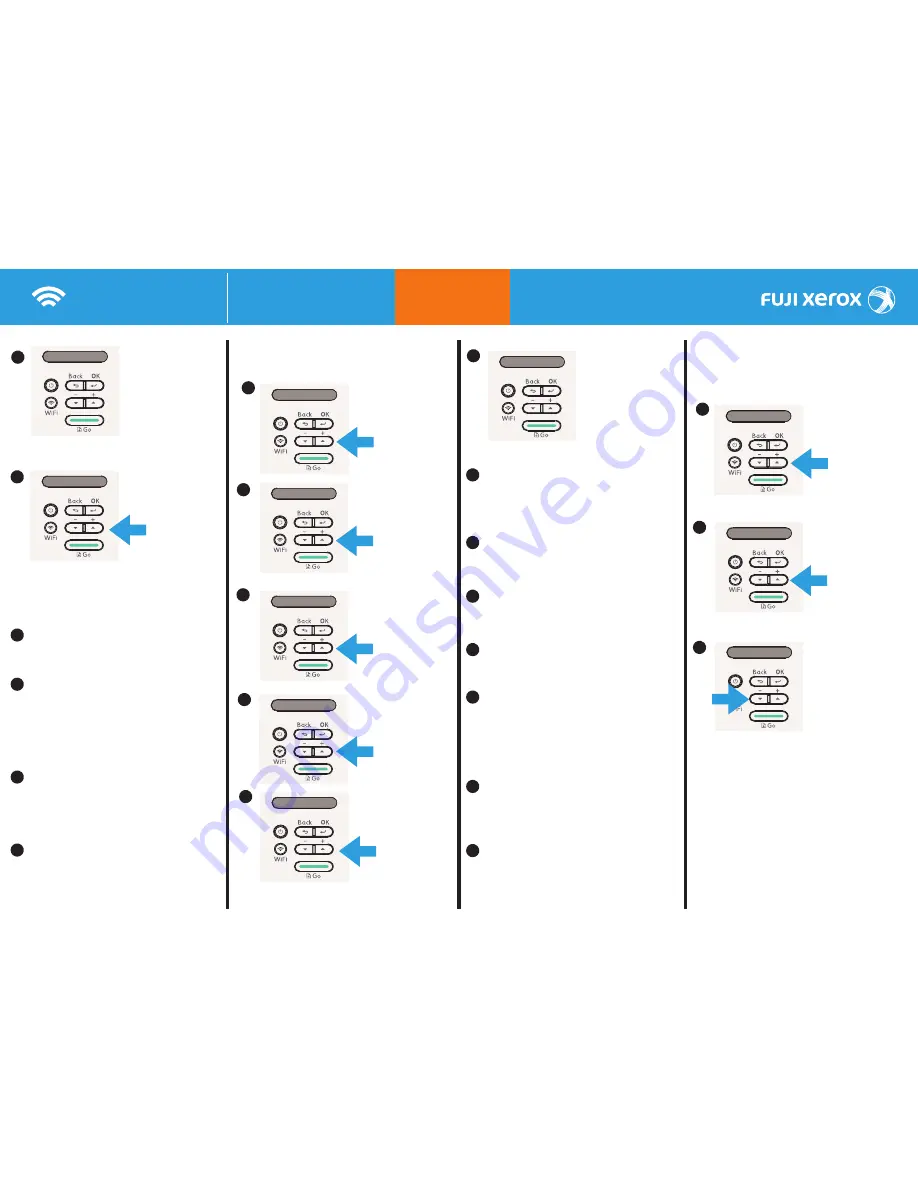
Wifi Setup
Docu
Prin
t P275 dw
Connecting to
the Wireless
Network
http://onlinesupport.fujixerox.com/
NOTE:
The printer will auto scan the wireless network for
available SSIDs.
Use the [
-
]
button to find the SSID of your
wireless network and then press the [
OK
] button.
Use the [
+
]
or
[
-
]
buttons to enter the Network Key
(Password). Use the [
OK
] button to move to the
next character position.
NOTE:
When the Network Key (Password) is entered, press
the [
OK
] button again.
Use the [
-
] button to select [
Yes
], to ‘Apply Settings’.
‘Connecting WLAN
’ is displayed whilst the connection
is established.
When ‘Connected’ is displayed the wireless connection
has been successfully established.
Press the [
OK
] button.
The WiFi button will be lit solid green.
4
Manual SSID
Use the [
+
]
button to select ‘
Infrastructure
’, and then
press the [
OK
] button.
Use the [
+
]
or
[
-
] buttons to enter the
Wireless Network SSID. Use the [
OK
] button to move
to the next character position. When the Wireless
Network SSID is entered, press the [
OK
] button.
Use the [
-
]
buttons to select an authentication mode,
choose from: Open System, Shared Key, WPA/WPA2-PSK.
Use the [
-
]
buttons to select the‘
Encryption Type
’,
and then press the [
OK
] button.
Use the [
+
]
or
[
-
]
buttons to select Network Key
(Password), use the [
OK
] button to move to the
next character position.
‘
Connecting WLAN
‘ is displayed whilst the connection is
established.
When‘Connected’ is displayed the wireless connection
has been successfully established. Press the
[
OK
] button.
The WiFi button will be lit solid green.
5
Reset Wireless Network
Settings
3
4
5
5
6
7
8
11
12
2
3
5
6
7
8
9
1
10
NOTE:
When the LCD displays ‘Ready’ the network has
been reset.
Find more support for your printer by visiting our
comprehensive support website at:
http://onlinesupport.fujixerox.com/
NOTE:
The printer will auto scan the wireless network
for available SSIDs.
NOTE:
When the Network Key (Password) is entered, press
the [
OK
] button.
Use the [
-
]
buttons to select [
Yes
], to ‘Apply Settings’.
13
Use the [
+
] button to select
[
Setup Wizard
], and then
press the [
OK
] button.
Setup Wizard?
2
Use the [
+
] button to select
[
Setup Wizard
], and then
press the [
OK
] button.
Setup Wizard?
Use the [
+
] button to select
[<
New SSID>
], and then
press the [
OK
] button.
<New SSID>
1
Use the [
+
] button to select
[
Network
], and then press
the [
OK
] button.
Network
Use the [
+
] button to select
[
Network Reset
], and then
press the [
OK
] button.
Network Reset
To keep updated with the latest support videos,
subscribe to the YouTube channel:
fujixeroxtv
4
Use the [
+
] button to select
[
ON
], and then press
the [
OK
] button.
ON
Use the [
+
] button to select
[
Network
], and then press
the [
OK
] button.
Use the [
+
] button to select
[
WLAN
], and then press
the [
OK
] button.
Use the [
+
] button to select
[
WLAN Enable
], and then
press the [
OK
] button.
WLAN Enable
Network
WLAN
Use the [
+
] button to select
[
ON
], and then press
the [
OK
] button.
ON
Use the [
-
]
button to confirm
[
Reboot OK?
]
Reboot OK?


