Configuration of Scan to Mailbox
113
Using the Scan Service
12
For information on how to print a settings list, refer to "Print Report/List" under "Chapter 13 Machine
Status" in the User Guide.
Registering a Mailbox
The following describes the procedure to register a mailbox for storing scanned
documents.
Documents stored in a mailbox can be imported into a computer using a scan driver,
CentreWare Internet Services or CentreWare EasyOperator.
For information on how to import documents, refer to "Importing Scanned Data" under "Chapter 9
Computer Operations" in the User Guide. For information on the operations of CentreWare
EasyOperator, refer to the CentreWare EasyOperator online help.
Up to 200 mailboxes can be registered. The items that can be set or changed are as
follows.
z
Mailbox Name
Set the mailbox name. Up to 20 characters are allowed.
z
Check Passcode
Set this item when you want to apply access restriction to operations. To apply
restriction, enter a passcode and then select an item to restrict access. The
passcode must be a string of up to 20 digits, consisting of numeric values (0 through
9).
z
Delete Documents after Retrieval
Set whether to delete a document in a mailbox after the document is retrieved,
printed, or transferred by a job flow.
z
Delete Documents with Expiry Date
Specify whether to enable the feature to delete documents stored in a mailbox at a
specified time after a storage period has expired.
z
Link Job Flow Sheet to Mailbox
Set or change a link to a job flow, or run a job flow.
The following describes the procedure to register a mailbox on the machine.
1
Display the [System Administrator Menu] screen.
1) Press the <Log In/Out> button.
2) Enter the user ID with the numeric keypad or a keyboard displayed by pressing
[Keyboard], and select [Confirm].
Note
•
The default user ID is “11111”. When using the Authentication feature, a passcode is
required. The default passcode is “x-admin”.
3) Select [System Settings].
2
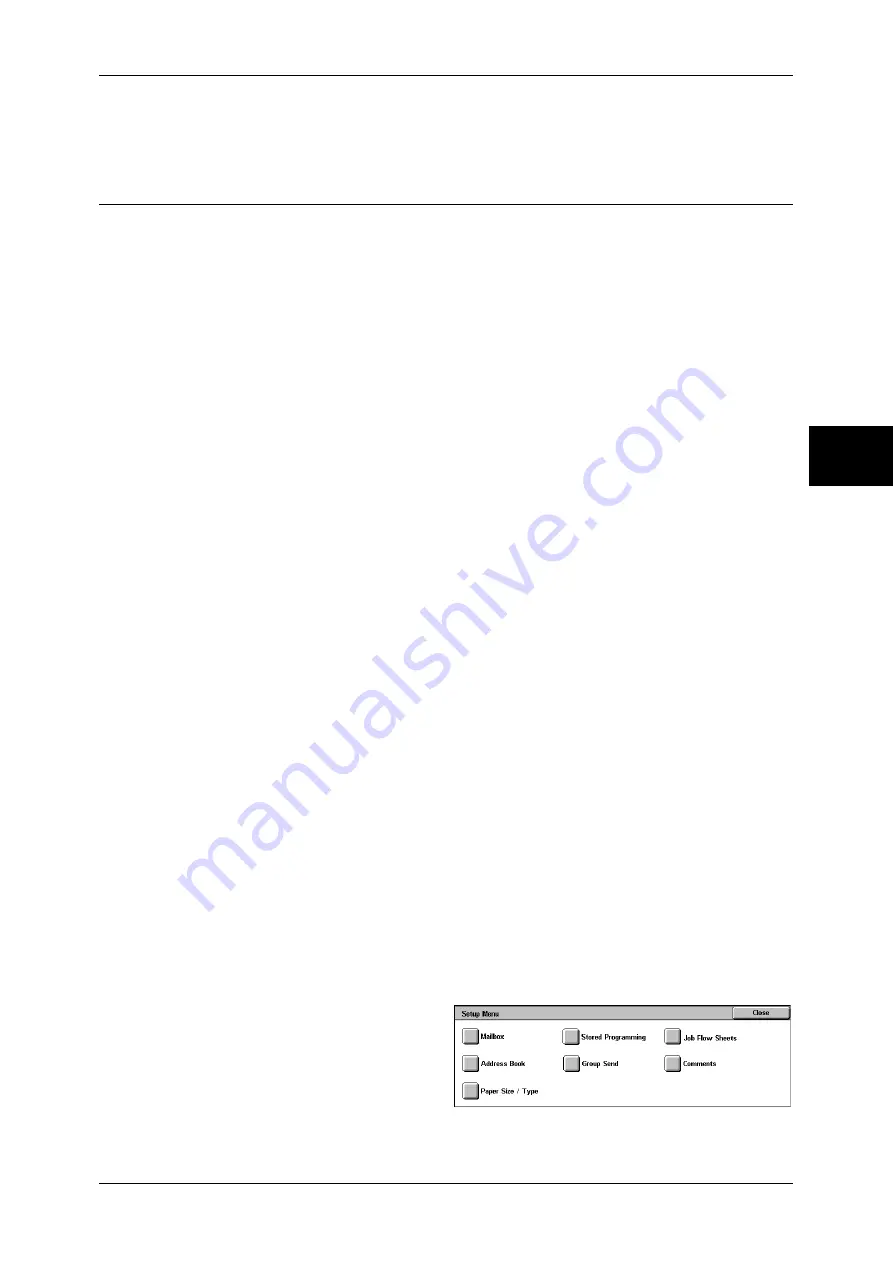
Select [Setup Menu].
3
Select [Mailbox].


