PAG.
rev 1.0
ENGLISH
STeP 2:
OuTPuT VIdeO cONFIGurATION
The HDMI output of receiver will start in 720p mode by
default, This mode should be supported by your TV HDMI
input. Please verify in your TV manual that the HDMI input
supports this video mode. This receiver also supports
the following video modes (By origin / Native TV / 480i /
480p / 576i / 576p / 720p_50 / 720p_60 / 1080i_25 /
1080i_30 / 1080p_50 / 1080p_60). If your TV does not
support this video mode, and you want to connect by HDMI,
we recommend you first connect by scart connexion and in
the installation wizard or in the menu of the receiver change
the video mode to one suitable for connecting to your TV by
HDMI.
STeP : BASIc cONFIGurATION OF The
receIVer
The receiver includes an installation assistant that will help
you to setup the different parameters.
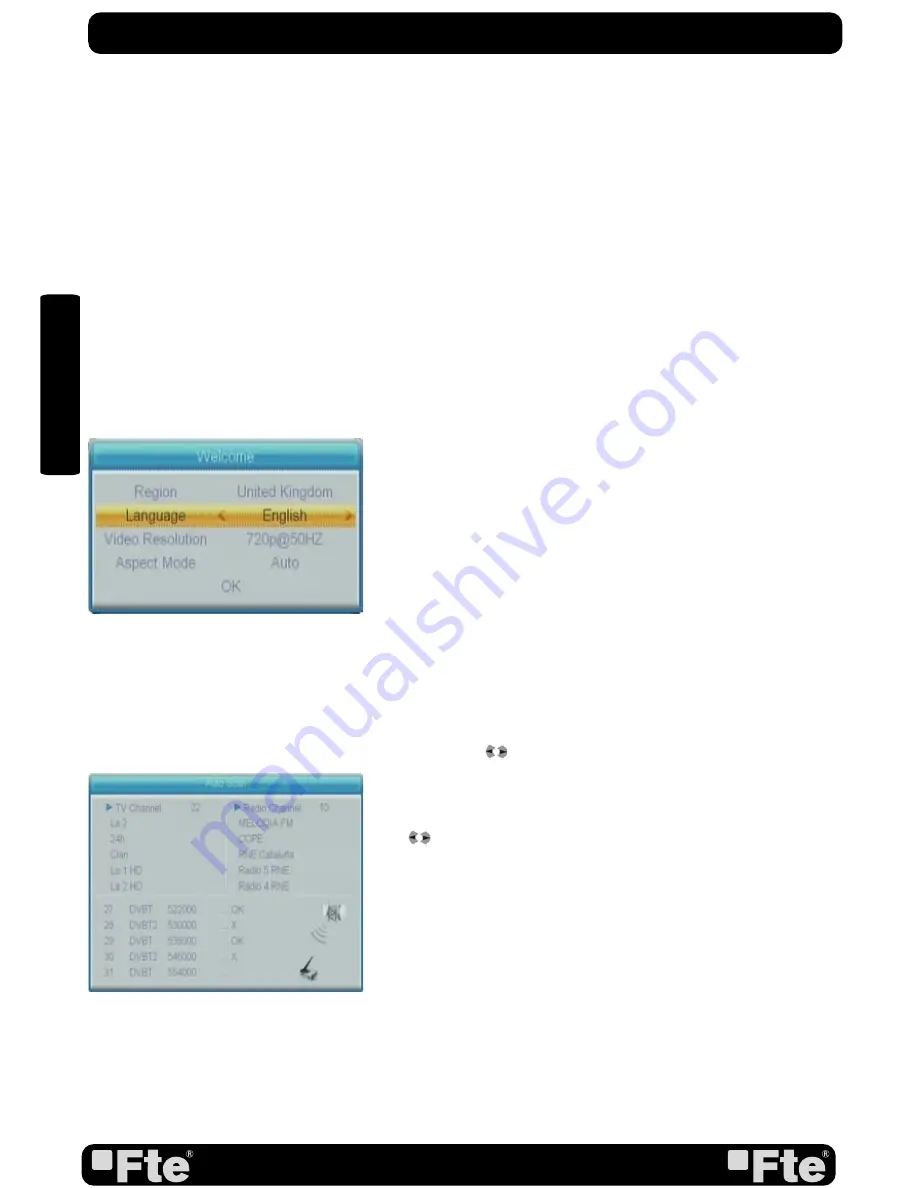
When the receiver is turned on at first time (using the button
at the rear panel of the receiver), the next menu is shown on
the TV:
In order to move through the different options of this menu,
please use the keysof the remote control. - Region: select
your country using keys.
- Region: select the language of the menu and other
information of the receiver. To choose between the different
languages, use keys of the remote control.
- Video Resolution: is used to switch the video resolution. You
can press [
] key to select mode output video.
- Aspect Mode is used for switching the screen aspect ratio
mode. Now we provide below options: 4:3 PS (Pan and
Scan) / 4:3 LB (Letter box)/ 16:9 / AUTO. You can press [
] key to select each mode circularly.
- Auto Scan: before making an auto scan (press [OK] button)
be sure that the data of the Region option (Image 1) is
correct, in other case the search of channels will be made
wrongly. Once the Region option is confirmed, please press
[OK]. ( image 2)
Don’t make any action with the receiver until the Auto scan
has finished.
IMAGe
IMAGe 2
QuIck INSTALLATION GuIde


