background image

PAG. 8

rev 1.2

EN

GL

ISH

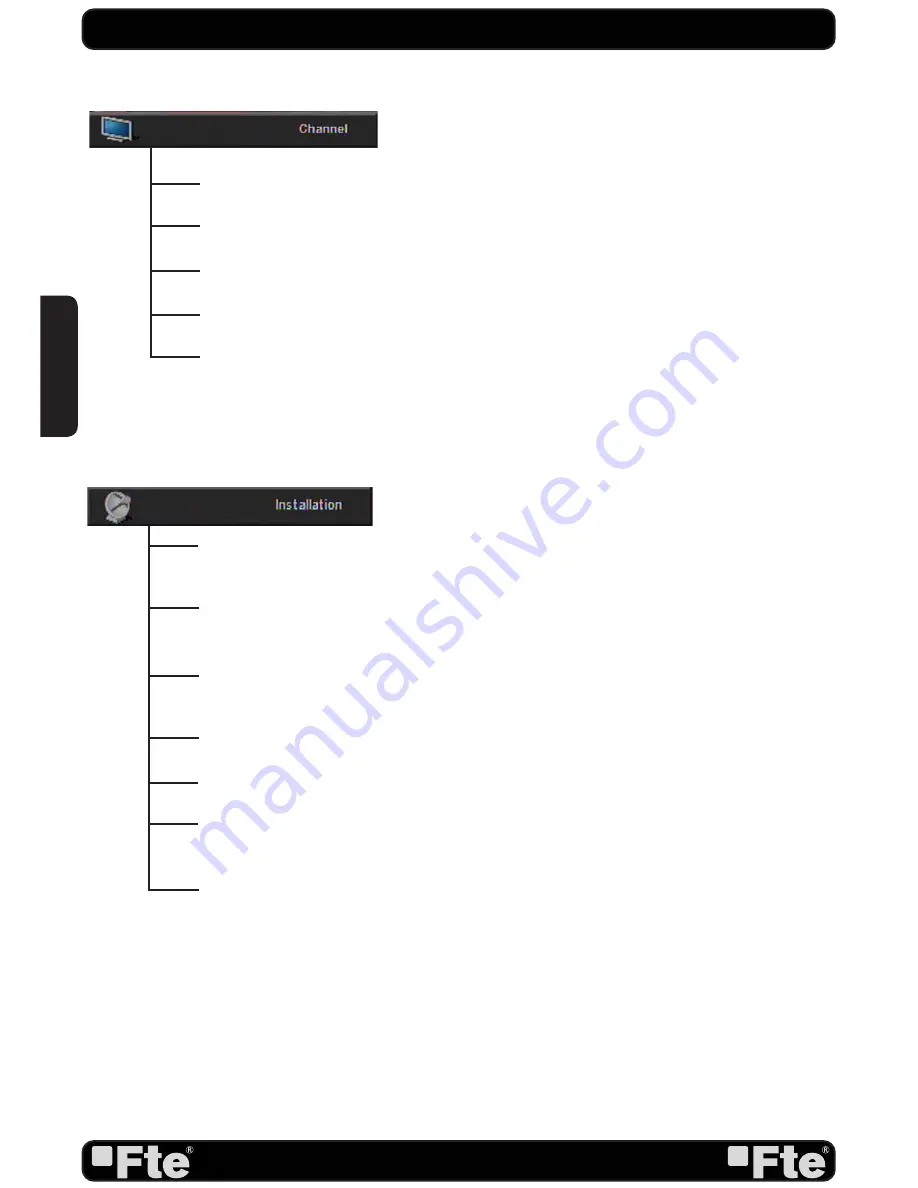
TV Channel List: This option shows the list of TV stored channels.

Radio Channel List: This option shows the list of Radio stored channels.

Channel Setup: This option allows setting the receiver to start in a predefined channel. 

Favourite Channel List Name: It allows changing the name of the favourite groups. 

Delete All: This option deletes all TV and Radio stored channels.

Single Satellite Search: Once the antenna is configured, this option allows search for 

the channels of one satellite.

Multi Satellite Search: Once the antenna is configured, this option allows search for the 

channels of various satellites.

TP Scan: Once the antenna is configured, this option allows search for the channels of 

one TP.

Satellite List: This option shows all the stored satellites. This list can be modified. 

TP List: This option shows all the stored TP. This list can be modified. 

Satellite Guide: After introducing some data, this application allows to know which 

orientation and elevation should be the antenna.

Unicable Configuration.

QUICK INSTALLATION GUIDE

Summary of Contents for MAX S405 HD PLUS

Page 1: ...MAX S405 HD PLUS...

Page 2: ...Locating Slots and openings in the cabinet are provided for ventilation to protect it from overheating Do not block these openings or allow them to be blocked by placing the STB on a bed sofa or other...

Page 3: ...ellite signal must be connected to the IF IN connector The HDMI or SCART connector must be connected to the TV set Depending on the type of installation the receiver should be connected and configured...

Page 4: ...please check the connections before continuing the installation Language press to select languages The selection of languages include English German French Spanish Italian Portuguese Turkish Polish R...

Page 5: ...switch Satellites or press OK to enter satellite list to select directly 2 LNB Configuration Selecting this option and pressing OK the LNB Configuration menu will be displayed In this menu next optio...

Page 6: ...to move the highlight and press OK to mark unmark and EXIT to finish the selection You can select several satellites in this menu At the bottom of the screen you can see the selected satellites The sy...

Page 7: ...T Offset If GMT Usage is On the offset respect GMT has to be configured depending on your region or country Use the keys to choose the offset Remember that the offset values are between 12 00 and 12 0...

Page 8: ...tenna is configured this option allows search for the channels of one satellite Multi Satellite Search Once the antenna is configured this option allows search for the channels of various satellites T...

Page 9: ...onsumption mode 1W in stand by By default this option is enabled Information Shows all the technical information for the selected channel Quick Setup The installation assistant will be loaded Factory...

Page 10: ...ol 16 2 8 Exit 16 2 9 Menu 16 2 10 Recall 16 2 11 Channel List 16 2 12 EPG 17 2 13 List 17 2 14 Favourites 17 2 15 Audio Track Mode 18 2 16 Information 18 2 17 FAV 18 2 18 ZOOM 18 2 19 Subtitles 18 2...

Page 11: ...setting 34 5 3 3 Sleep Timer 34 5 4 OSD Setting 34 5 5 Parental Lock 35 5 6 Power setting 35 6 Tools 6 1 Information 37 6 2 Quick Setup 37 6 3 Factory Default 38 6 4 Software Update 38 6 4 1 Upgrade b...

Page 12: ...e slide show 44 7 1 2 6 Audio player 44 7 1 2 7 Picture viewer 44 7 1 2 8 Video player 45 7 2 Media Control 45 7 2 1 Record type 45 7 2 2 Timeshift size 45 7 2 3 Auto Timeshift 45 7 2 4 Jump Step Valu...

Page 13: ...voltage is available 4 DISPLAY 4 Digits to display the program numbers 5 IR SENSOR Reception sensor for the IR remote control signals 6 FRONT COVER Opening front door you can access to USB connector 7...

Page 14: ...s 10 Changes channels volume or controls the cursor in menus 11 Recall Watch the last viewed channel 12 TV R Switches between TV and Radio channels 13 Color Keys Controls menu options 14 EPG Shows the...

Page 15: ...the channel you selected has no signal This can be caused by several reasons 1 The channel you selected is not from the satellite to which your dish is pointing Select another channel 2 The signal of...

Page 16: ...lume 2 8 EXIT Press Exit button to exit the current menu 2 9 MENU Press Menu button to enter or exit the current menu 2 10 RECALL Pressing the Recall button allows you to toggle between the actual and...

Page 17: ...mation about the actual programs of certain channels like event name subtitle description start and finish time This feature is depending on the service of the channel provider Press EPG to open the E...

Page 18: ...hows the parameters of current channel 2 17 FAV 1 In TV mode press the FAV FAV buttons to switch between the favourites channels in the current Favourite Group directly 2 The sequence of the favourite...

Page 19: ...oment of the timer OSD 15 If you push again Rec it will keep the event programmed The receiver will carry out the fast recording until the moment of the programmed event when it will do it obviating t...

Page 20: ...ess Stop again it will appear a window to ask for the confirmation to finish the Time Shift OSD 19 If you press the key II it will continue in Time Shift mode Press the key Stop again to leave the Tim...

Page 21: ...Program Group 4 The colour buttons offer further functions to manage the channel list 5 Press Menu to leave this menu 3 1 1 FAVOURITE 1 Press FAV to open the Favourite window OSD 24 2 You can select b...

Page 22: ...fter pressing the Yellow button a window for entering the password will open The default password is 0000 2 You can Delete Skip Lock and Edit the channel OSD 27 3 Press Exit to leave the Channel Editi...

Page 23: ...Or select Exit and press OK to leave Edit mode without saving the modifica tions 2 Create Press Green button to open the Create window OSD 34 Press OK button on the Satellite item to display the satel...

Page 24: ...t up Channel item you can open the channel list by pressing OK Then you can select the channel of you choice Press OK again to confirm 3 3 2 CHANNEL PLAY TYPE Press OK to enter Channel Play Type menu...

Page 25: ...cancel and confirm with OK 4 In step 2 and step 3 pressing Exit will exit the function directly without saving FREQUENTLY ASKED QUESTION Q IF I incautiously delete all channels what should I do A Ther...

Page 26: ...46 In this menu next options can be modified LNB Type Press to switch among Standard User Universal and Unicable mode Pressing OK the frequencies will appear to be edited Select the frequency you wan...

Page 27: ...he Multi Search menu a window like the one beside will open OSD 48 1 On Satellite item press OK to open the satellite list OSD 49 Then press to move the highlight and press OK to mark unmark and EXIT...

Page 28: ...erefore use the number buttons of the RCU The available range are 3000 13450 MHz and 1000 45000KS s Press Green button to delete the current TP A safety ques tion will be displayed for confirmation to...

Page 29: ...7 Select Yes to delete the marked satellite Select No to cancel the operation 4 5 TP LIST When you open the TP List menu you will see a window like the one beside OSD 58 1 Press to change the marked s...

Page 30: ...of Local Longitude Local Latitude and Satellite Longitude 2 Press buttons to select east or west in Local Longitude and Satellite Longitude or to select north or south in Local Latitude 3 Highlight t...

Page 31: ...Audio you set the system will play this audio language as default If the channel does not offer this audio language then the system will compare the offered languages with the second audio language Th...

Page 32: ...ee options and confirm with OK 5 3 1 TIMER Select Timer item and press OK to enter the Timer list menu OSD 70 The current time will be displayed in the first column If the current time is incorrect pl...

Page 33: ...ant to activate the service Automatically a message will be shown although the receiver is ON or in Standby Note If the date start time is prior to the current date hour a warning message will be show...

Page 34: ...0 OSD 76 If you set a sleep time the system will change to Standby mode after the chosen time period 5 4 OSD SETTING When you select OSD Setting you will see a screen like beside OSD 77 1 Subtitle Dis...

Page 35: ...New Password item and repeat the same one in the Confirm Password item If the passwords are not identically then you will see a warning message If you entered the same new password in both fields then...

Page 36: ...the correct information You also just can change this setting and check if you still can receive the channels If the LNB Power is off and you still can see all channels then we recommend this setting...

Page 37: ...setup the different parameters as you can see at OSD 86 1 Language press to select the language that will appear on the menus 2 First Audio Some channels offer more than one audio language This funct...

Page 38: ...e To do it connect a USB memory device to the receiver and accede to this menu option OSD 89 The last software version to be loaded must be placed at the root path of your USB device 1 Upgrade mode Se...

Page 39: ...the download of the upgrade OSD 92 This may need up to 60 Minutes Therefore we suggest using of this function only if you don t intent to watch TV during this time At the moment of writing this manua...

Page 40: ...files that the HDD contains You can manage the contents and to access to the multimedia player In the first screen you will have to select the HDD partition where multimedia files are Press the curso...

Page 41: ...97 2 Press the key Yellow OK to go out and modify the name 3 Press the Exit key to leave 7 1 1 3 HOW TO BLOCK A RECORDING With this function it is possible to block a recording so it is necessary to...

Page 42: ...your computer You also can create playlists of music pictures or videos Press to shift along the different lists Press Menu button to Exit CONTENT LISTS OF THE HARD DISK These lists contain all the f...

Page 43: ...w button to move the file 2 A mark appears behind the file you want to move OSD 106 3 Go to the folder you want to move and press again the Yellow button A message will appear on the screen requesting...

Page 44: ...SD 111 Size of the pictures on the screen Time of viewing each picture on the screen Repeat When the playlist finishes it starts again Effect Transition effects between picture and picture All Mp Swit...

Page 45: ...PE In this option you can configure the video format of the recordings 7 2 2 TIMESHIFT SIZE Shows the available Timeshift size 7 2 3 AUTO TIMESHIFT You can configure the Timeshift in two ways On From...

Page 46: ...s option will format the hard disk erasing it completely A message will appear on the screen requesting for confirmation Once you press OK the hard disk will be formatted and you will lose all the sav...

Page 47: ...de Energy dispersion QPSK 8PSK SCPC MCPC RS 204 188 8 ALL DVB rates DVB S DVB S2 recommendation INPUT SIGNAL Frequency Input level Channel bandwidth Input socked 950MHz 2150MHz 65dBm 25dBm 36MHz F typ...

Page 48: ...G 48 rev 1 2 ENGLISH WE FTE MAXIMAL DECLARE THAT THE PRODUCT MAX S405HD PLUS IS IN CONFORMITY WITH FOLLOWING DIRECTIVES LOW VOLTAGE DIRECTIVE 2006 95 EC EMC DIRECTIVE 2004 108 EC CONFORMITY DECLARATIO...

Page 49: ...RE Tel 00 39 05 22 90 97 01 Fax 00 39 05 22 90 97 48 fte fte it www ftemaximal com PORTUGAL Rua Jos Carlos Ary dos Santos A das Lebres Loures 2670 791 Santo Ant o do Tojal Tel 00 351 219 83 87 00 Fax...

Reviews: