Frontline Technical Support: Phone +1-434-984-4500 or email [email protected]
l
Use two high-speed computers, one for the ComProbe analyzer software and one—the
Target Host
—for the device under test .
o
Although it is possible to use one computer for both the analysis and test computer, this configuration requires that the computer in use is high-
speed and has two or more host controllers available.
l
Use USB 2.0 connections.
l
Use cables that do not exceed the recommended maximum length.
o
The cable connected to the analysis computer—
Analysis PC
—should not exceed 5 meters (15 feet).
o
The combined length of cables connected to the test computer—
Target Host
—and the device under test—
Target Device
—should not exceed
3 meters (9 feet).
Connect a USB cable between the device under test and the ComProbe hardware
Target Device
connector.
Connect a USB cable between the test computer and the ComProbe hardware
Target Host
t connecter.
Connect a USB cable between the analysis computer and the ComProbe hardware
Analysis PC
connector.
If the operating system encounters an error when trying to install the ComProbe device, disconnect the device, then reconnect it and try again.
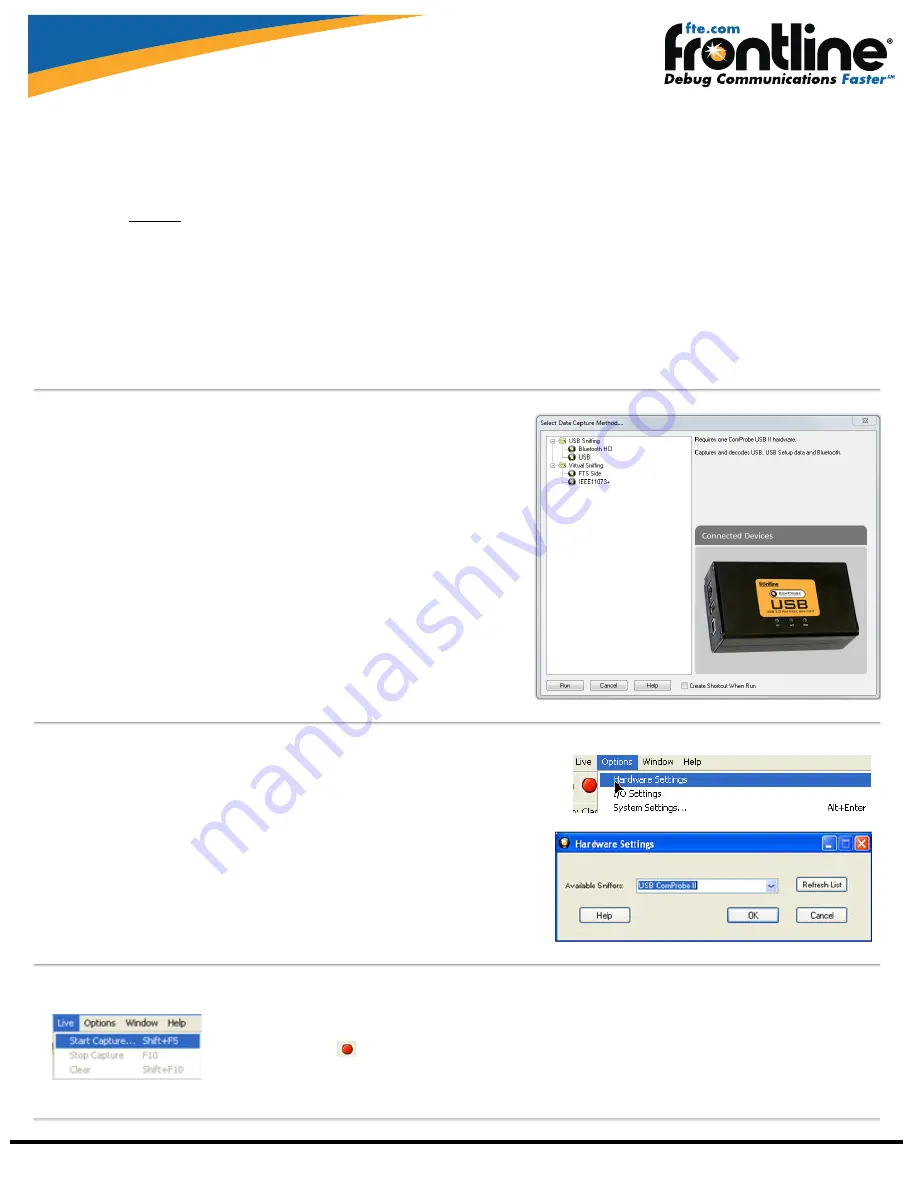
3 Select Data Caputre Method
Now that the software and drivers are installed and the hardware is positioned correctly, the
next step is to open ComProbe software and select the data capture method.
Open the "Frontline ComProbe Protocol Analysis System" folder from the Start menu or from
the Desktop folder.
Select "Frontline ComProbe Protocol Analysis System".
The
Select Data Capture Method
dialog appears.
Select USB
Click the
Run
button.
ComProbe software will open with the
window (See "Select Data Caputre Method"
4 Hardware Settings
The
Hardware Settings
dialog is used to select a device to sniff/scan. To access the
Hardware
Settings
dialog:
Select
Hardware Settings
from the
Options
menu on the
Control
window .
Select a "device" from the drop-down list and select
OK
. By default the connected ComProbe
USB device will be shown.
If no devices are found, the list will be blank. You can also select
Refresh List
to make sure the
list is up to date.
5 Start Capture
So, now that the ComProbe SD hardware is installed, devices turned on and identified. It's time to sniff the communication
between the devices.
Select
Start Capture
on the
Control
window toolbar or from the
Control
window
Live
menu.


