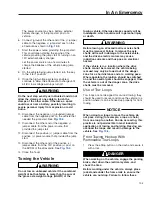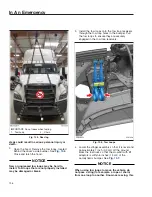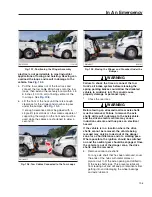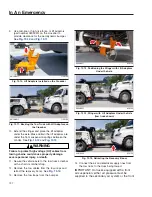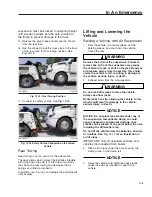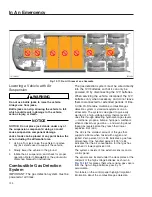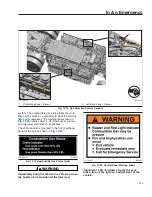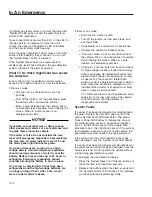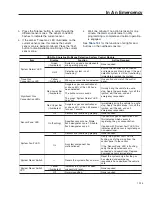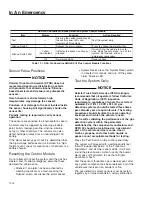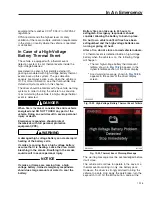
The power source may be a battery, external
battery charger, or the jump start post of a
vehicle.
6.
Connect (ground) the other end of the (-) jumper
cable to the negative (-) jump start post on the
eCascadia as shown in
7.
Start the power source providing the jump start.
This could mean starting the engine of the
vehicle providing the jump start or turning on an
12V external battery charger.
Let the power source run a few minutes to
charge the batteries of the vehicle being jump
started.
8.
On the vehicle being jump started, turn the key
to the “start” position.
9.
Once the high-voltage system is enabled,
continue to allow the eCascadia to charge until
all ICU low-voltage warnings turn off.
WARNING
Do the next step exactly as instructed and do not
allow the clamps of one cable to touch the
clamps of the other cable. Otherwise, a spark
could occur near a battery, possibly resulting in
severe personal injury from explosion or acid
burns.
10. Disconnect the negative (-) (grounded) jumper
cable from the negative post on the vehicle that
needed the jump start. See
11. Disconnect the other end of the negative (-)
jumper cable from the power source that
provided the jump start.
12. Disconnect the positive (+) jumper cable from the
positive (+) power source that provided the jump
start.
13. Disconnect the other end of the positive (+)
jumper cable from the 12V positive (+) post on
the EVDM of the eCascadia. See
14. Close the hood.
Towing the Vehicle
WARNING
Do not tow an unbraked vehicle if the combined
weight of both vehicles is more than the sum of
the gross axle weight ratings (GAWR) of the
towing vehicle. Otherwise brake capacity will be
inadequate, which could result in personal injury
or death.
WARNING
Before towing an eCascadia all rear axle shafts
must be removed. Failure to remove the axle
shafts will result in damage to the axle/vehicle,
and the driven electric motors may cause
induction currents and thus pose an electrical
hazard.
If the vehicle is in a location where the drive
shafts cannot be removed, the vehicle being
rescued may only be towed out of the danger
zone for a short distance and at a walking pace.
Where possible, the ignition should be switched
on and the neutral gear should be engaged. Once
the vehicle is out of the danger zone, the drive
shafts must be removed.
Use of Tow Loops
Tow loops are not designed for on-road towing; they
should be used to recover and move the vehicle to a
position where it can be hooked up properly for front
towing.
NOTICE
When using tow loops to move the vehicle, do
not pass a sling (for example, a rope or chain)
from one loop to another. Known as reeving, this
practice is
not
permissible in most industrial
applications of towing and hoisting. Reeving can
overload the loops and result in damage to the
vehicle. See
Front Towing Hookup With
Removable Tow Loops
1.
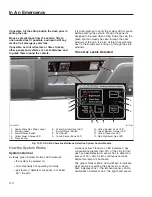
Press the eStop button on the dash and secure it
with a lock.
DANGER
When working on the vehicle, engage the parking
brake, shut down the electrical system, and
chock the tires.
Before working under the vehicle, always place
jack stands under the frame rails to ensure the
vehicle can not drop. Failure to follow these
In An Emergency
19.4
Summary of Contents for PX113064S T 2016
Page 4: ......
Page 10: ......
Page 18: ......
Page 58: ......
Page 86: ......
Page 112: ......
Page 122: ......
Page 142: ......
Page 154: ......
Page 155: ...12 Steering System Power Steering System 12 1...
Page 158: ......
Page 159: ...13 eAxle eAxle 2 Speed Transmission 13 1...
Page 176: ......
Page 190: ......
Page 202: ......
Page 222: ......
Page 223: ...20 Emissions Information Noise Emissions 20 1 Greenhouse Gas Emissions 20 1...
Page 229: ......
Page 236: ......

