background image

freeView Pro X10P User Manual  


2 Installation 

2.1  Configuring the Transmitter 

Determine how far away the Transmitter will be located from the Receiver.  If the distance is less 
than 300 ft (91 m), set both DIP switches on the Transmitter to the OFF position.  If the distance 
is 300 ft (91 m) or more, set both DIP switches on the Transmitter to the ON position. 

2.2  Connecting the Devices 

1.  Turn off all computers and peripherals before connecting them to the freeView Pro X10P. 

2.  Connect one end of the KVM cable included in the box to the VGA and PS/2 ports on the 

computer. 

3.  Connect the other end of the KVM cable to the PS/2 and VGA ports labeled 

PC Port

 on the 

Transmitter. 

4.  A local console can be installed by connecting a PS/2 keyboard, mouse, and monitor to the 

Console

 ports on the Transmitter (see Figure 2-2). 

5.  Connect the Transmitter to the Receiver by using a 

straight-through

 category 5, 5e, 6, or 7 

cable. 

6.  Connect a PS/2 keyboard, mouse, and monitor to the 

Console

 ports on the Receiver to be 

able to control the remote computer. 

7.  If you are connecting the Receiver to a local computer, connect one end of a KVM cable (not 

included) to the PS/2 and VGA ports labeled 

PC Port

 on the Receiver, and the other end of 

the KVM cable to the PS/2 and VGA ports on the local computer (see Figure 2-2). 

8.  Connect the power adapter to the Receiver and plug the adapter into an outlet. 

9.  Power on the computer and peripherals. 

10. Adjust the video quality using the Video Tuning Dial on the Receiver to sharpen the picture. 

Note:

 The RJ-45 ports on the freeView X10P are not standard Ethernet ports.  Do not connect 

the freeView X10P to a network device such as a switch or a hub, otherwise the device will not 
work. 


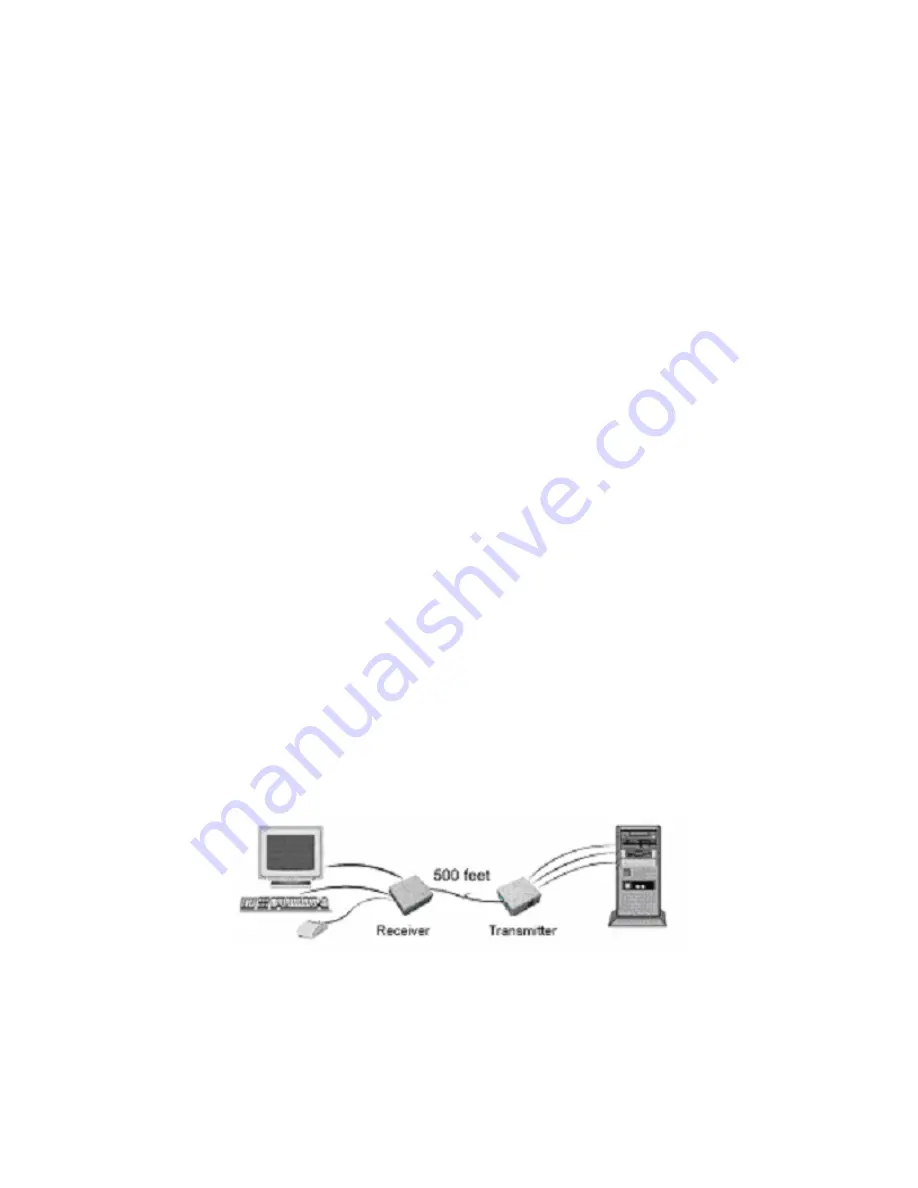
Figure 2-1: Basic Setup 


Summary of Contents for freeView X10P

Page 1: ...freeView X10P 1 Port Cat5 Extender USER S MANUAL P N KEX 150P Rev 1 0...

Page 2: ...ocopied reproduced or translated into another language without express prior to written consent of Freedom9 Inc Copyright 2006 freeView and the freedom9 company logo are trademarks or registered trade...

Page 3: ...TRUCTIONS 2 1 3 PACKAGE CONTENTS 2 1 4 PRODUCT SPECIFICATIONS 3 2 INSTALLATION 4 2 1 CONFIGURING THE TRANSMITTER 4 2 2 CONNECTING THE DEVICES 4 2 3 CONNECTING TO AN ANALOG KVM 5 2 4 SWITCHING BETWEEN...

Page 4: ...nit the freeView X10P allows a user to control both a local computer at their desk along with a remote computer with a simple hotkey command to switch between the two The freeView X10P works with Cate...

Page 5: ...Mouse Port 2 x Mini din 6 pin PS 2 Female 2 x Mini din 6 pin PS 2 Female VGA Port 2 x HDDB 15 pin 2 x HDDB 15 pin Network Port 1 x RJ 45 1 x RJ 45 LED PC1 PC2 Power Data Power Adapter DC 9V 500 mA N...

Page 6: ...he Console ports on the Transmitter see Figure 2 2 5 Connect the Transmitter to the Receiver by using a straight through category 5 5e 6 or 7 cable 6 Connect a PS 2 keyboard mouse and monitor to the C...

Page 7: ...cable to the PS 2 and VGA ports labeled Console on the KVM switch label may differ depending on the KVM Figure 2 3 Connecting to a KVM 2 4 Switching Between Computers If you are using both a local com...

Page 8: ...the computer is booting up Ensure that the power adapter is connected to the Receiver Ensure that the monitor is receiving power and is on Problem The video displayed is blurry Resolution Check that t...

Page 9: ...subject to the following two conditions 1 This device may not cause harmful interference 2 This device must accept any interference received Including interference that may cause undesired operation...

Reviews: