background image


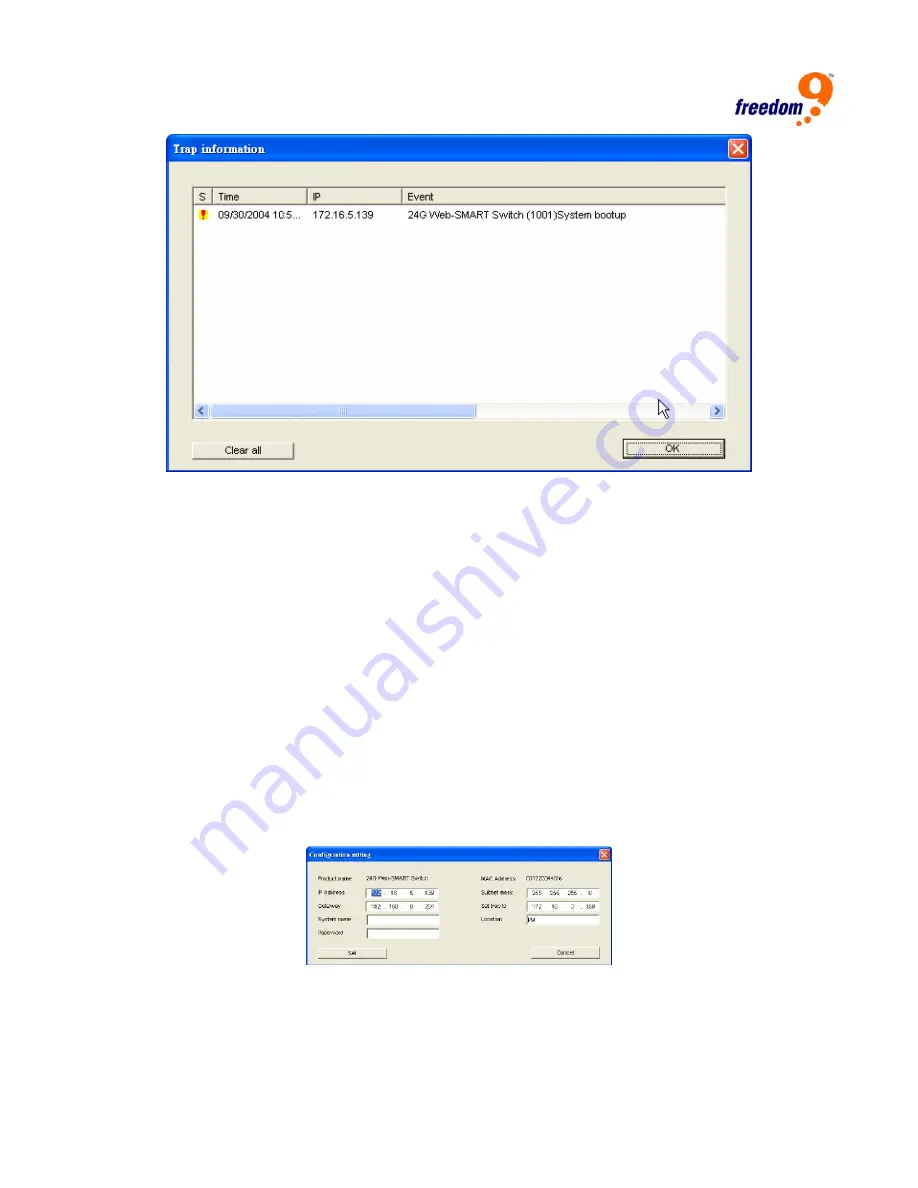
Figure 9: Trap Information 

Note:

 In order to receive Trap information, the Switch has to be configured with the 

proper Trap IP and Trap Events in the Web browser, which are available in the Trap 
Setting Menu.  Refer to the appropriate section for details. 

Add Item:

 Allows you to add a Switch to the Monitor List manually by entering the IP Address of the 

device that you want to monitor.  

Delete Item:

 Allows you to delete the Switch from the Monitor List. 

6.4 Device 

Setting 

You can configure the Switch by using the buttons in the Device Setting section at the bottom of the 
window. 

Configuration Setting:

 From this window, you can set the IP Address, Subnet Mask, Gateway, Set 

Trap to (Trap IP Address), System Name and Location of the Switch. 

Select the device in the Discovery list or Monitor List and click 

“Configuration Setting”

.  The 

Configuration Setting window will open (Figure 10).  After making the desired changes, you enter the 
password for the Switch and click 

“Set”

 to save the changes to the Switch. 


Figure 10: Configuration Setting Window 

Password Change:

 This option allows you to change the password for the Switch.  After clicking the 

button to open the Change Password Window (Figure 11), enter the new password in both the 

“New 

password”

 field and 

“Confirm password”

 field.  You also have to enter the current password for the 

Switch in the “Original password” field.  Click 

“Set”

 to save the changes. 

Summary of Contents for freeConnect Smart G2400

Page 1: ...freeConnect Smart G2400 24 Port 10 100 1000Mbps Web Smart Switch USER S MANUAL P N S112410000 Rev 1 0...

Page 2: ...r translated into another language without express prior to written consent of Freedom9 inc Copyright 2006 freeConnect Smart and the freedom9 company logo are trademarks or registered trademarks of Fr...

Page 3: ...RK CABLE 5 3 5 AC POWER 5 4 IDENTIFYING EXTERNAL COMPONENTS 6 4 1 FRONT PANEL 6 4 2 REAR PANEL 6 5 UNDERSTANDING LED INDICATORS 7 5 1 POWER AND SYSTEM LEDS 7 5 2 PORTS 1 24 STATUS LEDS 7 6 CONFIGURATI...

Page 4: ...rnet 100Mbps Fast Ethernet and 10Mbps Ethernet network capabilities in a highly flexible package 1 1 Purpose This guide discusses how to install your freeConnect Smart G2400 1 2 Terms Usage In this gu...

Page 5: ...n the phenomenal bandwidth delivered by Gigabit Ethernet is the most cost effective method to take advantage of today s and tomorrow s rapidly improving switching and routing internetworking technolog...

Page 6: ...e for connection speed 10Mbps and 100Mbps Full duplex transfer mode for connection speed of 10Mbps 100Mbps and 1000Mbsps Wire speed reception and transmission Store and Forward switching scheme capabi...

Page 7: ...or the acceptable temperature and humidity operating ranges Install the Switch in a site free from strong electromagnetic field generators such as motors vibration dust and direct exposure to sunlight...

Page 8: ...ng four pair of Category 5 Cable Category 5e Cable or better is required for Gigabit Ethernet These RJ 45 ports support Auto MDIX meaning that the Switch can automatically switch between MDI II and MD...

Page 9: ...plug and play capability you just need to plug the network cable into the Switch and don t need to worry if the end node is a computer switch or other network device These two ports can operate in hal...

Page 10: ...em CPU Indicator Flashing The CPU is working On The CPU is idling Off The unit is off 5 2 Ports 1 24 Status LEDs Link ACT Link Activity On The port is successfully connected to an Ethernet network Fla...

Page 11: ...install the utility 4 Upon completion go to Program Files Web Management_Utility and run the Web Management Utility Figure 7 Figure 7 Web Management Utility The Web Management Utility is divided into...

Page 12: ...rotocol version The version of the Utility protocol Product Name The Switch s product name System Name The appointed device system name Location Where the device is located Trap IP The IP where Traps...

Page 13: ...Setting From this window you can set the IP Address Subnet Mask Gateway Set Trap to Trap IP Address System Name and Location of the Switch Select the device in the Discovery list or Monitor List and c...

Page 14: ...onitor List as the default The next time the Web Management Utility is run the default list will be loaded automatically Monitor Save As Saves the current Monitor List as a file on the local computer...

Page 15: ...ss of the default IP address of the Web Smart Switch is 192 168 0 1 then the manager PC should be set at 192 168 0 x where x is a number between 2 and 254 with a subnet mask of 255 255 255 0 1 Open yo...

Page 16: ...freeConnect Smart G2400 User s Manual 13 Figure 15 Device Status...

Page 17: ...provide details for each option Figure 16 Setup menu 6 9 Configuring Setup Setting There are four items in the Setup Menu Port Settings VLAN Settings Trunk Settings Mirror Settings 6 9 1 Port Settings...

Page 18: ...uto sets the port to detect the connection type automatically and Disable shuts down the port Flow Control This setting determines whether or not the Switch will handle flow control Select Enable to a...

Page 19: ...n window Figure 20 Enter a description for the VLAN and select the ports to include in the VLAN Click Apply button to save the new VLAN To modify a VLAN click on its ID number In the new window make t...

Page 20: ...rt allowing a network administrator to analyze the traffic on the network and make any necessary adjustments Configure port mirroring by assigning a source port from which to copy all packets and a sn...

Page 21: ...atus The Device Status page displays the current status of the device Figure 23 The screen shows the current System Status Port Status VLAN Status Trunk Status and Mirror Status Click Refresh when you...

Page 22: ...gure 23 Device Status Page 6 10 2 Statistics The Statistics Page shows the current packet transmission counters for each port Figure 24 Clicking on a port number will display detailed statistics for t...

Page 23: ...em Name Location Name Login Timeout and the IP Address Subnet Mask and Gateway of the Switch Through the Web Management Utility you can differentiate between multiple Switches by using the System Name...

Page 24: ...can be viewed and received using the Web Management Utility described earlier in the manual To enable traps enter the IP Address of the computer that will receive the traps and select which types of...

Page 25: ...current settings of the Switch to a file that can be saved on your computer It also allows you to restore the settings to the Switch from a backup file Click the Backup button to generate a backup fi...

Page 26: ...freeConnect Smart G2400 User s Manual 23 Figure 30 Reset Setting 6 11 Logout Selecting this option will log you of the web interface Figure 31 Figure 31 Logout...

Page 27: ...Ports 24 10 100 1000Mbps Auto MDIX RJ 45 ports Physical and Environmental AC Input 100 240V AC 50 60 Hz internal universal power Supply Power Consumption 35 Watts Max Temperature Operating 32 F 104 F...

Page 28: ...itions 1 This device may not cause harmful interference 2 This device must accept any interference received Including interference that may cause undesired operation CE Certificate This is a Class A p...

Reviews: