


W
W
w
w
ww.foscam.
ww.foscam.
us
us
Foscam Digital Technologies LLC
Telephone: 1-800-930-0949
56
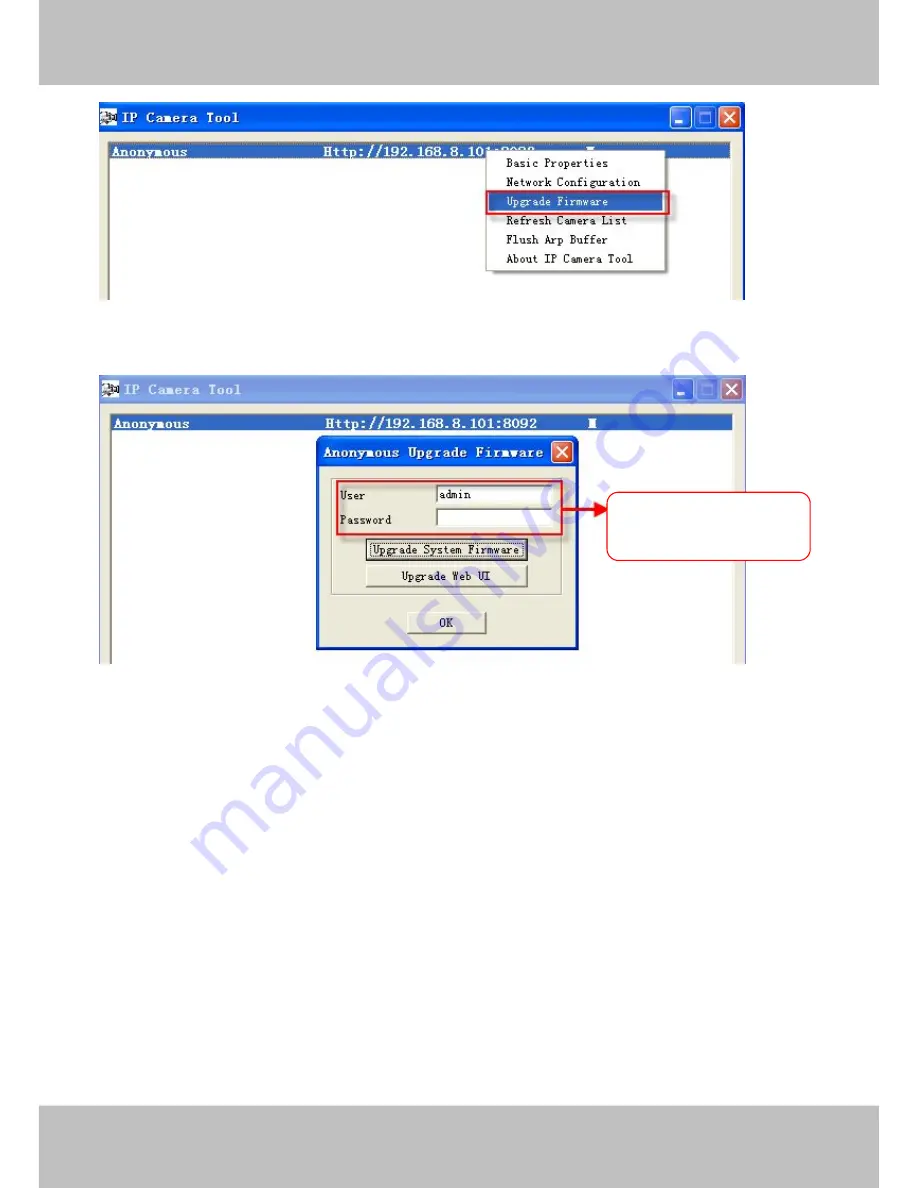
Figure 3.50
Figure 3.51
CAUTION:
If your camera works well with the current firmware, we recommend not upgrading.
Please don’t upgrade the firmware unnecessarily. Your camera may be damaged if
misconfigured during an upgrade.
NOTE:
1) Please ensure you have download the correct firmware package for your camera before
upgrading. Read the upgrade documentation (readme.txt file) in the upgrade package before you
upgrade.
2)Upon downloading the firmware check the sizes of the .bin files. They must match the size in
the readme.txt file. If not, please download the firmware again until the sizes are the same. Your
camera will not function correctly if a corrupt .bin file is used.
Enter the User name
and password .


