


Fine-tuning & best practices
Page 124
FortiRecorder 2.4.2 Administration Guide
Restoring a previous configuration
If you have downloaded configuration backups, you can upload one to revert the appliance’s
configuration to that point.
To upload a configuration via the web UI
1.
Go to
Monitor > System Status > Status.
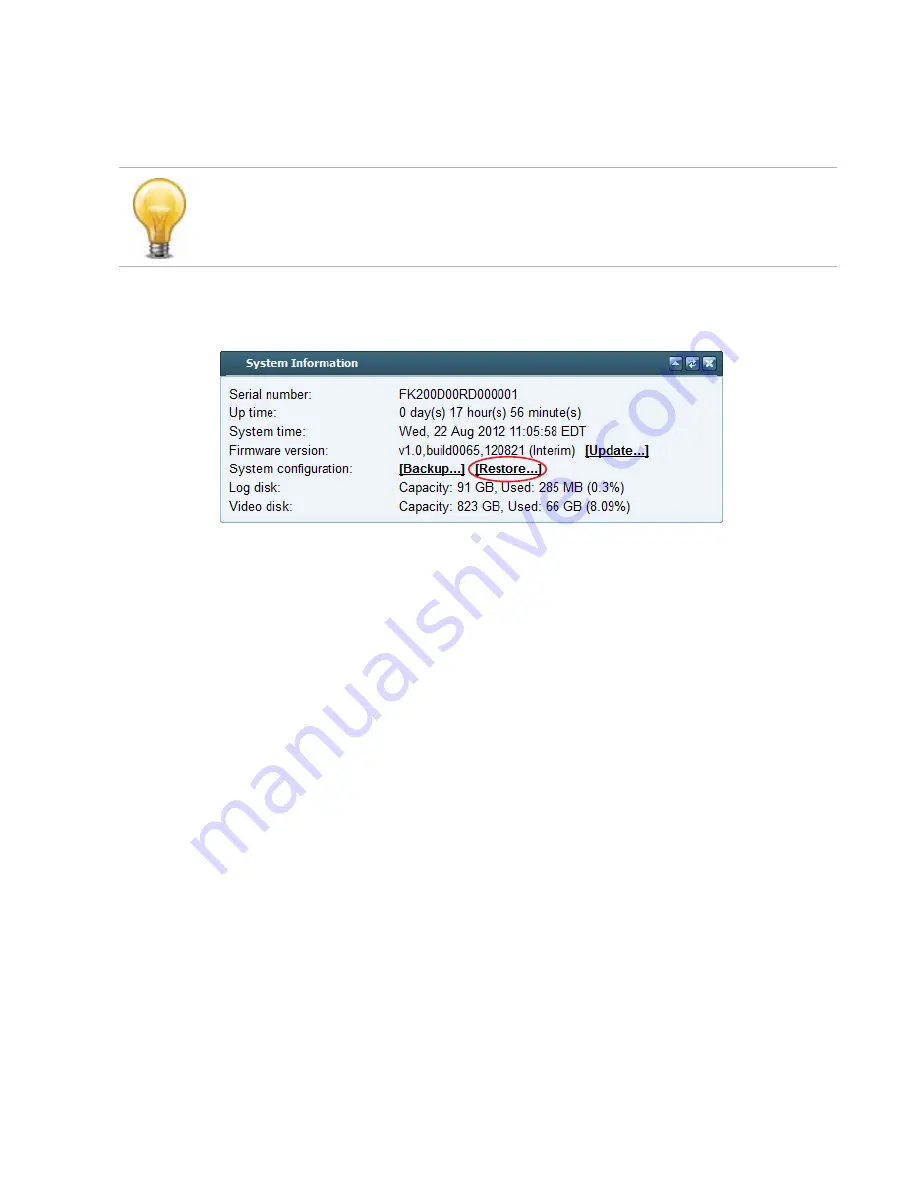
2.
In the
System Information
widget, in the
System configuration
row, click
Restore
.
3.
Choose a FortiRecorder configuration backup file. (It has a
.conf
file extension.)
4.
Click
Upload
to start the restoration of the selected configuration.
Your web browser uploads the configuration file and the FortiRecorder appliance restarts
with the new configuration. Time required to restore varies by the size of the file and the
speed of your network connection. Your web UI session will be terminated when the
FortiRecorder appliance restarts.
5.
To continue using the web UI, if you have not changed the IP address and static routes of the
web UI, simply refresh the web page and log in again.
Otherwise, to access the web UI again, in your web browser, modify the URL to match the
new IP address of the network interface.
For example, if you configured port1 with the IP address 10.10.10.5, you would browse to:
https://10.10.10.5
If the new IP address is on a different subnet than the previous IP address, and your
computer is directly connected to the FortiRecorder appliance, you may also need to modify
the IP address and subnet of your computer to match the FortiRecorder appliance’s new IP
address.
See also
•
•
Restoring firmware (“clean install”)
•
Uploading a configuration file can also be used to configure many features of the FortiRecorder
appliance in a single batch: download a configuration file backup, edit the file in a plain text
editor, then upload the finalized configuration.


