© Copyright Utemaster NZ Ltd.
10
Australia Support:
P:
1800 353 383
E:
[email protected]
W:
www.utemaster.com.au
NZ Support:
P:
0800 683 352
E:
[email protected]
W:
www.utemaster.co.nz
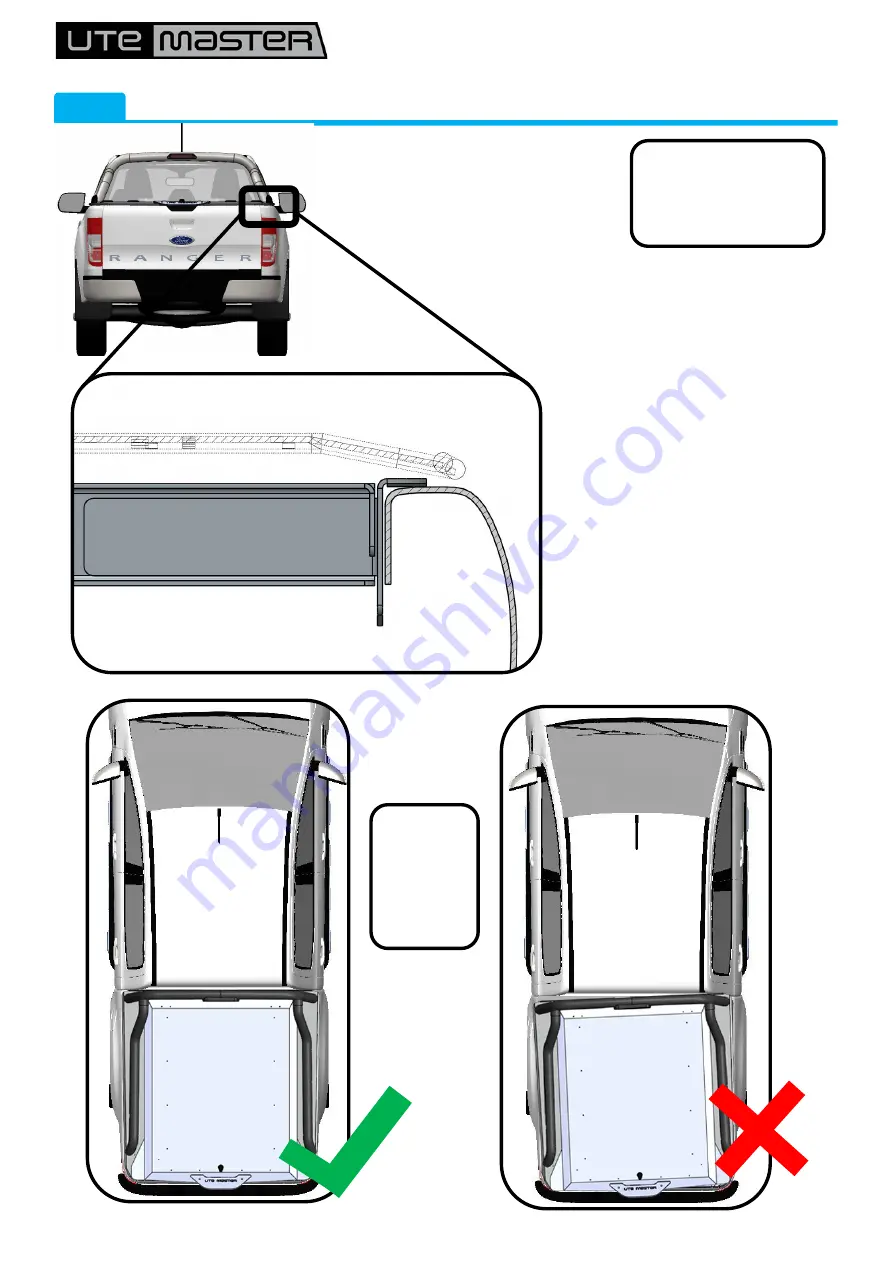
12
Make sure the Load
-
Lid is
sitting firmly on
BOTH
SIDES.
Ensure
Load
-
Lid
™
Is sitting
square on
the tray.


