Flyron Technology Co., Ltd.
www.flyrontech.com
- 3 -
The operation is easy and simple. There are just one micro USB port, one indicator light, two buttons A and B, one slide
switch in total.
Notes:
1). The PIR sensor needs about 15 seconds for initialization whenever it’s powered on. It’s normal the device doesn’t
trigger to play the sound during this period of time. Once the initialization is finished, it will be into working condition
immediately.
2). In mode B, you only need to short press button A or B to select the target audio track, no need other operations.
3). Before plugging in a power adapter, please take the battery out first.
4. Update Audio Files
There is a micro USB port (socket) on the left side. Users can connect it to computer through an Android phone purposed
USB cable to load audio files. Computer will recognize the built-in flash memory as a USB flash drive. Single audio file or
multiple audio files need to be directly stored in the root directory of the internal memory. To multiple files, the quantity is not
limited so long as the total size of these files is not larger than the internal memory (4Mbytes). And the arrangements of
multiple audio files are managed by a physical indexing sequence. In other words, the file that is to be loaded first in the
memory will be played first. The last file to be loaded in the memory will be played in the end. In order to guarantee a correct
order, please refer to the following steps.
1). Build a new folder on the computer and put the audio files in this new folder.
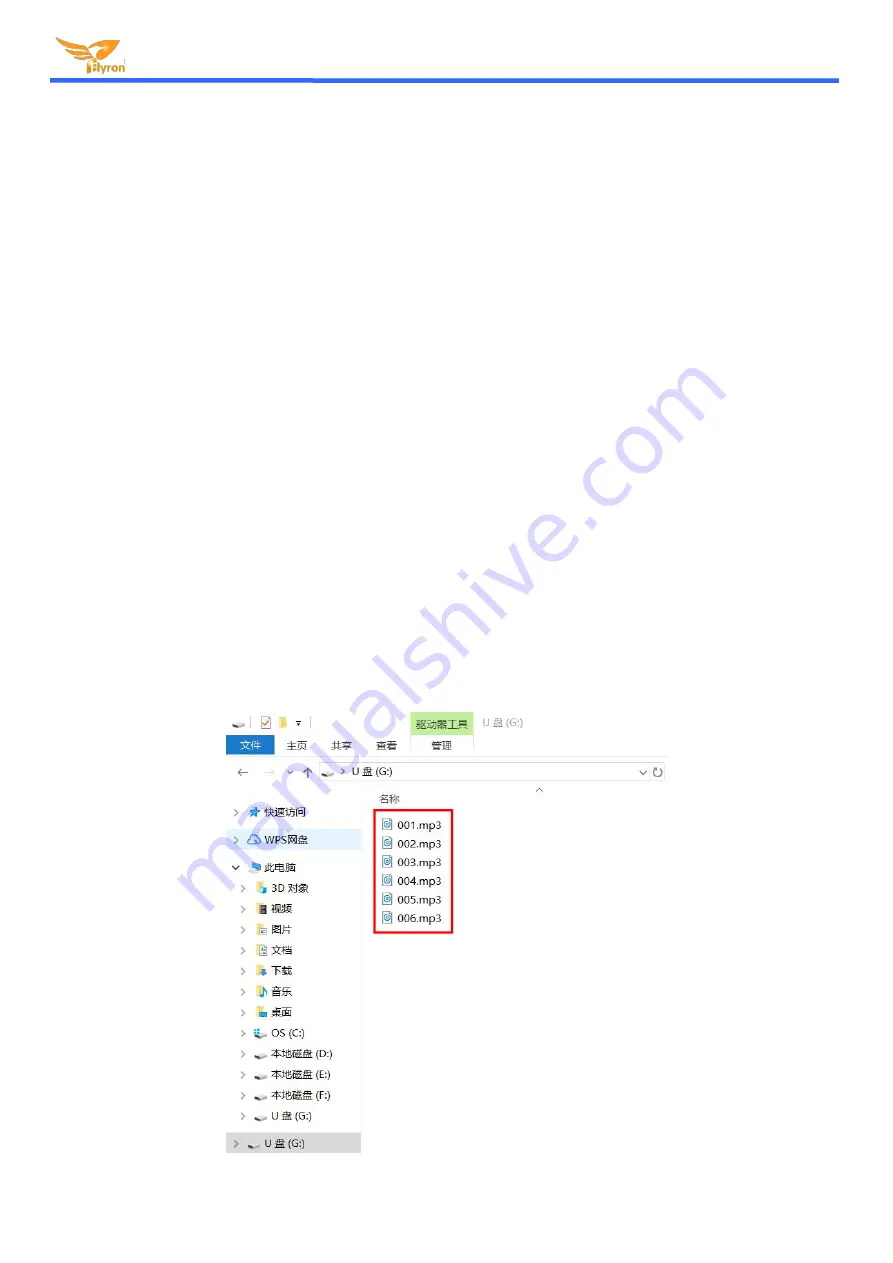
2). Rename the audio files 001.mp3, 002.mp3, 003.mp3....., and make sure they are ranked from 001.mp3 to
xxx.mp3 (the last one) in order.
3). Connect the equipment with computer through the USB cable, and you will see a simulated USB flash drive on
computer.
4). Delete the sample audio files pre-loaded at factory for testing purpose.
5). Select all of the audio files in the folder.
6). Right click on the first file (001.mp3) and choose "Send to USB flash dive / removable disk".
7). This will send the multiple audio files to the memory in a correct sequence. Refer to the image below.


