


30
DVD Functions
Using the DVD Language Setup Page
Encoding
Select the encoding subtitle between Western
European and Central European.
Using the DVD Screen Setup Page
In the DVD mode, press the
DVD.SETUP
button
on the remote control. Press the
/
buttons to
select the
screen setup
menu, and then press the
/
buttons to select the menu options. Press the
DVD.SETUP
to exit the menu.
TV Display
• 4:3 Pan Scan
Widescreen picture shown in the full screen
with some part cut.
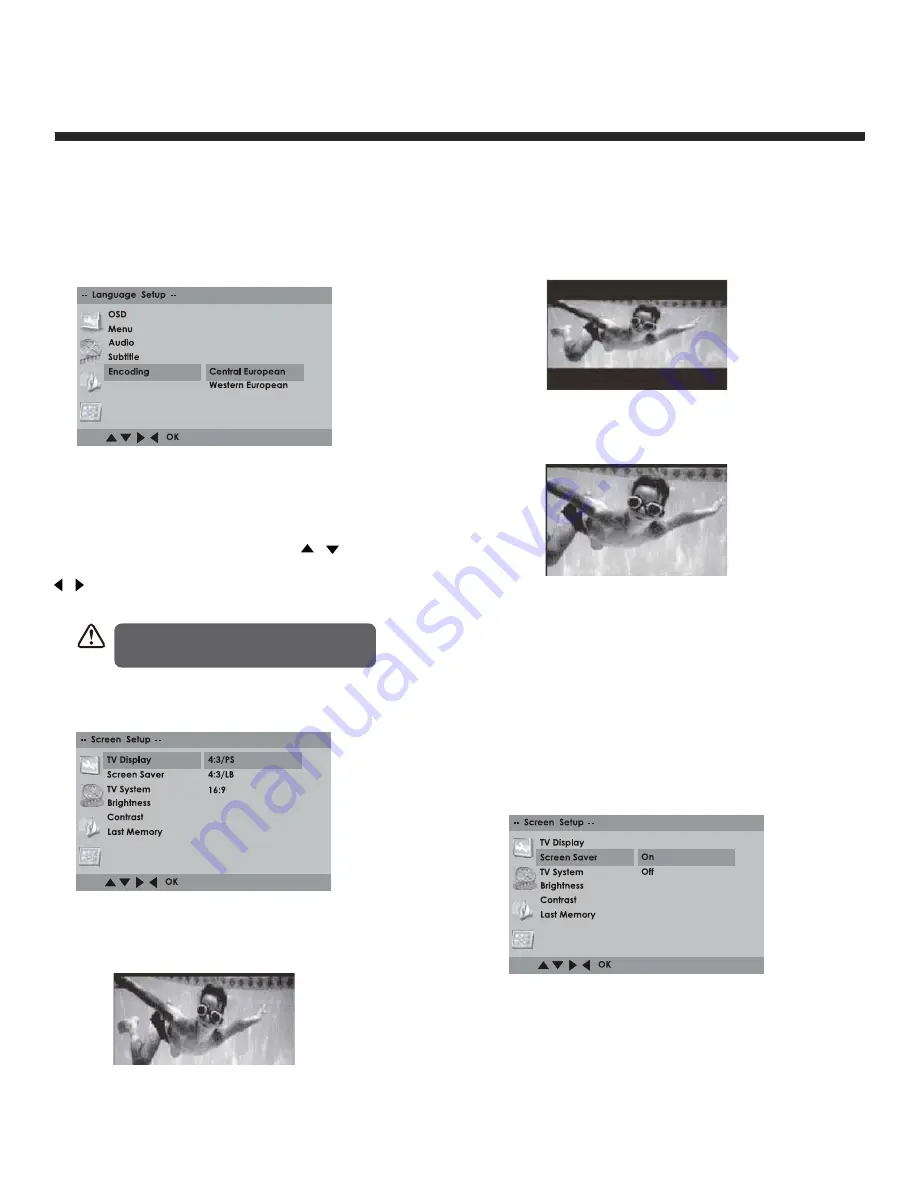
Using the DVD Screen Setup Page
• 4:3 Letter box
Wide screen picture shown in the full screen
with black bars on the top and bottom of the
screen.
• 16:9.
Wide screen pictures shown in the full screen.
ScreenSaver
When the player stops or the picture becomes
motionless for a couple of minutes, there will be
a screen saver to prevent damage to the display
screen.
• ON: To activate screen saver.
• OFF: To disable screen saver.
In Setup mode, the disc playback
function will not be available.