FLOW
®
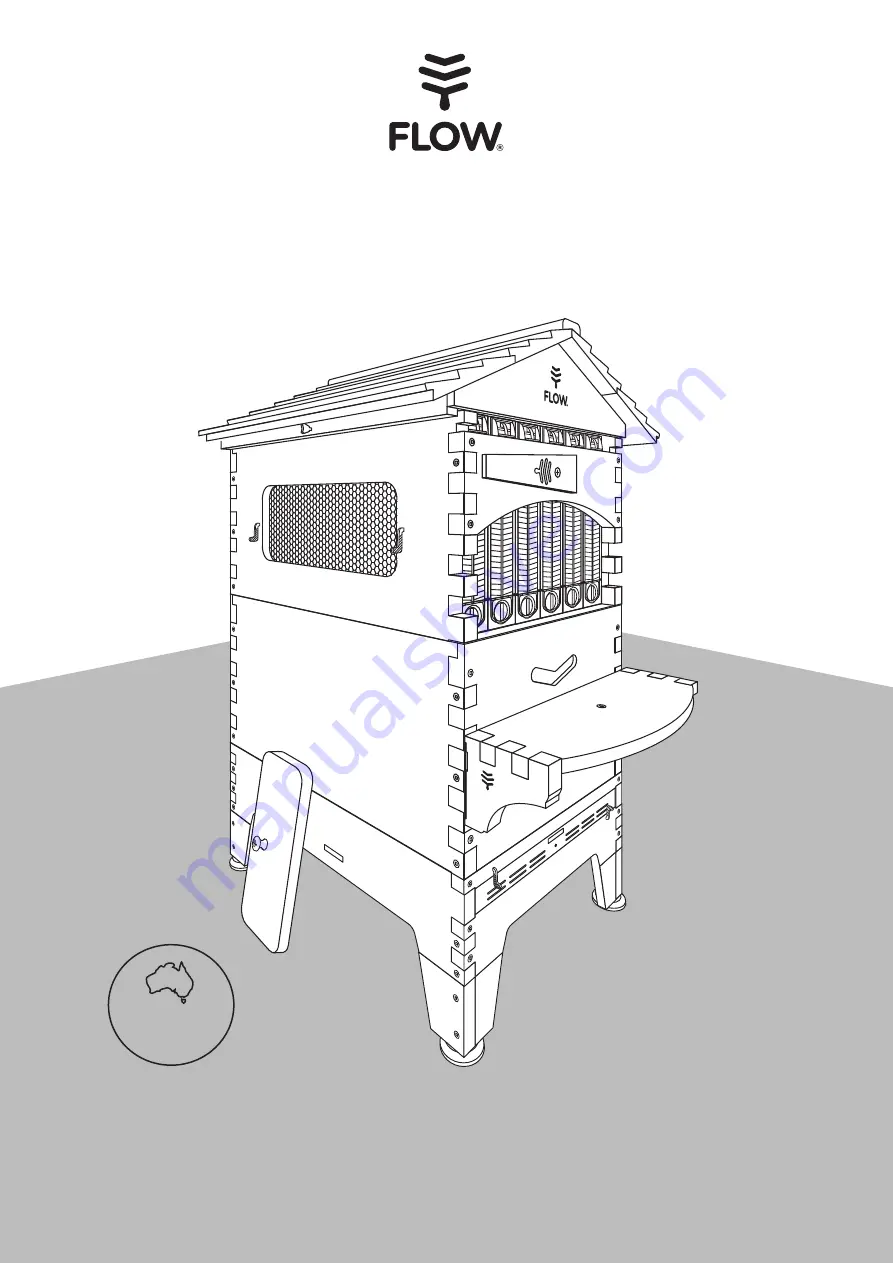
HIVE 2
ASSEMBLY GUIDE
If we look
after the bees they will look
after us, and the honey really
is an amazing bonus.
AUSTRALIAN
MADE
FLOW HIVE 2: CEDAR 6 & 7 FRAME, PAULOWNIA 6 FRAME, ARAUCARIA 6 & 7 FRAME
FLOW HIVE 2 BROOD BOX
Page 1: ...ASSEMBLY GUIDE If we look after the bees they will look after us and the honey really is an amazing bonus AUSTRALIAN MADE FLOW HIVE 2 CEDAR 6 7 FRAME PAULOWNIA 6 FRAME ARAUCARIA 6 7 FRAME FLOW HIVE 2...
Page 2: ...ents to ensure that your assembly goes smoothly To assist you in identifying the parts for each of the major components we have included a pictorial guide at the beginning of each set of instructions...
Page 3: ...The brood box end panels can be distinguished from the Flow Super front panel by the inclusion of an extra set of pilot holes on the finger joints see images below The Flow Super side panels can be e...
Page 4: ...olony is well established in the brood box Timber is a natural product and will expand and contract in different climate conditions Don t be alarmed if you have extra screws and hardware as we have in...
Page 5: ...e shingle screws on slight angle 1 Screw the roof rails and gables together using the square drive bit and square drive screws as shown The Flow logos face toward the outside Match the slope of the ra...
Page 6: ...logos face toward the outside Match the slope of the rails with the slope of the gable The angle should align at both ends The roof rail end that aligns with the rear gable shorter gable has a second...
Page 7: ...e You may wish to apply a suitable timber finish before installing windows and latches 6 Remove protective plastic film from both sides of the observation windows and line up with the 6 pilot holes At...
Page 8: ...ogether in the centre of the box with any extra space spread evenly across both outside edges 1 Dry fit the 2 brood box side panels and 2 brood box end panels together as shown If finger joints are ti...
Page 9: ...nd use the assembly tool and square drive bit to secure your base square drive screws Take care to stop when the head is almost flush with the wood surface If using a drill be careful not to overtight...
Page 10: ...ersink facing outward against the shelf bracket and attach to the vertical edge as shown Phillips head screws and Phillips head driver bit 2 Make sure the large hole on the bracket mount goes at the b...
Page 11: ...imal honey harvesting You can adjust the front height of your hive to create the optimal slope for harvesting by either attaching the supplied footblocks or optional leg kit to the base The inbuilt sp...
Page 12: ...s a good indication the honey is ready for harvest For more hints on capping and harvesting visit our Beginner Beekeeping Series at www honeyflow com beginner videos Attach your harvesting shelf brack...
Page 13: ...VIDEOS BEGINNER VIDEOS MEET THE BEEKEEPER honeyflow com assembly honeyflow com beginner videos honeyflow com mtb BEE PART OF OUR COMMUNITY For beekeeping info and assembly instructions go to www hone...