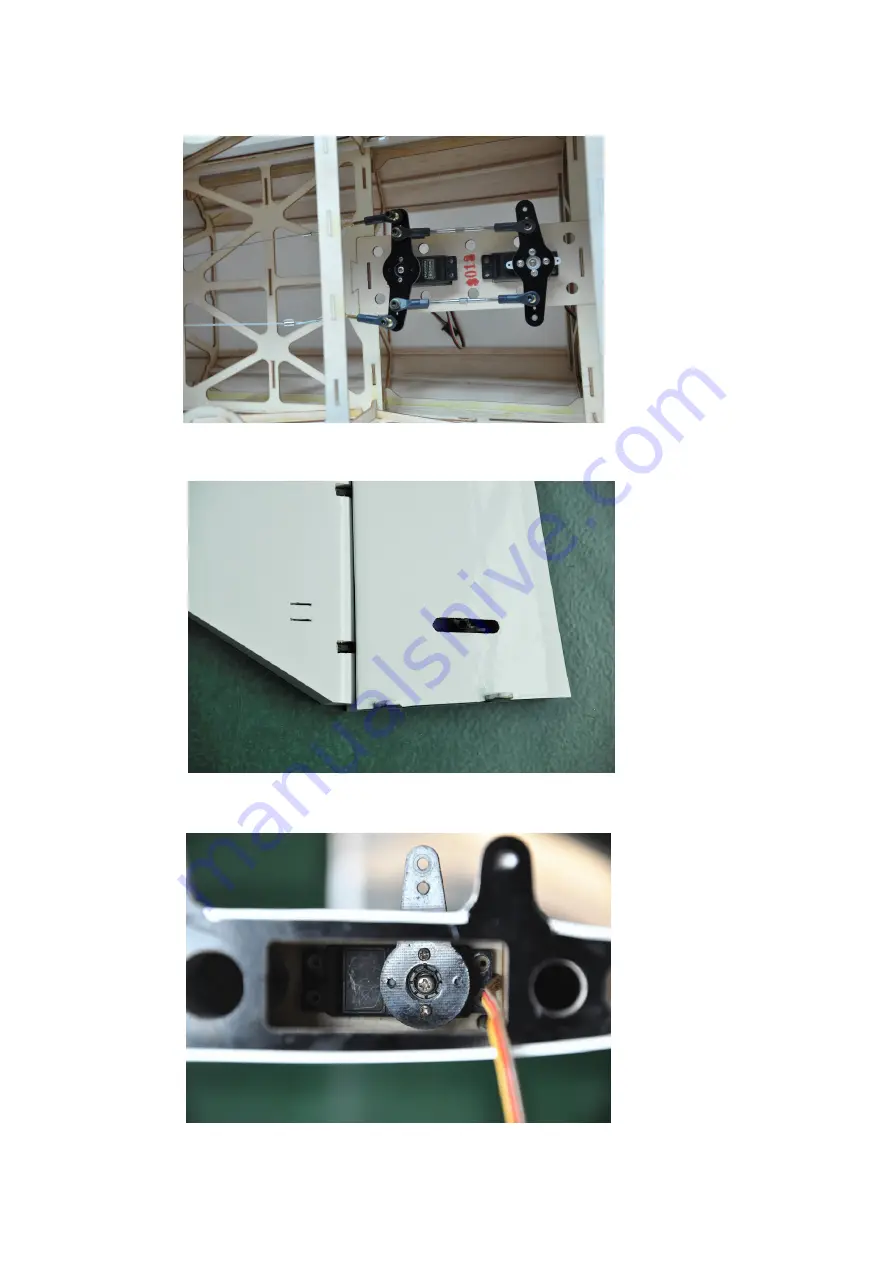
Attach the servo arm to the ruddert servo as shown
Cut out the holes on the stabilizer
??
Finished photo.
Page 1: ...al First time builders should seek advice from people having building experience in order to assemble the model correctly and to produce its performance to full extent Assemble this kit only in places out of children s reach Take enough safety percautions prior to operating this model You are responsible for this model s assembly and safe operation Always keep this instruction manual ready at hand...
Page 2: ...Main Wings All the wing parts together Cut the servo holes on the bottom of the main wings Install the servo and fix it with screws ...
Page 3: ...Use 3 12 screws to lock the servo tray to the Wing Cut the film covering as shown Insert the fiberglass control horn and glue with AB glue ...
Page 4: ...Connect the servo arms and aileron control horn by pushrod with ball links Finished photo Install Wingtip Winglet ...
Page 5: ...Finished photo Connect the main wings and the fuselage with Carbon fiber tube Main Landing Gear and Tail Wheel Unit Gather the parts for the main landing gear ...
Page 6: ...fs into position on the landing gear perform a quick fit check on the fuselage to verify cuffs are properly oriented Use screw to connect the landing gear wheel pant nut and wheel in turn and finally use a lock nut to lock them ...
Page 7: ...Insert the wheels and axles into main landing gear with the nylock nuts Install the wheel cover and fix it up to landing gear with screw Fix up the landing gear on the fuselage bottom with 4 screws ...
Page 8: ...Drill a hole at the Original design hole of the cuffs Use screws to lock the cuffer and landing gear Rudder Put the steel wire in the hinges between the rudder and the connecter of vertail fin ...
Page 9: ...Put the tail wheel set into the hole and use two pcs self tapping to lock the tail wheel onto the fuselage tail Cut the film and let the steel wire outside Cut out the hinges film ...
Page 10: ... knife remove covering the film above the gear plates Insert the fiberglass control horn sheet and gear plates Use AB glue to glue it Connect the rudder to the fuselage the horns into the original design hole ...
Page 11: ...Install the rudder servo as shown Put the servo into fuselage Use screws to fix up the servo on the fuselage ...
Page 12: ...Attach the servo arm to the ruddert servo as shown Cut out the holes on the stabilizer Finished photo ...
Page 13: ...Cut the gear plates film on the elevator Connect the servo arm and elevator servo with ball links and pushrod Connect the stabilizer and the fuselage with joiner ...
Page 14: ...Use 3 15 screws to fix up the fuselage Cowl Fasten the fuel tank onto the fuselage as shown Install the Engine as shown Start by installing the lower cowling half ...
Page 15: ...Slide the top cowling half into position use screw to fix it as pictured above Install the propeller and spinner ...
Page 16: ...Assemble Canopy as photo shown CG POSITION CONTROL THROWS ...
Page 17: ...ED PHOTO Dong Guang Flight Model CO Ltd DongGuan City Guang Dong Province China Tel 86 769 85070618 Fax 86 769 85091868 E mail info flight model com Web www flight model com http flight model preview alibaba com ...