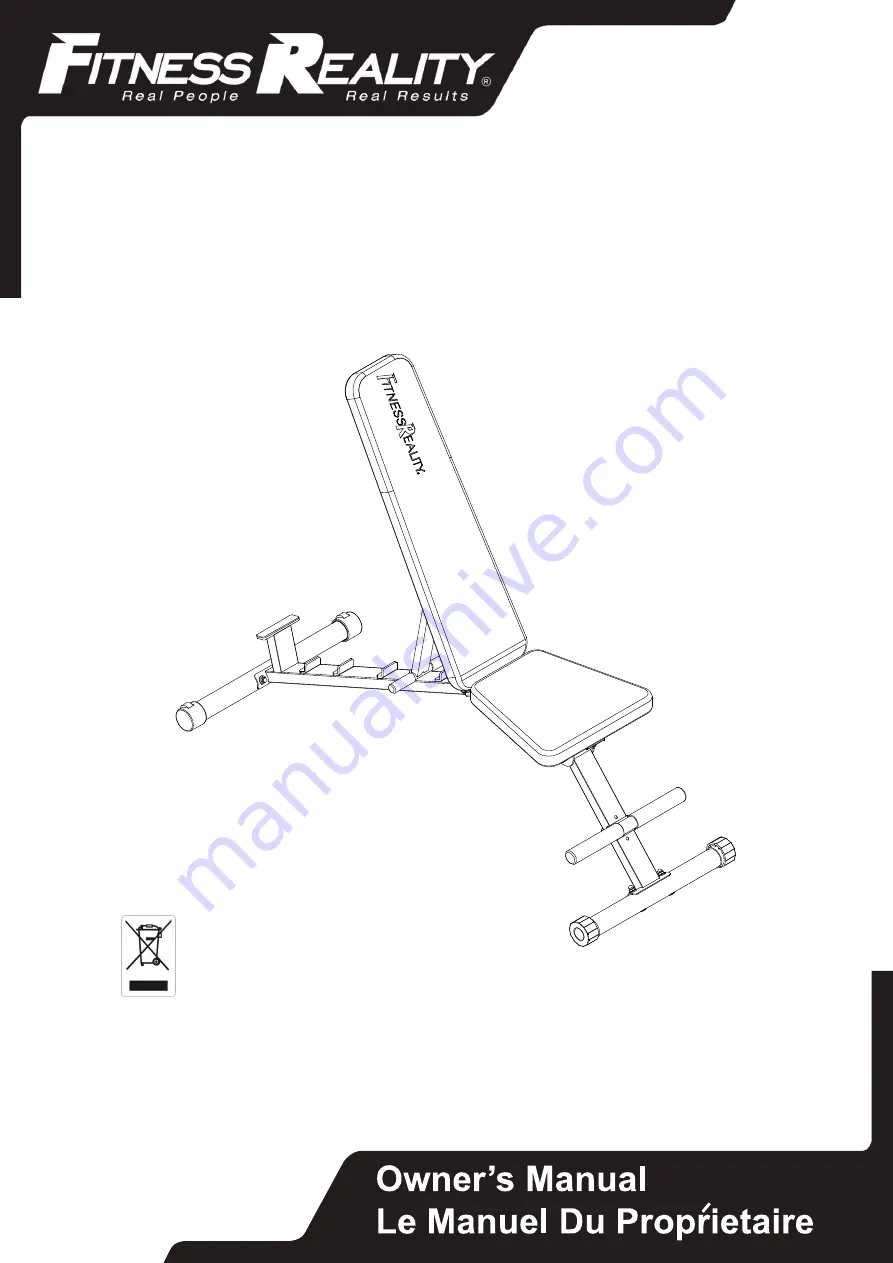
Bench
IMPORTANT: Read all instructions carefully before using this product.
Retain this owner’s manual for future reference.
The specifications of this product may vary from this photo, subject to change
without notice.
2804.1-022316
Page 1: ...NT Read all instructions carefully before using this product Retain this owner s manual for future reference The specifications of this product may vary from this photo subject to change without notice 2804 1 022316 ...
Page 2: ......
Page 3: ...SERVICE 2 LABEL PLACEMENT 3 PRODUCT SAFETY 4 OVERVIEW DRAWING 5 PART LIST 6 HARDWARE PACK 7 ASSEMBLY 8 ADJUSTMENT 11 WARRANTY 13 PARTS REQUEST FORM 14 1 TABLE OF CONTENTS ...
Page 4: ...ervice paradigmhw com Response Time 1 2 Business Days Website www paradigmhw com Toll Free 1 844 641 7920 Response time may vary Please have the following information ready when requesting for service Your name Phone number Model number Serial number Part number Proof of Purchase For damaged or defective products please contact our customer service before returning to the store Paradigm Health Wel...
Page 5: ...3 LABEL PLACEMENT ...
Page 6: ...note the following safety instructions 1 Consult your physician or other health care professionals before using this Bench 2 Always wear proper exercise apparel when using this equipment Use care when getting on or off the unit 3 If at any time you feel faint light headed or dizziness while operating this equipment stop exercising immediately and contact your physician You should also stop exercis...
Page 7: ...OVERVIEW DRAWING 5 ...
Page 8: ...x2 4 61 Spring Washer Ø8 13 62 Flat Washer Ø8xØ16x1 5 8 63 Curved Washer Ø8xØ21x2 4 64 Flat Washer Ø8xØ25x2 1 76 Nylon Nut M12 3 79 Cap Nut M10 4 105 Pin Ø10x100 1 106 Round Knob M8x40mm 1 133 Wheel End Cap Ø50mm 2 134 Stability End Cap Ø50mm 2 135 Round End Cap Ø32 2 136 Round End Cap Ø19 2 159 Rectangle End Cap 30x60m 1 160 Square End Cap 30x30m 4 211 Hand Grip Ø19x75x3 2 212 Leg Hold Grip Ø32x1...
Page 9: ...7 HARDWARE PACK 29 Carriage Bolt 4 PCS 79 Cap Nuts 4 PCS 61 Spring Washer 4 PCS 63 Curved Washer 4 PCS 106 Round Knob 1 PC 64 Flat Washer 1PC 61 Spring Washer 1PC ...
Page 10: ... the Bench on its right side and pull the Pin 105 out from the bracket on the Main Frame A 2 Pull the Front Support Tube B forward and completely reinsert the Pin 105 into the first hole on the bracket of Main Frame A STEP 1 8 ...
Page 11: ...ex tool provided Installing the Rear Stabilizer D with Wheel End Cap 133 1 Lift up the Rear of Main Frame A and then align the Rear Stabilizer D holes with the holes on the rear curve of the Main Frame A The square holes of the Rear Stabilizer D should point towards the floor and The CUSTOMER SERVICE stickers facing upward 2 Insert Two Carriage Bolts 29 into the square shaped holes of the Rear Sta...
Page 12: ...e B until the threads are visible on the front side of the Front Support Tube B 3 Align the Threaded hole on the backside of the Leg Holder G with the Treaded Shaft of the Round Knob 106 that is sticking out from the hole on the front side of Front Support Tube B 4 Tighten the Round Knob 106 by turning it clockwise until the Leg Holder G is firmly secured to the Front Support Tube B Hardware STEP ...
Page 13: ...Position P3 is for folding up the Bench for storage Completely re insert the Pin 105 into the hole of the bracket on the Main Frame A for the position you select Adjusting the Backrest J 1 Lift the Rear Support Tube E off of tabs that run along the shaft of Main Frame A 2 Gently lower the Backrest J while holding the Rear Support Tube E up and off of the Main Frame A 3 Select a position and rest t...
Page 14: ...he Stability End Cap 134 1 If the Bench is unsteady and shakes turn the Stability End Caps 134 on the Front Stabilizer C until you find a position that does not allow the Bench to wobble or shake ADJUSTMENT 12 134 ...
Page 15: ...als 5 Any act of Nature such as fire flooding snow ice hurricane earthquake lightning or other natural disaster environmental condition such as air pollution mold mildew etc or staining from foreign substances such as dirt grease oil etc 6 Normal weathering due to exposure to sunlight weather and atmosphere which can cause colored surfaces to among other things flake chalk or accumulate dirt or st...
Page 16: ...TELEPHONE Day _____________________________________________ Night ____________________________________________ SERIAL _____________________________________________________ MODEL _____________________________________________________ PURCHASE DATE ______________________________________________ PLACE OF PURCHASE _________________________________________ YOUR ORDER WILL BE PROCESSED WITHIN 3 BUSINESS ...