3
Before you begin
Please read these installation instructions completely and carefully.
The following installation instructions are intended as a general guide.
Please ensure that the waste disposal unit is installed according to local building codes for
your area.
Installation is recommended to be done by a qualified plumber or installer.
Product failure due to improper installation is not covered under the Warranty.
Preparation
Removing an existing waste disposer, if installed
1
Disconnect electrical power supply to existing disposer.
2
Remove old disposer or sink flange assembly.
3
Inspect drain line. If it is heavily coated with hardened grease and accumulations, clear out the
build-up using a plumber’s rod or auger.
4
Remove old sealing materials and gaskets from sink opening, both top and bottom.
What you will need
Phillips screwdriver
Flat blade screwdriver
Steel Punch or wooden dowel
Petroleum jelly or liquid soap
Plumber’s Putty
Important!
Top and bottom of sink and sink flange surfaces must be free of any materials to prevent leaks.
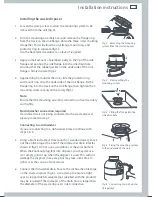
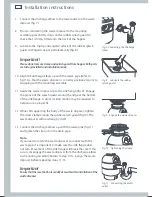
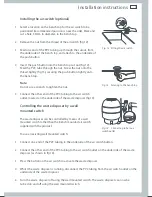
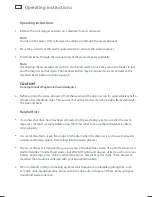
Installation instructions
4020_Wastedisposal_UG.indd 3
10/22/08 6:21:07 PM
Summary of Contents for GD75IA1
Page 1: ...Food waste disposer Installation instructions and user guide NZ GD75IA1 ...
Page 2: ......
Page 15: ...13 ...


