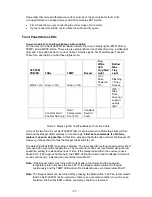
- 8 -
2.
Attach the hard drive to the tray
♦
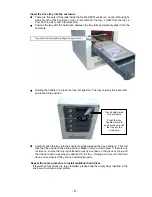
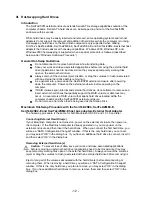
Place your hard drive on a flat surface with the printed circuit board/circuitry facing up:
♦
Position the tray over the hard drive and align the four screw holes on the drive to the
countersunk screw holes on the tray. The connectors on the back of the hard drive
must be aligned with the back of the tray (to the right in the picture below):
♦
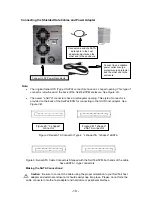
Attach the hard drive to the tray with the four supplied countersink-type
WARNING - POTENTIAL DAMAGE ISSUE
When attaching drives to tray/sleds, be sure that all screws are tightened
completely, and that the screw heads are flush with, or below, the plane of the drive
sled. Protruding screw heads can interfere with, or even prevent the tray’s/sled's
removal from the enclosure. in some cases, failure to securely tighten the drive tray
screws may result in serious damage to the enclosure when the user attempts to
recover the hard drive. If you are unable to tighten any screw until its head is
completely seated, do not insert the sled into the enclosure until the potential
interference is removed or corrected.
Open and pull tray handle
Important:
Exposed hard
drive connectors
should be flush
with the tray on
this end

