background image

3.6 Configuration

FireClass Fire detection system  FireClass Panels

20

Service and Maintenance  Doc. version 1

Zone Text

Use this 

Zone Text

 option to change the descriptive text 

for a zone. Follow the steps above.

Panel Text

Use this 

Panel Text

 option to change the text that appears 

as 

High Street Office

 in the screen examples above. 

Follow the steps above.

3.6.2

Insert Point

Use this 

Insert Point

 option to add and configure a new 

point address.
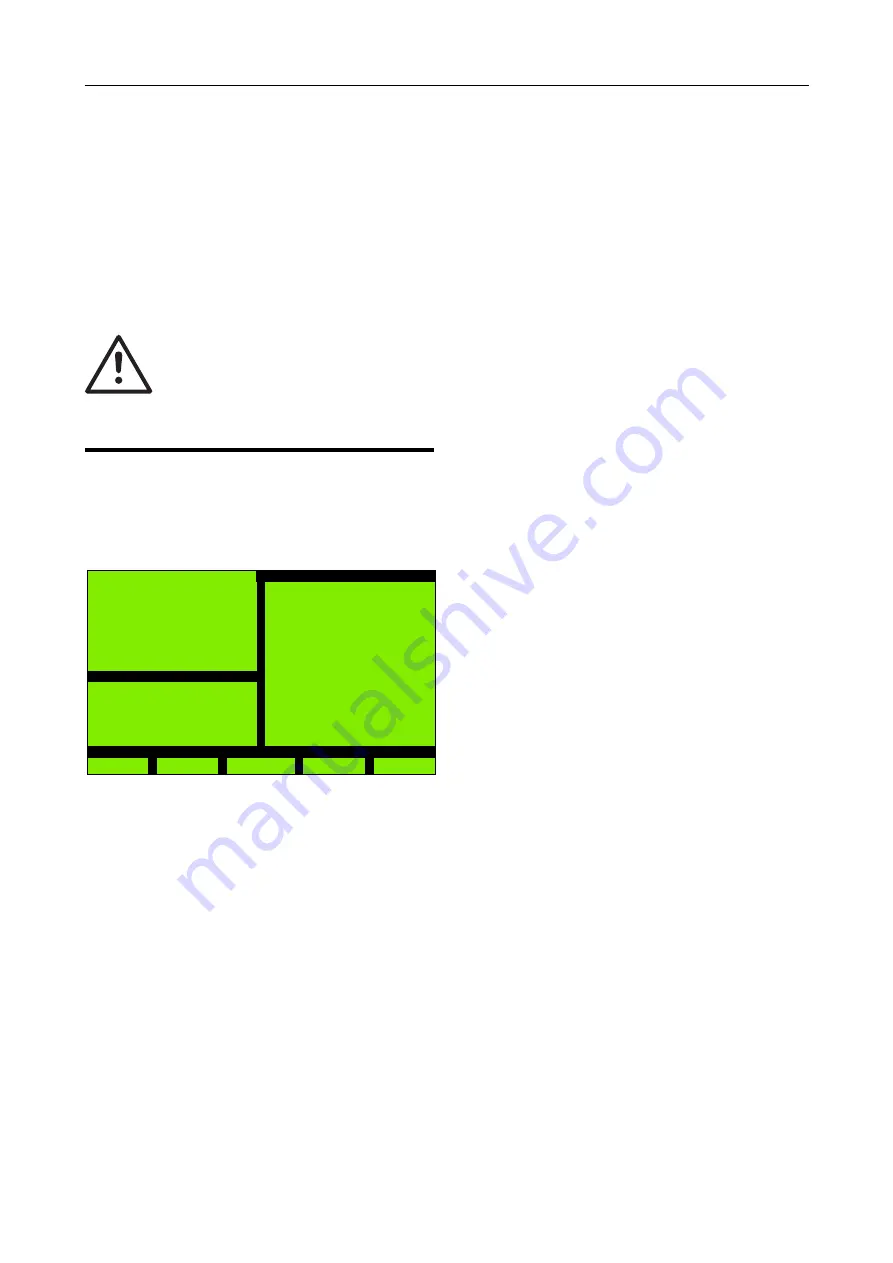
Start by navigating to an unused point address. You see the 
type of screen shown in Fig. 36.

The highlight is initially in the description field. Use the 

–>


and 

<–

 keys to step to the required character position. Then 

to enter a character, on the keypad use quick repeated 
presses to step through the characters of a key. Pause after 
reaching the required character.
Once the description is complete move to the 

Device 

Type/Use

 field. Here use the 

+

 and 

 keys to step through 

the list of device types, until you reach the appropriate type 
to assign to the address. When you see “– –” you have 
reached the end of the list.
Once the required device type has been selected move to 
the Zone field and enter the appropriate Zone number.
Press 

Enter

 (F5) to confirm and insert the point address.

If fitting a detector at this point, you will probably need to 
change the detector address to match the point address. To 

do this follow the procedure in  “Change Address“ on 
page 16, with
 the exception you will be entering this newly 
created point address, rather than the existing point 
address of a faulty detector.
While inserting multichannel devices such as 410MIO, all 
channels of the device are inserted taking the 
corresponding number of point addresses(7 consecutive 
addresses). If the point addresses overlap with the 
occupied ones, then the message is displayed as 

Address Conflict

 and the insert operation is 

abandoned.

3.6.3

Delete Point

Use this 

Delete Point

 option to remove a point address.

First navigate to the address to be deleted and press 

Enter

.

You now see a screen summarising the point details, with 
options to confirm or abandon the delete.
While deleting a multichannel device at any of its point 
addresses, all the device channels are deleted together i.e. 
you are not allowed to delete individual channel(s).

3.6.4

Modify Point

Use the 

Modify Point

 option to change the details of a 

point address.
First navigate to a point address and press 

Enter

.

You now see a screen for changing the point Description, 
Device Type and Use, the Loop address and the Zone 
number. Use this screen in a similar way to the “Change 
Address” screen (Fig. 29 on page 16) and
 the “Point Insert” 
screen (Fig. 36 on page 20).
For multi-channel devices, you are allowed to modify either 
only the label/description or both, and zone of the 
channels. You are not allowed to change any device to a 
multi-channel one.

Synchronize Network

After you have performed the respective operations such 
as changed text, inserted, deleted or modified the points, 
you now need to use the Configuration menu, 

Restart


option as shown in Fig 35.
Before the panel is to be restarted on a networked system, 
to include changes updated for the front panel 
configuration, the following message appears: 

After restart do a Fire Reset to 

synchronize the network

.

It serves as a reminder for the user to perform a fire reset to 
synchronize the changes.
Note that this message does not appear if the panel is 
restarted for a non-networked system.

WARNING
Only suitably qualified personnel in 
intrinsically safe systems are allowed 
to insert intrinsically safe equipment.
The alterations to the system must be 
verified.

Fig. 36: Point Insert

Point Insert

FireClass

Thu, 19-Aug-11

14:17

High Street Office

Zone 001 A002

Device Type/Use:
Photo Sensor Device
FC400 H
FC460 H - Heat

Zone               01

General

Flt P 011
TestZ 001

 Back

>>

<-

->

Enter

Summary of Contents for FC-P-S

Page 1: ...Service and Maintenance FC P S Doc version 1 22 March 2012 FireClass Addressable Fire Alarm Control Panels From Software version 21...

Page 2: ...re reserved in particular but not limited to the rights of copying distribution and translation No portion of this documentation including the online help may be reproduced edited copied or distribute...

Page 3: ...ments Non LED Outputs 13 3 5 Service Maintenance 13 3 5 1 Diagnostics 15 3 5 2 Calibrate DDM 16 3 5 3 Restart System 17 3 5 4 Switches 17 3 6 Configuration 18 3 6 1 Change Text 18 3 6 2 Insert Point 2...

Page 4: ...Contents FireClass Fire detection system FireClass Panels 4 Service and Maintenance Doc version 1 5 5 General Fault Overview 30 5 5 1 Fault Conditions On Devices 30 5 6 System Fault 35...

Page 5: ...and re configuration func tions of FireClass control panels as accessed from menu options Theinformationisapplicabletoanymemberofthe FireClass range of control panels The guide covers for example add...

Page 6: ...logged on this user is automatically logged off 2 2 Access Levels After logging on you access the functions in the form of menu options displayed on the LCD The access level of your user ID will deter...

Page 7: ...2 Engineer Service menu see User guide Supervisor Maintenance 13 Engineer Counters 13 Engineer Maintenance Request 14 Engineer Battery Test 14 Engineer S W Init Count 14 Engineer Project Numbers 14 En...

Page 8: ...s not need changing For a 2 or 4 loop configured panel to change the loop highlight the loop setting and press key to increment it to the next loop or press key to move to the previous loop You press...

Page 9: ...learing Panel Logs Clearing the control panel logs simultaneously effects the following Clearing the Event Log Resetting the Fire Cycle Count Resetting the Software Initialisation Count The Software I...

Page 10: ...egisters 1 Open the front panel of the controller 2 On the CPU board fit a link to header H2 3 Press and hold the switch S1 until the WDOG LED flashes 4 Release S1 remove the link from H2 5 Press and...

Page 11: ...int Counters Use this Loop Point Counters option to check that the panel configuration matches the physical state of the loop and to see the number of points on the loop This option appears abbreviate...

Page 12: ...left side applies to points 2and 20 Only detected from right side applies to points 60 to 63 3 2 2 Loop Point Status Use this option to print the statuses of all the points of different loops that are...

Page 13: ...which have been walk tested since panel installation When the count exceeds 64000 the count displays 64000 Site test counter counts the total number of devices which have been walk tested site wide a...

Page 14: ...ted to S W Versions in the menu Use this option to see the version number of various items such as the firmware and bootrom A screen of the type shown in Fig 25 is displayed includes details on the ne...

Page 15: ...a detector Choose the type of point and specify the address You then see the type of screen shown in Fig 28 Press the 1 key to force the point The control panel will now respond as if the device at t...

Page 16: ...then back again before pressing the End key The polling continues until you press the End key You cannot select another device to poll until you have pressed the End key Change Address You mainly use...

Page 17: ...dressable loop for example With the display showing Status Std Fault press the 1 key to switch to Status Fast Fault Press the 2 key to switch back In Fast Fault faults are reported immediately That is...

Page 18: ...th the display showing Status As Config pressthe1 key to switch to Status Forced High Press the 2 key to switch back Note that for an RSM test to be valid these conditions must be met The sounder must...

Page 19: ...the same type of text After making all your text changes select Back F1 to display the type of screen shown in Fig 35 The above procedure for making changes to the text is also applicable to the Zone...

Page 20: ...Conflict and the insert operation is abandoned 3 6 3 Delete Point Use this Delete Point option to remove a point address First navigate to the address to be deleted and press Enter You now see a scree...

Page 21: ...the loop choose Yes overwrite all and press Enter to accept the option The screen appears as shown in Fig 39 Fig 39 Autoconfigure OverwriteAll Click Abort to discard the process of overwriting the loo...

Page 22: ...IP R10 BATTERY FAULT I P R11 MAINS SUPPLY I P R12 CHARGER FAULT I P R14 I O 2 R15 I O 1 R16 24V RESET Table 3 Local I O Real Points Point Detail P01 DATA PACKET ERROR P02 FIFO FULL P03 EA FIFO FULL P...

Page 23: ...ED RBxxR16 BACKLIGHT INHIBIT Table 5 RBus Real Points Point Detail Table 4 Local I O Pseudo Points cont Point Detail RBxxR01 MPIM DISPLAY FAIL RBxxR02 MPIM ROM FAIL RBxxR03 MPIM RAM FAIL RBxxR06 BAD P...

Page 24: ...system FireClass Panels 24 Service and Maintenance Doc version 1 4 4 Addressable Loop Point Detail P01 LOOP FAULT Table 8 Addressable Loop Pseudo Points Reference For Further information on Points ref...

Page 25: ...into different faults depending on the device being monitored Examples include NO RESPONSE and RELAY STUCK The processing for these faults is fixed and not alterable by the user 5 4 Psuedo Points In F...

Page 26: ...loop SPI channels This fault is also raised if the slave loop card is not fitted Table 12 Psuedo Point 8 15 Details Field Description Address Pseudo Point 25 Label FIM Bad Packet Use The main CPU comm...

Page 27: ...etails Field Description Address Pseudo Point 32 Label RBus Circuit Fault Use The Remote Bus RBus connections on the FIM are split between RBus 0 and non zero nodes If faults are detected on all nodes...

Page 28: ...es If any are active this point is raised Table 25 Psuedo Point 45 Details Field Description Address Pseudo Point 46 Label Download Required Use In network configurations all panels broadcast issue de...

Page 29: ...address where the first point address is One instead here as the RBUS units can be addressed from 0 15 the first address is Zero Field Description Address Pseudo Point 0 15 Label RBUS Fault Use Used b...

Page 30: ...ble below lists the fault states possible for standard points within FireClass These are noted in the description column The group assignments are those assigned in the FireClass Version 21 0 template...

Page 31: ...Device Fault DEVICE FAULT The device is present and replying but the reply indicates a device error Thisisthecatchallwherea more meaningful fault can not be raised Table 36 Fault Conditions on Device...

Page 32: ...Fault State and Logged Description Use within FireClass Version 21 Table 36 Fault Conditions on Devices Wiring Fault Short Circuit WIRING S C FAULT This fault applies to FC410CIM FC410DIM FC410BDM FC4...

Page 33: ...ate which is required by the firmware No response from Alarm Control ALARM CTRL NO RESP FC410RIM and FC410SNM if configured as alarm control units Fault State and Logged Description Use within FireCla...

Page 34: ...ode for alarm detection Fault State and Logged Description Use within FireClass Version 21 Table 36 Fault Conditions on Devices CO Element Fault CO ELEMENT FAULT Raised on FC460PC detectors when the C...

Page 35: ...detects this and triggers System Fault The system is still function ing albeit with a corrupt or non existent display i e the pri mary fire display has been lost Safe State The following fault condit...

Page 36: ...e memory a signature ndicating a System Fault has occurred Reset the system via watchdog timeout this will cause a System Fault indication Upon restart the Non Volatilememory is read the signa ture id...

Page 37: ...FireClass Fire detection system FireClass Panels 5 6 System Fault Service and Maintenance Doc version 1 37...

Page 38: ...Zona Industriale S Scolastica 64013 Corropoli TE Italy FireclassSales tycoint com www fireclass co uk United Kingdom FIRECLASS Hillcrest Business Park Cinder Bank Dudley West Midlands DY2 9AP United...

Reviews: