Finlux 24F6030 Owner'S Manual Download Page 30

- 29 -

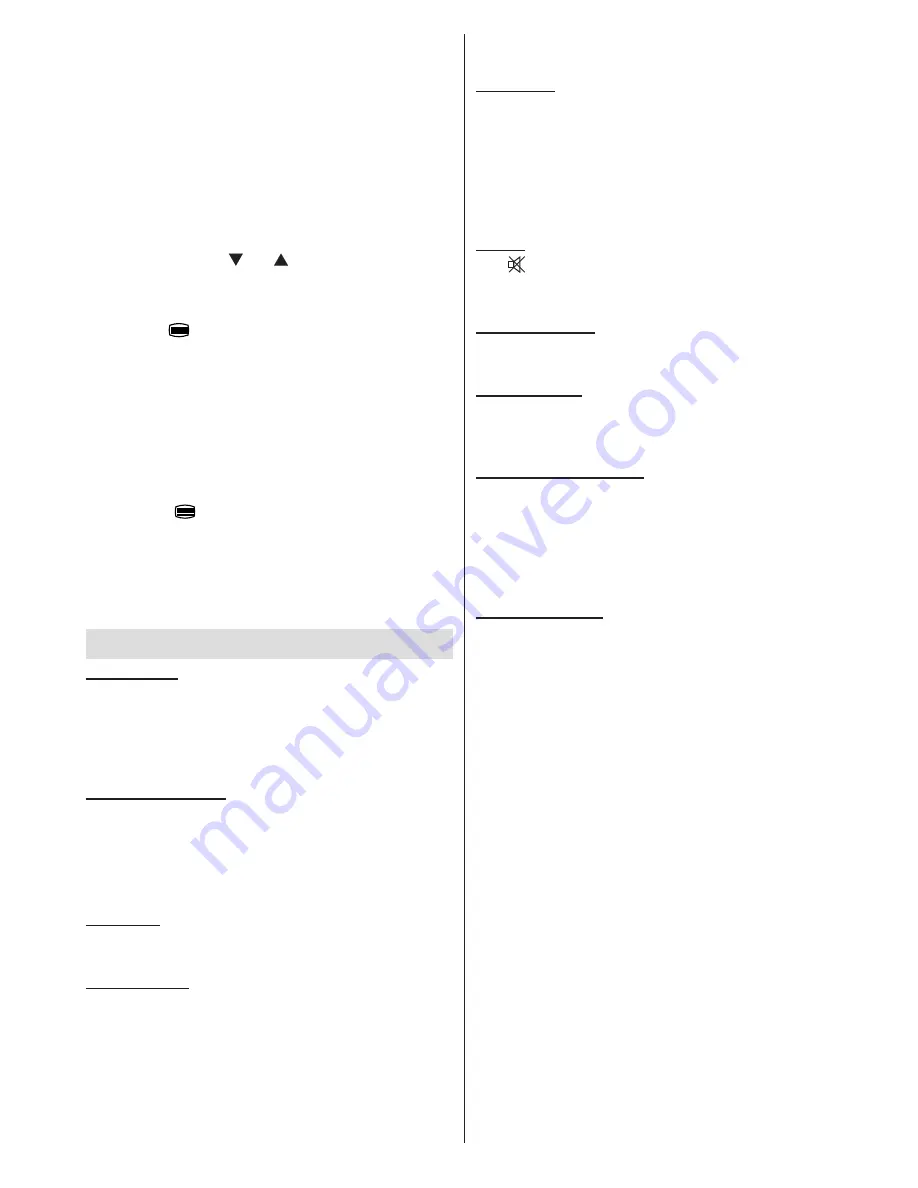
Coloured Buttons (RED/GREEN/YELLOW/

BLUE)

Your  TV  supports  both 

FASTEXT

  and 

TOP  text


systems.  When  these  systems  are  available,  the 

pages  are  divided  into  groups  or  topics.  When 

FASTEXT

 system is available, sections in a teletext 

page will become colour-coded and can be selected 

by pressing the coloured buttons. Press a coloured 

button  that  corresponds  to  with  your  needs.  The 

coloured  writings  will  appear,  showing  you  which 

coloured buttons to use when 

TOP text

 transmission 

is present. Pressing “ ” or “ ” commands will request 

the next or previous page respec tively.

Digital Teletext

• Press the “ ” button.

The digital teletext information appears.

• 

Operate it with the coloured buttons, cursor buttons 

• 

and 

OK

 button.

The operation method may differ depending on the 

contents of the digital teletext.
Follow the instructions displayed on the digital teletext 

screen.

When the “

• 

” button is pressed, the TV returns to 

television broadcasting.
The  aspect  ratio  (picture  shape)  when  watching 

• 

a channel with just digital teletext broadcasting is 

the same as the aspect ratio of the picture viewed 

previously.

Tips

Screen Care

: Clean the screen with a slightly damp, 

soft cloth. Do not use abrasive solvents as they may 

damage the coating layer of the TV screen. For your 

safety, unplug the mains plug when cleaning the set. 

When moving the TV, hold it properly from the bottom 

of the unit.

Image Persistence

: Please note that ghosting may 

occur while displaying a persistent image. On LED 

TVs’ image persistence may disappear after a short 

time. Try turning the TV off for a while. 
To avoid this, do not leave the screen in still picture 

for extended periods.

No Power

: If your TV system has no power, please 

check the main power cable and connection to the 

mains socket outlet.

Poor  Picture

:  Have  you  selected  the  correct TV 

system? Is your TV set or house aerial located too close 

to a non-earthed audio equipment or neon lights, etc.? 

Mountains or high buildings can cause double pictures 

or  ghost  images.  Sometimes  you  can  improve  the 

picture quality by changing the direction of the aerial. 

Is the picture or teletext unrecognisable? Check if you 

have entered the correct frequency. Please retune the 

channels. The picture quality may degrade when two 

peripherals are connected to the TV at the same time. 

In such a case, disconnect one of the peripherals.

No Picture

: Is the aerial connected properly? Are the 

plugs connected tightly to the aerial socket? Is the 

aerial  cable  damaged? Are  suitable  plugs  used  to 

connect the aerial? If you are in doubt, consult your 

dealer. No Picture means that your TV is not receiving 

a transmission. Have you selected the correct button 

on the remote control? Try once more. Also make sure 

the correct input source has been selected.

Sound

: If you cannot hear any sound, check to see if 

the “ ” button has been pressed. If sound is coming 

from only one speaker, check if the audio balance has 

been set to one extreme.

Remote Control

: Your TV no longer responds to the 

remote control. Perhaps the batteries are exhausted. 

If so you can still use the local buttons on the TV.

Input Sources

: If you cannot select an input source, 

it  is  possible  that  no  device  is  connected.  Check 

the AV cables and connections if you have tried to 

connect a device

Recording Unavailable

: To record a programme, you 

should first connect a USB disk to your TV while the 

TV is switched off. You should then switch on the TV to 

enable recording feature. Otherwise, recording feature 

will not be available. If you cannot perform recording, 

try switching off the TV and then re-inserting the USB 

device while the TV is switched off.

USB Is too Slow

: If “USB is too slow” message is 

displayed on the screen while starting a recording, 

try restarting the recording. If you still get the same 

error, it is possible that your USB disk does not meet 

the  speed  requirements.  Try  connecting  another 

USB disk.

Summary of Contents for 24F6030

Page 1: ...32in LED TV 32H6050 Owner s manual happy Finnish...

Page 2: ...Stations Favourites 17 Button Functions 17 Managing Stations Sorting the Channel List 17 On Screen Information 17 Media Playback Using Media Browser 17 Viewing Videos via USB 18 Viewing Photos via USB...

Page 3: ...use VGA DSUB 15 connection Features Remote controlled colour LCD TV Fully integrated Terrestrial digital TV DVB T MPEG2 HDMI connectors for digital video and audio USB input Programme recording Progra...

Page 4: ...with other cords The power cord should be placed in such a way that they are not likely to be stepped on A damaged power cord can cause fire or give you an electric shock When it is damaged and needs...

Page 5: ...ies Licence Notification Optional Manufactured under license from Dolby Laboratories Waste Disposal Instructions for waste disposal Packaging and packaging aids are recyclable and should principally b...

Page 6: ...when the TV is in Power Save Mode When the TV is not in use please switch off or disconnect the TV from the mains plug This will also reduce energy consumption Note that annually using the TV set in...

Page 7: ...election 15 Exit in DTV mode Return Index page in 16 TXT mode No function 17 No function 18 Recordings Library 19 Picture mode selection 20 Electronic Programme Guide 21 Sleep timer 22 Menu on off 23...

Page 8: ...SPDIF SCART VGA Coax OUT HDMI 2 HDMI Input 1 HDMI 1 HDMI Input 2 HDMI Inputs are for connecting a device that has a HDMI socket Your TV is capable of displaying high definition pictures from devices...

Page 9: ...nnecting video and audio signals of external devices To make a video connection you must use the supplied AV connection cable for enabling connection First plug singular jack of the cable to the TV s...

Page 10: ...operation Especially do not repeatedly quickly plug and unplug the drive This may cause physical damage to the USB player and especially the USB device itself Do not pull out USB module while playing...

Page 11: ...udio Cable not supplied Side Audio Video Connection Cable supplied or SIDE AV Note If you connect a PC to the TV using HDMI connection radio interference may occur Therefore this type of connection is...

Page 12: ...era you should use the SIDE AV socket To do this you must use the supplied video audio connection cable First plug single jack of the cable to the TV s AV IN socket side Afterwards insert your camera...

Page 13: ...s or Next Programme Press P button to select the previous programme Press P button to select the next programme Programme Selection Direct Access Press the numeric buttons on the remote control to sel...

Page 14: ...to navigate through channels Press buttons to navigate through the programme list Please note that event information is updated automatically If there is no event information data available for chann...

Page 15: ...recording feature Otherwise recording feature will not be available RECORD the TV will start to record the selected progamme You can press again to stop the recording Note Switching to a different br...

Page 16: ...NT This feature can be used for direct broadcast entry Select Manual Channel Scan from the Installation menu by using and OK buttons Manual Scan options screen will be displayed Select the desired Sea...

Page 17: ...utton to process Selected channel is now moved Deleting a Channel You can press GREEN button to tag untag all channels YELLOW button to tag untag channel Select the channel that you want to delete and...

Page 18: ...n screen information Details of the station and current programme will be displayed on the information banner The information banner gives information on the channel selected and the programmes on it...

Page 19: ...to confim Press button for clear Press SWAP Cancel button to switch back to previous menu Viewing Photos via USB When you select Photos from the main options available image files will be filtered an...

Page 20: ...ter you input via the numeric buttons on your remote control Play This OK button Plays the selected file Previous Next Left Right buttons Jumps to previous or next file to play Yellow Button Change vi...

Page 21: ...en the timeshift is reached timeshifting mode will be quitted and you will switch back to watching normal broadcast Press STOP button to quit timeshifting mode Similtaneous timeshifting recording s du...

Page 22: ...mmes slow forward feature will be available You can use button to slow forward Pressing button consecutively will change slow forwarding speed Changing Image Size Picture Formats You can change the as...

Page 23: ...se or button to set an item Press MENU button to exit Picture Settings Menu Items Mode For your viewing requirements you can set various screen modes The Picture mode can be set to one of these option...

Page 24: ...ure Settings while in PC mode PC Picture Settings For adjusting PC picture items do the following Press or button to select Picture icon Picture menu appears on the screen Contrast Brightness Colour C...

Page 25: ...rental settings Timers Sets timers for selected programmes Date Time Sets date and time Sources Enables or disables selected source options Other Settings Displays other setting options of the TV set...

Page 26: ...system and allows the PIN code to be changed Press MENU button and select the Settings icon by using or button Press OK button to view Settings menu Use or button to highlight Parental and press OK t...

Page 27: ...he timer Press RED button to cancel Change Delete Controls parental settings on timers Editing a Timer Select the timer you want to edit by pressing or button Press GREEN button Edit Timer menu screen...

Page 28: ...ode is set using or buttons It can be set to AUTO or MANUAL When AUTO is selected Date Time and Time Zone options will not be available to be set If MANUAL option is selected as the Time Zone can be a...

Page 29: ...function will be unavailable To use Standby search please make sure that you select Standby Search as On Other Features Displaying TV Information Programme Number Programme Name Sound Indicator time t...

Page 30: ...erial located too close to a non earthed audio equipment or neon lights etc Mountains or high buildings can cause double pictures or ghost images Sometimes you can improve the picture quality by chang...

Page 31: ...1400x1050 75Hz 85Hz 17 1400x900 65Hz 75Hz 18 1600x1200 60 Hz 19 1680x1050 60 Hz 20 1920x1080 60 HzA 21 1920x1080 60 HzB 22 1920x1200 60HzA 23 1920x1200 60Hz Appendix B AV and HDMI Signal Compatibilit...

Page 32: ...rade item and press OK button to open Upgrade Options menu In Upgrade Options menu select Scan for upgrade and press OK button If a new upgrade is found it starts to download the upgrade A progress ba...

Page 33: ...ampling rate Photo jpg jpeg Baseline JPEG max WxH 15360x8640 4147200bytes Progressive JPEG max WxH 1024x768 6291456bytes bmp max WxH 9600x6400 3840000bytes Subtitle sub srt Products Battery Informatio...

Page 34: ...max PANEL 16 9 display 32 Screen Size DIMENSIONS mm DxLxH With foot 203 x 753 x 496 Weight Kg 7 35 DxLxH Without foot 13 5 38 x 753 x 454 Weight Kg 6 90 Digital Reception DVB T MHEG 5 ENGINE compliant...

Page 35: ...en or green and yellow The wire which is coloured blue or black must be connected to the terminal which is marked with the letter N or coloured Black The wire which is coloured brown or red must be co...

Page 36: ...50221066 www finluxdirect com Customer Helpline 0845 459 5282...

Reviews: