background image

32

SUN G50 - G70

Italiano

English

Français

Deutsch

Español

Adjusting pump pressure

The pressure of the pump is factory-set to 12 bars, for optimum operation, and normally should not be
modified. Nonetheless, if under specific circumstances a different pressure needs to be set, once having
attached the pressure gauge and ignited the burner, use the adjustment screws “6” indicated in fig. 4.
In any case, it is recommended to keep within the range 10 - 14 bars.

3.2 Commissioning

Checks to be performed on first ignition, and after all maintenance operations that involve the
disconnection of the appliance from systems or intervention on the safety devices or parts of the burner:

Before igniting the burner

• Check that the burner is correctly fastened to the boiler, and the preliminary adjustments described

previously have been performed.

• Make sure that boiler and the system have been filled with water or diathermic oil, that the valves in

the water circuit are open and that the flue gas exhaust pipe is free and correctly sized.

• Check that the boiler door is closed, so that the flame only propagates inside the combustion chamber.
• Fit the pressure gauge and the vacuometer to the pump (removed before operation).
• Open the gate valves in the oil pipes, making sure that there is fuel in the tank and that the return pipe

is not blocked.
Attention: Blockages may cause the pump seal device to break.

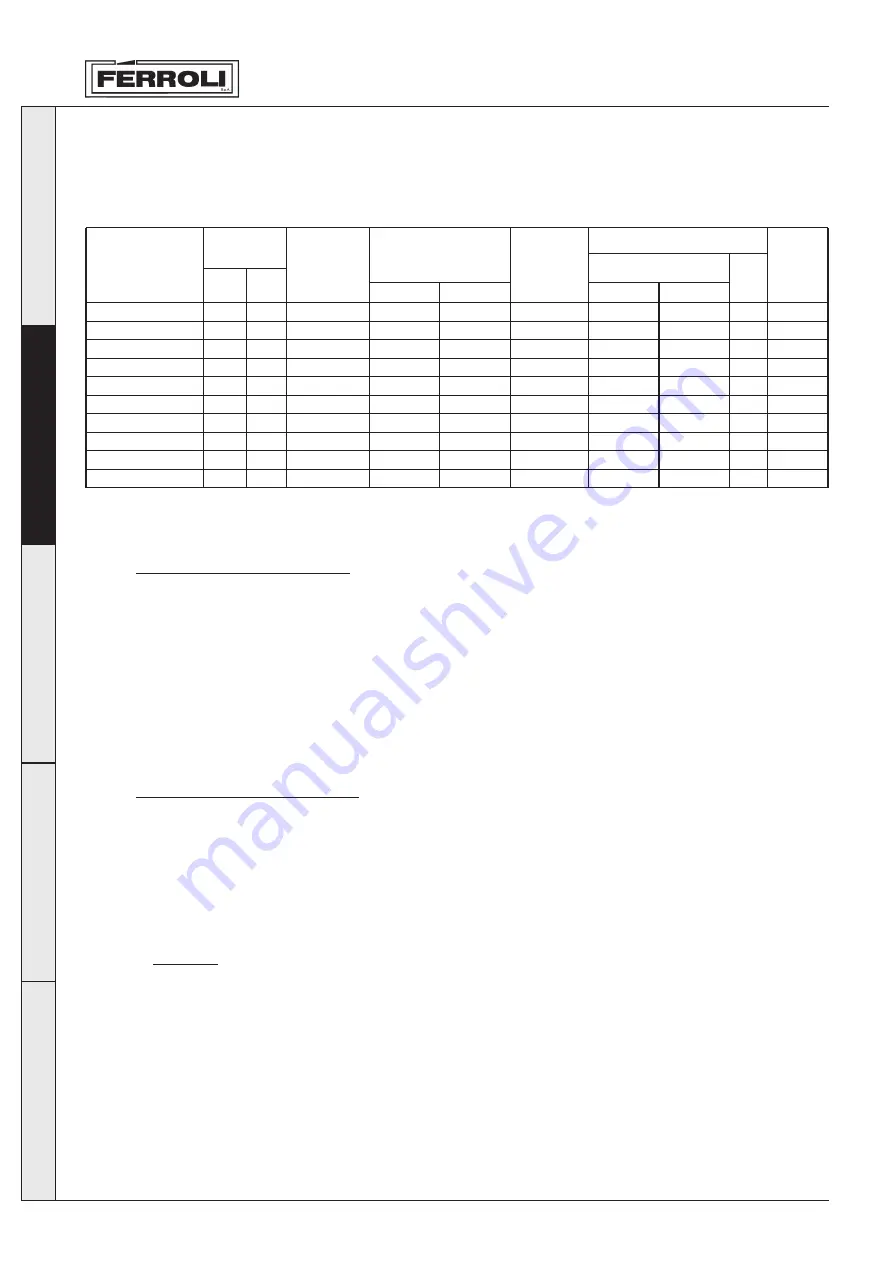
To perform a preliminary adjustment of head and air damper during installation (before commissioning
and consequently calibrating the appliance using instruments), use the graph below:

Nozzles

Heat

output

Model

GN4.10
GN4.11
GN4.12
GN4.13
GN4.14
Prextherm N 400
Prextherm N 500
Prextherm 550
Prextherm 620
Prextherm 800

4,5

5
6
7

8,5
5,5
7,5

7

8,5

10,5

1st stage

Pump

pressure

12
14
13
12
12
12
11
12
12
12

bar

Burner

G50
G50
G50
G70
G70
G50
G50
G70
G70
G70

Servomotor

air

12

°

13

°

14

°

8

°

10

°

14

°

16

°

8

°

10

°

15

°

1st stage

10
17
20
10
15
20
25
10
15
25

2nd stage

15

°

15

°

20

°

15

°

15

°

15

°

15

°

15

°

15

°

20

°

EV

388
452
516
600
695
435
541
598
674
870

Max

kW

min

kW

229
266
309
352
416
279
345
359
404
522

3

3,5

4
5

5,5
3,5
4,5

5

5,5

7

2nd stage

L (mm)

27
24
22
22
22
23
22
22
22
22

Summary of Contents for SUN G50

Page 1: ...ISTRUZIONI PER L USO L INSTALLAZIONE E LA MANUTENZIONE 2 OPERATING INSTALLATION AND MAINTENANCE INSTRUCTIONS 22 MODE D EMPLOI INSTALLATION ET ENTRETIEN 42 BEDIENUNGS INSTALLATIONS UND WARTUNGSANLEITUNG 62 INSTRUCCIONES DE USO INSTALACIÓN Y MANTENIMIENTO 82 cod 3544564 0 ediz 07 2003 I GB FR DE ES ...

Page 2: ...acturer declines all liability for damage deriving from errors in the installation and operation of the appliance and in any case from the failure to observe the instructions provided by the manufacturer Before performing any cleaning or maintenanceoperations disconnectthe appliance from the mains power supply using the system switch and or the corresponding on off devices In the event of faults a...

Page 3: ...es must be adequately protected Use winter oil or add a specific anti freeze Make sure that the room where the burner is installed is free of inflammable objects or materials corrosive gas or volatile substances and is not dusty Dust in fact is sucked in by the fan and sticks to the blades of the rotor and reduces air flow or alternatively blocks the flame stability disk compromising efficiency Do...

Page 4: ...E BURNER MUST ONLY BE INSTALLED AND ADJUSTED BY QUALIFIED AND SPECIALIST PERSONNEL IN COMPLETE COMPLIANCE WITH ALL THE INSTRUCTIONS REPORTED IN THIS TECHNICAL MANUAL THE LEGAL STANDARDS IN FORCE THE PRESCRIPTIONS OF THE UNI AND CEI STANDARDS AND ANY LOCAL STANDARDS AND ACCORDING TO THE RULES OF GOOD PRACTICE 2 2 installation in the boiler Place of installation The room in which the boiler and burn...

Page 5: ...y unscrewing the two screws E 5 Unscrew the couplings L and take out the copper pipes M 6 Slightly unscrew the two screws F turn and extract the combustion head G 7 Insert the burner body onto the pin H and secure it onto the flange with the screw B 8 Fit the combustion head back on after checking that the nozzles are suited to the power of the boiler 9 Connect the oil hoses to the pump 10 Check t...

Page 6: ...ssing residues inside the pipe clean the pipes before using In addition before operating the burner make sure that the fuel return pipe is not blocked Excessive backpressure will break the pump seal device The tank must be positioned as required by the standards in force and must be built and installed in a way that no water or impurities may enter The tank must be carefully cleaned before filling...

Page 7: ...move the bypass screw 10 and cap the return fitting 2 on the pump connectingonlytheflexiblepipetotheinletfitting 1 If the pump is operated with the return closed and the bypass screw inserted it will be damaged immediately In particular with single tube systems if the fuel inlet pipe is initially empty the air contained in the pipe must be vented for the fuel pump to be primed It is recommended be...

Page 8: ...g h Nozzle GPH Pump pressure bar 3 50 4 00 4 50 5 00 5 50 6 00 6 50 7 00 7 50 8 30 9 50 10 50 12 00 13 80 15 30 11 90 13 60 15 30 17 00 18 70 20 40 22 10 23 79 25 49 28 21 32 29 35 69 40 80 46 90 52 00 12 62 14 42 16 22 18 03 19 83 21 63 23 44 25 24 27 04 29 93 34 25 37 86 43 30 49 80 55 20 13 30 15 20 17 10 19 00 20 90 22 80 23 70 26 60 28 50 31 54 36 10 40 06 45 60 52 40 58 10 13 95 15 94 17 94 ...

Page 9: ...screw the screws A 2 Take off the casing B 3 Using a wrench unscrew the couplings C by half a turn 4 Take the copper tubes D out of the couplings 5 Slightly unscrew the screws E 6 Turn and take out the head nozzle holder assembly F 7 Unscrew the two screws G 8 Using a wrench unscrew the nozzles I fig 5 C F G I B A D E F Nozzle 2nd stage Nozzle 1st stage ...

Page 10: ...ghts The length of the connection cables must allow the burner and the boiler door if required to be opened In the event of faults involving the burner power cable it should only be replaced by specialist persons The burner should be connected to a single phase 230 Volt 50 Hz electrical line Have professionally qualified personnel check the efficiency and the suitability of the earth system the ma...

Page 11: ...ce and accordingly the air passage To adjust the air delivery turn the screw C for the 2nd stage and D orange cam for the 1st stage To limit dispersion to the flue with the boiler turned off the burner is equipped with a gravity operated air lock that shuts automatically when the burner stops Combustion air adjustments The air lock is operated by the servomotor The fully open shut positions are ad...

Page 12: ...the flue gas exhaust pipe is free and correctly sized Check that the boiler door is closed so that the flame only propagates inside the combustion chamber Fit the pressure gauge and the vacuometer to the pump removed before operation Open the gate valves in the oil pipes making sure that there is fuel in the tank and that the return pipe is not blocked Attention Blockages may cause the pump seal d...

Page 13: ...nt to the return The ignition transformer is activated at the same time 2 The following phases are performed pre ventilation of the furnace pre washing of part of the oil circuit pre ignition with discharge between the tips of the electrodes 3 At the end of the pre washing phase the appliance opens the electromagnetic valve the oil reaches the nozzle from where it is sprayed Contact with the disch...

Page 14: ...tions as shown in the table below Interface fault diagnosis is activated by pressing the burner release button for at least 3 seconds If this mode gets turned on accidentally a weak red light starts blinking to go back to the normal mode just press the Reset button again for at least 3 seconds The passage from one mode to the other is shown by the yellow LED blinking Red Yellow Green Operating pos...

Page 15: ...e end of the safety time 1 fault with the fuel valves 2 fault with the photo cell 3 no oil wrong burner setting Foreign light during pre ventilation AL to the terminal 10 On On On On On On On On Off Fault Diagnosis After shutdown the red light stays on In this condition after pressing the unit s release button for at least 3 seconds visual fault diagnosis is activated see fault tables On pressing ...

Page 16: ...acturer of the boiler Perform a complete analysis of the flue gas and check compliance with the limits set by the standards in force 3 3 Maintenance The burner requires periodic maintenance to be performed at least once a year by authorised enabled The following basic operations must be performed check and clean the internal parts of the burner the tank and the boiler as shown in the following par...

Page 17: ...en necessary Combustion must be checked when changing the nozzle Photo cell Clean the glass for dust The photo cell is pushed into place to remove it simply pull it out Flexible pipes Check that they are in good condition that they have not been stepped on or deformed Tank Every 5 years or so remove the water from the bottom of the tank using a separate pump No electrical power Close the switches ...

Page 18: ...d and fan damper Dirty or worn nozzle Replace Nozzle filter dirty Clean or replace Incorrect pump pressure Adjust between min 10 and max 14 bars Flame stability disk dirty loose or deformed Clean tighten or replace Insufficient ventilation in the boiler room Check ventilation openings in the room clean or enlarge Excess air Adjust the head and fan damper Head poorly adjusted or insufficient air Ad...

Page 19: ... Cover for combustion head inspection 5 Plugs for electrical connection 6 Motor 7 1st stage solenoid valve 8 2nd stage solenoid valve 9 Pump 10 Unit 11 Servomotor for 1st stage air adjustment 12 Fan 13 Pressure test point 14 2nd stage air adjustment 15 Ignition electrode 16 Combustion head 17 Nozzles 18 Nosepiece 19 Burner flange 20 Screw to secure burner to flange 4 CHARACTERISTICS AND TECHNICAL ...

Page 20: ... Diesel oil Viscosity at 20 C kWh kg kg dm3 min 1st stage 0 82 0 85 11 86 16 30 189 8 355 8 40 1150 1100 400V 50HZ Intermittent twin stage SUN G50 1 5 E min 2nd stage max 2nd stage 60 711 6 SUN G70 min 1st stage 22 40 260 9 474 4 min 2nd stage max 2nd stage 80 948 8 0 82 0 85 11 86 40 1150 1100 400V 50HZ Intermittent twin stage 1 5 E 4 4 Operating field 4 3 Table of technical specifications ...

Page 21: ... 7 1 12 3 5 8 LMO 44 Landys Weidmuller SAK 2 5 35 Weidmuller SAK 6 35 Weidmuller EAK 6 35 N 8 4 1 3 5 2 7 6 SQN 70 244A20 VE2 TR FR 4 5 Wiring diagram Key CO1 1st stage hour meter CO2 2nd stage hour meter FR Photo cell LS Safety lamp MB Burner motor TR Ignition transformer TS Safety thermostat VE1 1st stage electromagnetic valve VE2 2nd stage electromagnetic valve SQN Servomotor TC1 1st stage ther...

Reviews: