background image

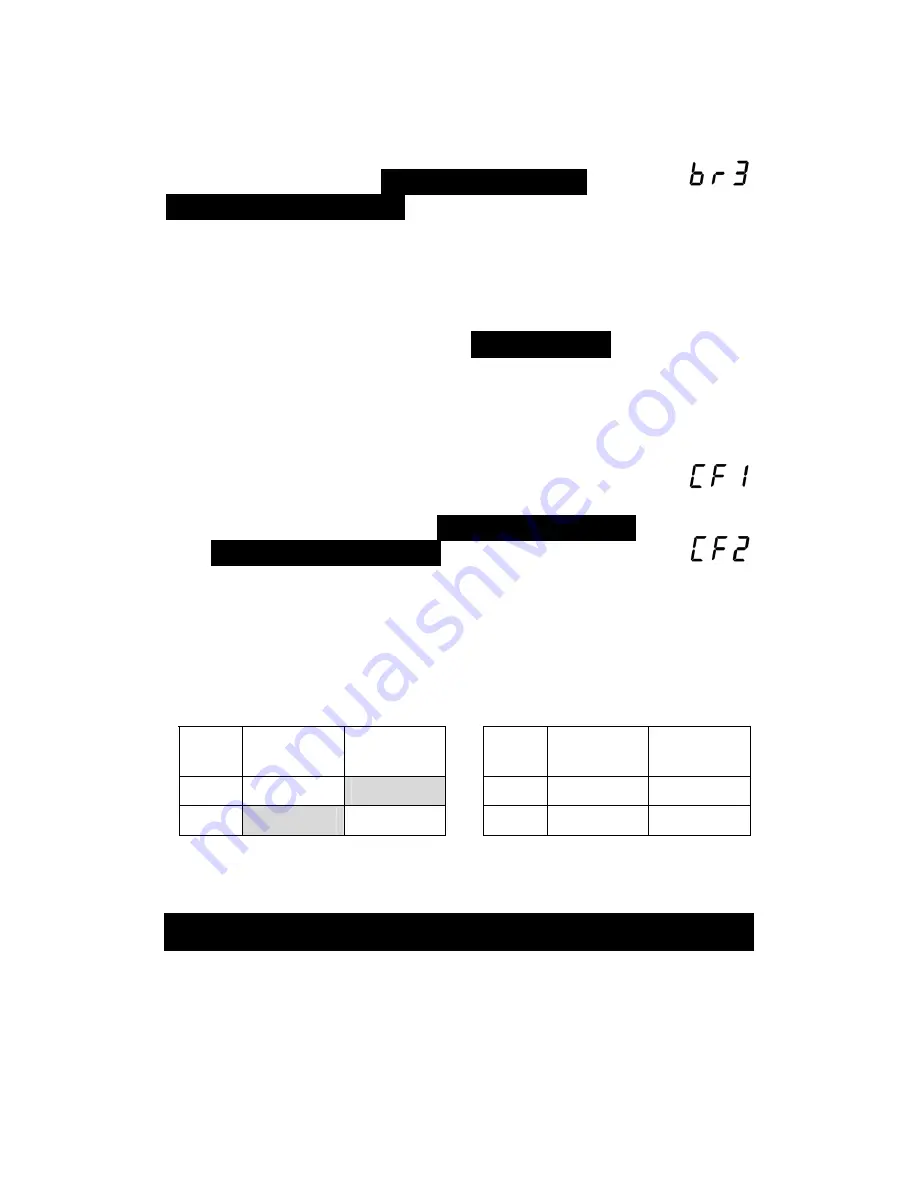
Display Brightness 

With the brightness level displayed, change 
brightness using the 

DELAY +/MENU UP

 and 

DELAY –/MENU DOWN

 buttons. Five levels of 

brightness are available, with 

br5

 being the most 

intense. 

When the required brightness level is selected, release the 
buttons for approximately 5 seconds to exit the menu. 
Alternatively, press and release 

INPUT/MENU

 to advance to 

the output configuration setting. 

Output Configuration 

The current configuration will be displayed, either 

CF1

 (configuration 1) or 

CF2

 (configuration 2). 

To change setting, use the 

DELAY +/MENU UP


and 

DELAY –/MENU DOWN

 buttons. Release for 

approximately 5 seconds to exit the menu and store 
the setting. 

The output configuration setting controls which of the Out A and 
B sockets output the delayed signal (or undelayed if in standby):  

Configuration 1 


Configuration 2 

Active 

Input 

Output at 

Out A 

Output at 

Out B 


Active 

Input 

Output at 

Out A 

Output at 

Out B 

In A 

Delayed A 

No output 


In A 

Delayed A  Delayed A 

In B 

No output 

Delayed B 


In B 

Delayed B  Delayed B 


Returns and Repairs 

If, after checking the 

Troubleshooting

 section on page 15, you 

believe there is a fault with the unit then you should contact your 
dealer. If a return to the dealer is required, be sure to include 
the unit along with all accessories and documentation, 
preferably in its original packaging to ensure safe transit. 

14 

Summary of Contents for DD540

Page 1: ...DD540 DIGITAL AUDIO DELAY Owner s Manual...

Page 2: ...lug this unit into a wall socket until all the connections are completed 6 When disconnecting the power lead from the wall socket hold the plug Do not pull on the power lead 7 Do not use force on any...

Page 3: ...de reasonable protection against harmful interference in a residential installation This equipment generates uses and can radiate radio frequency energy and if not installed and used in accordance wit...

Page 4: ...ation with Learning Remote Controls 7 Connecting the DD540 8 Rear Panel 8 Typical Connections 8 Output Configuration 1 8 Output Configuration 2 9 Power 10 Operation 11 Standby Mode 11 Switching the DD...

Page 5: ...dio delay provides a solution to this for any user with an AV amplifier and sources that include a digital audio output DVD players certain digi boxes etc Up to two sources can be connected simultaneo...

Page 6: ...ght behind glass Display Input Menu button Power button Delay button Infrared sensor behind glass Delay button Remote Control Infrared transmitter Power button Input Menu button Store Preset button Pr...

Page 7: ...one side 2 Insert the batteries supplied in the directions indicated by the drawings inside the battery compartment 3 Replace the battery cover When you need to replace the batteries in the remote co...

Page 8: ...r amplifier has both optical and coaxial digital audio input sockets available then use output configuration 1 Otherwise use output configuration 2 Follow the instructions in the relevant section belo...

Page 9: ...to the AV amplifier s digital audio input socket that corresponds to that source Unit Settings When power is applied to the DD540 the unit s output configuration is indicated briefly on the display ei...

Page 10: ...Settings When power is applied to the DD540 the output configuration is indicated briefly on the display either CF1 or CF2 Check that CF2 is displayed If not change the setting to CF2 as described in...

Page 11: ...standby mode at any time by pressing POWER again Setting the Amount of Delay The amount of delay applied is shown on the display The Delay Active light is lit whenever the current input has a signal p...

Page 12: ...INPUT MENU again until the required setting is reached The input setting will remain selected until it is next changed even if power is lost to the DD540 Return the input setting to Aut whenever possi...

Page 13: ...the display Recalling a Delay from a Preset 1 Press PRESET or PRESET on the remote control The most recent preset number for the active input will appear 2 Use PRESET and PRESET to select the preset y...

Page 14: ...DOWN buttons Release for approximately 5 seconds to exit the menu and store the setting The output configuration setting controls which of the Out A and B sockets output the delayed signal or undelay...

Page 15: ...Check the correct input is selected on the AV amplifier Check that the cable connections between the source and the DD540 and between the DD540 and the AV amplifier are secure Try alternative cables t...

Page 16: ...Connections Digital Audio In RCA phono socket 75 0 5Vpk pk Digital Audio In optical socket Digital Audio Out RCA phono socket 75 0 5Vpk pk Digital Audio Out optical socket DC power supply socket Power...

Reviews: