


FEATURES & TIPS
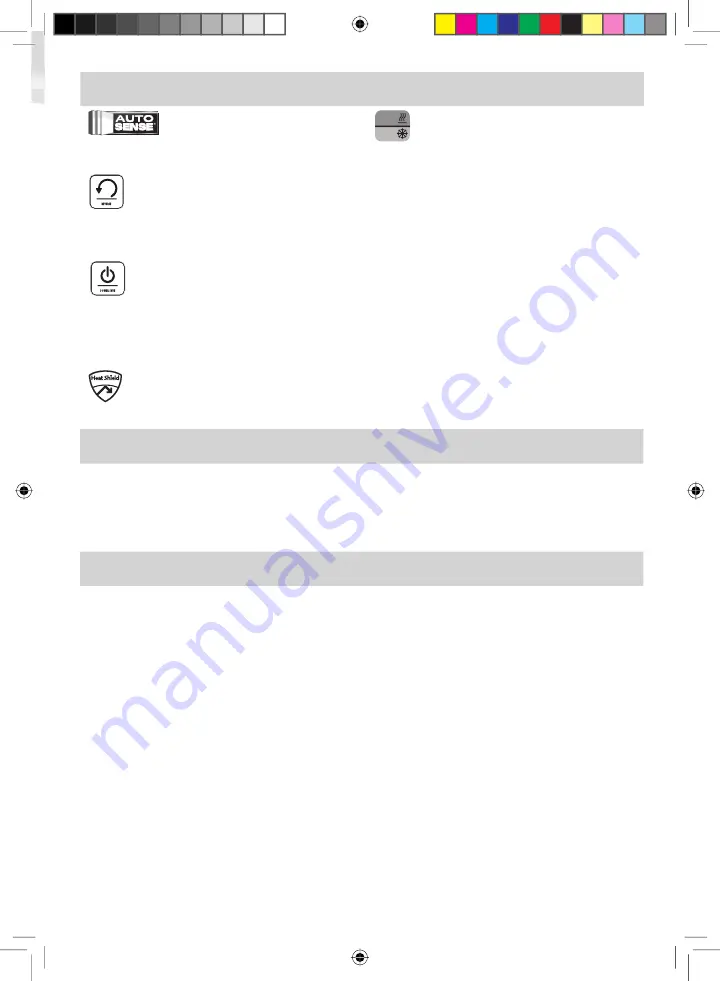
AutoSense
Unique system detects pouch thickness and self-adjusts
to optimal lamination setting.
’Reverse’ function
To eject the laminating pouch during use, press and hold
down the reverse button until the pouch has ejected
from the machine.
‘Sleep Mode’ function
If the machine is not active for 30 minutes, the ‘Sleep
Mode’ function will place the machine into standby
mode. To operate the machine, press the ‘Power On’
button on the control panel.
HeatGuard Technology
Keeps the laminator surface comfortable to the touch.
Auto
Cold
Auto (Hot)/Cold
The Auto (hot)/cold button is used to toggle back and
forth between hot and cold laminating.
•
For best results, use Fellowes ® brand pouches:
Enhance 80, Impress 100, Capture 125, Protect
175, Preserve 250 (Enhance 80 - cold pouch).
•
This machine does not need a carrier to laminate.
It is a carrier-free mechanism.
•
Always put the item to be laminated into the
appropriate sized pouch.
•
Always test laminate with a similar size and
thickness before final process.
•
Prepare pouch and item for lamination. Place
item within pouch centred and touching the
leading sealed edge. Ensure the pouch is not too
large for the item.
•
If required, trim excess material from around the
item after lamination and cooling.
5
BEFORE LAMINATING
Ensure the machine is on a stable surface.
Check there is enough clear space (min 50cm)
behind the machine to allow items to pass through
freely.
Plug the machine into an easily accessible mains
socket. Switch the mains supply on.
Fit the Exit Tray to the rear of the machine.
STEPS TO LAMINATE
Switch the power on (located at the rear right side of
the machine).
The control panel buttons will flash once as part of a
check light system to ensure proper function.
The Standby button will remain on with a soft blue
glow.
Press the ‘Standby’ button on the control panel.
The Auto (hot)/cold button and entry tray lights will
flash. The auto display will turn solid and a beep will
sound when the laminator is ready for 75/80 micron.
Additional micron indicators will light up when the
laminator is ready for thicker pouches.
The machine will automatically warm-up to the hot
pouch (auto) setting.
Note
: the laminator features
AutoSense which automatically recognises the pouch
thickness you insert into the laminator.
For cold lamination, press the Auto (hot)/cold button.
The cold display and entry tray lights will flash.
When the laminator is ready for cold lamination the
cold display will turn solid and a beep will sound.
Note: to use the cold setting after hot lamination you
may have to wait for the laminator to cool down for
30 – 60 minutes.
To switch back to hot pouch laminating after cold
laminating, press the Auto (hot)/cold button.
Place the pouch, sealed edge first, into the pouch /
document entry. Keep the pouch straight and central
within the document entry, not on an angle. Use the
entry markings as a guide.
Upon exit, the laminated pouch is hot and soft.
Remove the pouch immediately. Place pouch onto a
flat surface to cool. This helps prevent any jamming.
1.
2.
3.
5.
6.
7.
8.
9.
10.
11.
4.
12.
13.
407714_EUR_Venus2_v1.1_A5.indd 5
8/19/2013 8:01:00 PM