


A
B
C
3
Determining Coil Size
Determining the appropriate coil size just got easier with
Fellowes’ handy, built-in coil guide selector. Or, if you happen
to know the number of sheets being bound, simply use the
chart below.
1. To select the optimum coil for binding, insert complete
document behind the adjustable coil guide selector
located near the punching area.
NOTE: Entire document, including covers, should fit snug
against coil guide selector to determine true coil size.
2. Read the corresponding coil size located left of the coil
guide selector.
3. Remove document from coil guide selector.
No. of Sheets
Coil Size
35 6mm
45
7mm
60
8mm
80 10mm
100
12mm
110 13mm
120
14mm
Binding the
Document
1. Align holes in paper and
cover. Place document on
flat surface. Starting at the
first hole on either end,
twist binding coil until
securing first 2-3 holes.
2. Turn on electric binding wheel by depressing power
switch.
3. Hold document next to binding wheel so that the first 2-
3 holes already secured gently touch the wheel.
NOTE: The natural shape of the binding coil will
automatically feed from one hole to the next.
4. Remove document from binding wheel when coil has
passed through every hole. Your document is now
bound.
5. Turn off electric binding wheel by depressing power
switch.
Securing Your Bound
Document
Securing the document is
an important final step in
the process. To do so:
1. Insert document
behind document
supporter so that the
binding coil is
positioned on the
bottom. Each end of
the coil should be
positioned inside the
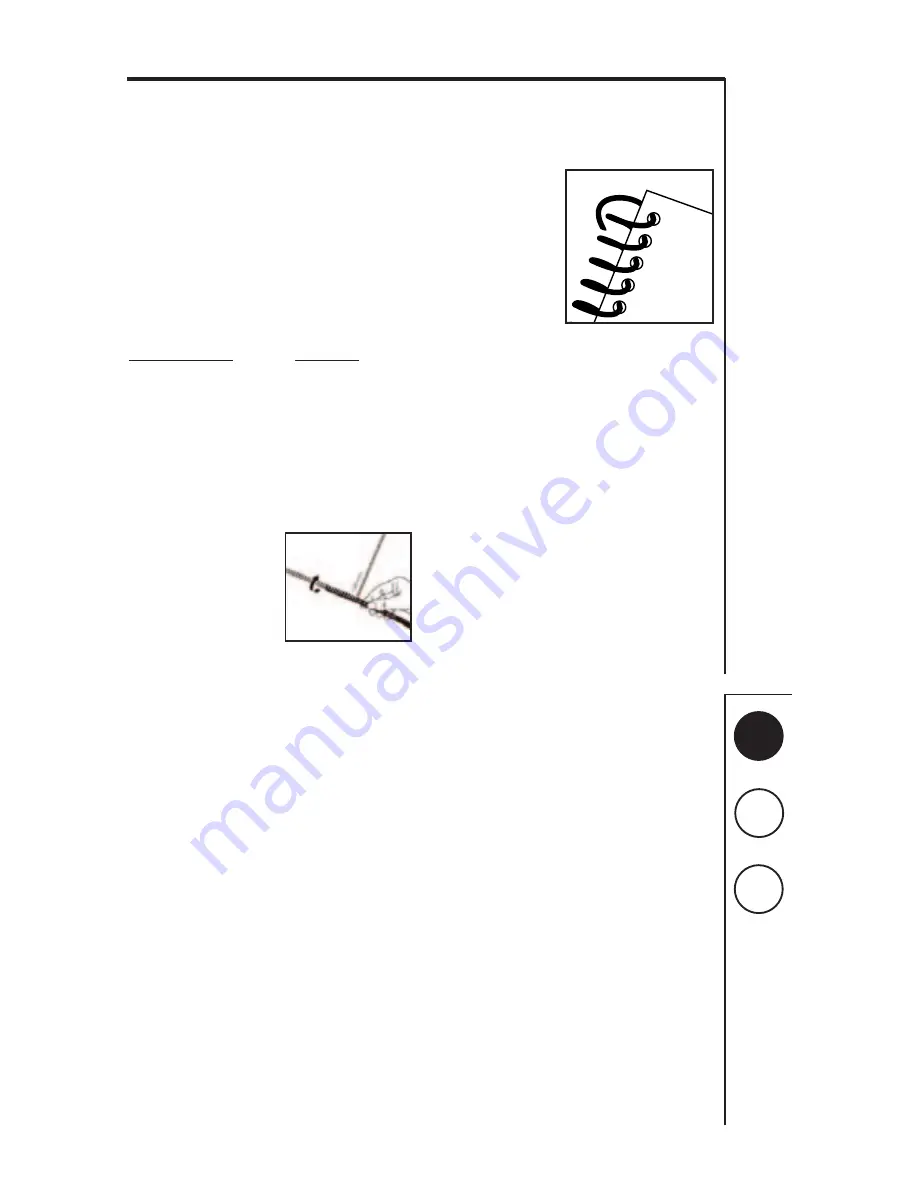
claws of the crimping area.
NOTE: Make certain claws are in an "open" position.
This is accomplished when the crimping lever is
positioned farthest to the right.)
2. Move crimping lever all the way to left. Note claws will
grab, cut and crimp the document.
3. Release document by returning crimping lever to
rightmost position.
4. Remove document from crimping area. Your document
is now secure.
Adding \ Removing Pages
from Bound Document
A unique feature of a Plastic Coil bound document is the ease
with which pages can be added \ removed. To do so:
1. Unlock secured document by "un-crimping" one end of
coil with fingers.
2. Remove coil from document by twisting coil.
3. Add \ Remove selected pages.
4. Re-assemble document.


