


FARO
®
Laser Scanner Manual
97
Chapter 7: Controller Software
Update
Tap this button to update the displayed settings. This might be necessary, if a
connection is lost, for example, because the scanner was out of range.
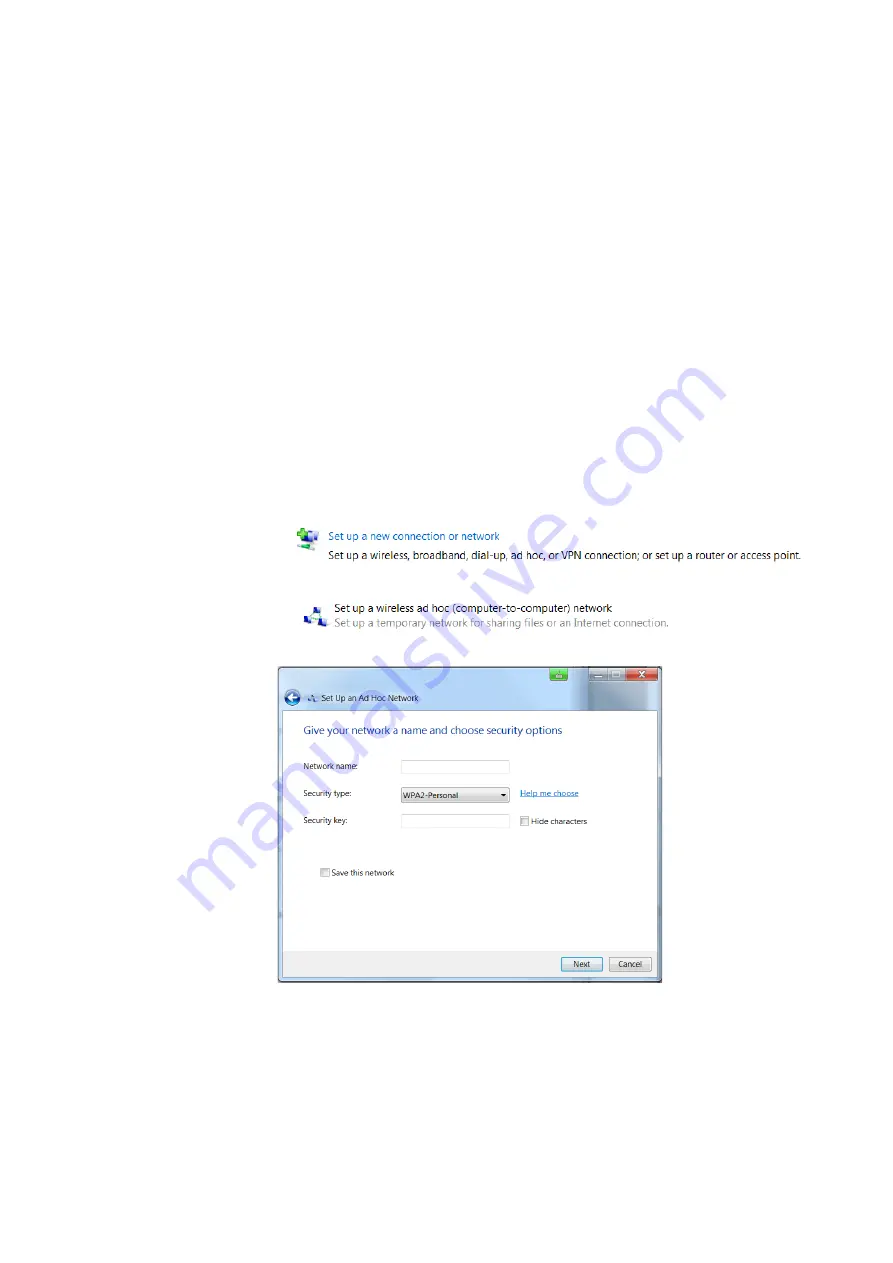
Example configuration of a notebook with Microsoft Windows
Connecting the
scanner
1. Click the wireless network button on the bottom right of the task bar. A list
with the available wireless network connections appears.
2. Select the scanner network in this list (the scanner is listed with the above
mentioned network name).
3. Click the
Connect
button.
4. When prompted, enter the WLAN encryption key.
Notebooks in ad hoc
mode
For the WLAN running in ad hoc mode, assign a static IP address to your
notebook.
• Open Control Panel > Network and Internet > Network and Sharing Center.
• In the Internet Protocol dialog, use the option “Use the following IP
address” and provide a valid IP address and subnet mask. The IP address
and subnet mask of your notebook must be compatible with the scanner‘s.
Take the IP address of the scanner and change the last number. For
example, if the scanner has 172.17.16.23, you can enter 172.17.16.100.
The subnet mask must be identical to the one of the scanner. You might
have to disconnect and connect again to get the connection working.
Summary of Contents for FocusM 70
Page 6: ...FARO Laser Scanner Manual 1...
Page 12: ...FARO Laser Scanner Manual 7...
Page 58: ...FARO Laser Scanner Manual 53...
Page 132: ...FARO Laser Scanner Manual 127...
Page 146: ...FARO Laser Scanner Manual 141...
Page 156: ...FARO Laser Scanner Manual 151 Chapter 12 Disposal Figure 12 114 WEEE Symbol...
Page 166: ...FARO Laser Scanner FocusS Manual 161...
Page 170: ...FARO Laser Scanner Manual 165...
Page 172: ...FARO Laser Scanner Manual 167...
Page 193: ...Appendix F Certifications...
Page 194: ...F 1 CE Conformity...


