CARTS AND WAGONS
1
Revision date: 04.13.12
STK# Description
108678 Metal Deck Wagon
©2012 FarmTek
®
All Rights Reserved. Reproduction
is prohibited without permission.
108678
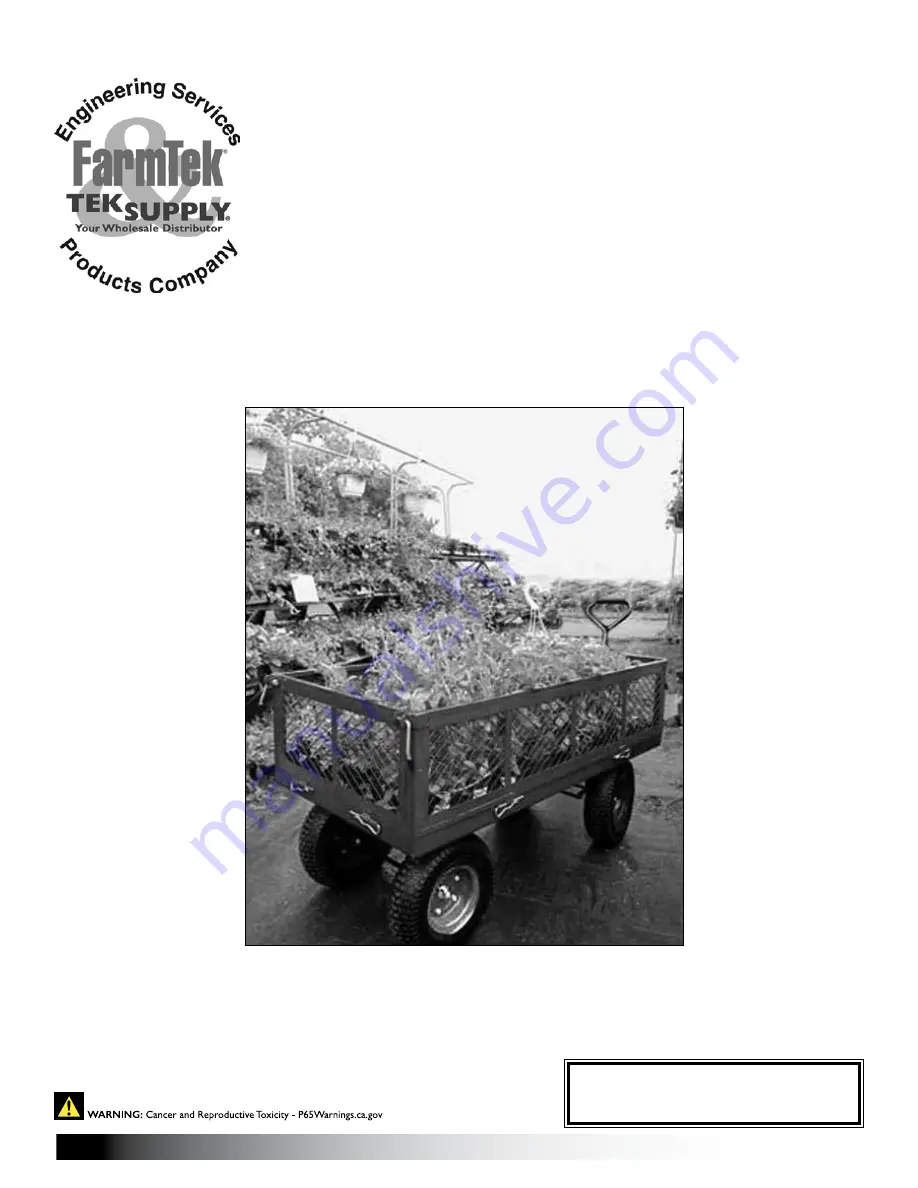
EZ-Haul Metal Deck Wagon
w/ Fold Down Sides
12855
Page 1: ...ND WAGONS 1 Revision date 04 13 12 STK Description 108678 Metal Deck Wagon 2012 FarmTek All Rights Reserved Reproduction is prohibited without permission 108678 EZ Haul Metal Deck Wagon w Fold Down Sides 12855 ...
Page 2: ...s to the proper level as indicated on the tires Do not inflate tires more than 30 PSI Never use a flammable gas to inflate the tires Never allow riders in the wagon Always distribute payload evenly over the surface of the bed CARE AND MAINTENANCE Periodically check all fasteners to assure they are tight Clean the wagon using water and mild soap Rinse with water sprayed from a garden hose Check the...
Page 3: ...assembly A Curved end of rear axle braces should angle inward as shown 2 Slide one 1 wheel M12 flat washer and M12 locknut in that order onto each end of the axle as shown in diagram B Do not over tighten the nuts wheels spin freely 1 REAR WHEEL ASSEMBLY Flat washer and locknut are used on the outside of the wheel Install the wheel with the valve stem to the outside Rear Axle Braces Rear Axle Asse...
Page 4: ...in as shown to the right NOTE Insert shows cotter pin attached to the underside of the axle support Using pliers spread the ends of the cotter pin to secure in place 3 Next align back hole of the yoke with steering link and secure into place using one 1 M8x18 hex bolts M8 flat washer and M8 locknut as shown in diagram B FRONT WHEEL ASSEMBLY Steering Link 1 M8 Locknuts 3 M8 Washers 3 Yoke Steering ...
Page 5: ... yoke and axle support using one 1 M8x25 bolt M8 flat washer and M8 locknut Secure in place as shown in diagram C Locknut should be snug Do not over tighten 5 Slide one 1 wheel large washer and locknut in that order onto each end of the axle as shown in diagram D Do not tighten the nuts at this time C D Socket Wrench Set Pliers Front Axle Brace Front Axle Brace 1 M12 Flat Washers 2 M12 Locknuts 2 ...
Page 6: ...ough the bed frame supports and rear axle support and secure using two 2 M8x18 hex bolts two 2 M8 flat washers and two 2 M8 locknuts See diagram A 4 Align the holes of the rear axle braces right and left with holes on the wagon bed frame 5 Secure in place using four 4 M8x18 hex bolts M8 flat washers and M8 locknuts as shown in the diagram A Photo shows where the bed support is attached to the bed ...
Page 7: ...nd secure with a M8 flat washer and M8 locknut as shown in diagram C Do not overtighten the locknut 10 Tighten all connections and turn wagon onto its wheels Periodically check connections to make sure they are tight and secure 11 Check tire pressure and adjust as needed B Handle Coupler Yoke Bolt Washer Locknut Slightly tighten bolt so the handle pivots freely C Front Wheel Assembly Socket Wrench...
Page 8: ... attached to parts 1 Remove all eight 8 cotter keys from wagon bed 2 Align the front back and the two side panels slots one at a time with the cotter pin slots and insert cotter keys to secure panels in place Side Panels 2 Front Panel 1 Back Panel 1 Pliers Cotter Keys 8 Assemble with the flat side of panel to the outside ...
Page 9: ... Wrench Set Pliers 8mm Locknuts 4 8mm Washers 4 3 Tilt the front panel and one 1 of the side panels up and at the corner where they meet insert one 1 lock handle and secure in place using washer and lock nut 4 Repeat step for remaining three 3 corners 5 Tighten all connections and turn wagon onto its wheels NOTE Periodically check connections to make sure they are tight and secure ...