


Reviews:
No comments
Related manuals for Z425 L

HUG
Brand: WAC Pages: 32

Geos
Brand: WAC Pages: 35

MRBREEZE MRFAN36
Brand: MrCool Pages: 13

Eterfan 32000
Brand: Faro Barcelona Pages: 20

Breez ZA-100
Brand: Zartek Pages: 2

VAM 350GJVE
Brand: Daikin Pages: 112

052-8687-4
Brand: NOMA Pages: 13

MVU-48
Brand: Tempest Pages: 43

BREEZE BFH01S
Brand: Yoer Pages: 24

CASCADE PRO CPP-13-2020
Brand: Black Stone Pages: 2

XUEFD-100
Brand: Accurex Pages: 20

FH-W2004-44L-BA
Brand: Modern Forms Pages: 36

F-LYA20HKG
Brand: Toshiba Pages: 9

VN-1KSAE
Brand: Toshiba Pages: 9
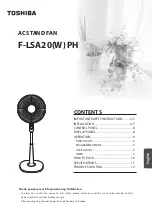
F-LSA20(W) PH
Brand: Toshiba Pages: 12

VN-1KSA
Brand: Toshiba Pages: 16

VN-1KTAE
Brand: Toshiba Pages: 17

F-ATW60(W)US
Brand: Toshiba Pages: 18


