5. Pull on the ribbon and slide Hard Drive carrier out.
6. Remove the four screws that anchors the HDD and remove
HDD.
7. Slide the replacement HDD into the carrier. Make sure label
is facing inside the carrier and SATA port is facing oriented
towards the open end of carrier. Reattach the screws to the
HDD.
8. Reinsert the carrier back into the drive bay and attach the
screw removed in step 4.
9. Slide the drive bay cover back into place.
Step 3C: Hard Drive Upgrade For
PS4 Pro
1. Power down your PS4 PRO and disconnect all cables attach to
the PS4 PRO.
2. Turn the PS4 PRO around to face the rear panel and place the
PS4 PRO upside down.
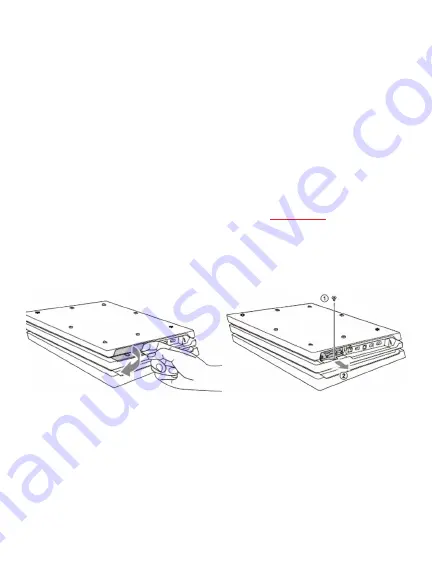
3. Locate the Hard Drive plastic cover on the left. Apply pressure
to remove (see image). There may be a sticker covering the
HDD bay cover. It’s safe to remove this and it will not affect the
warranty.
4. Once you reveal the HDD bay, use a screwdriver to remove the
screw.
5. Pull and Slide the Hard Drive carrier out.
6. Remove the four screws that anchors the HDD and remove
HDD.


