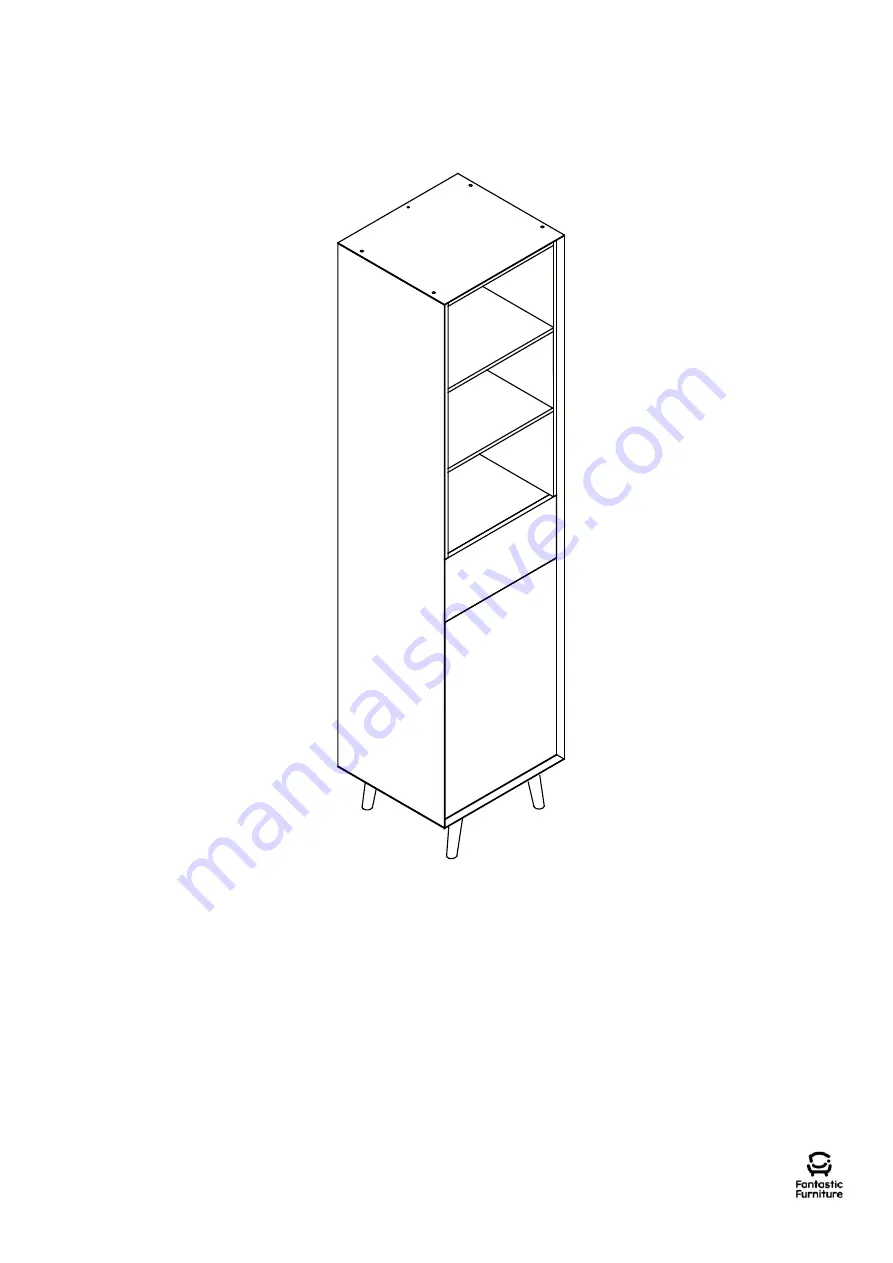
Job Complete!
In the interest of our environment please dispose of all packaging thoughtfully.
fantasticfurniture.com.au
PAGE 14
Page 1: ...Version 1 0 STOCKHOLM BOOKCASE LARGE NARROW fantasticfurniture com au...
Page 2: ...SURE THE WALL STRAP IS ATTACHED TO AVOID SERIOUS INJURY To avoid any serious or fatal injury this product has been supplied with a wall strap to prevent toppling We strongly recommend that this produc...
Page 3: ...o avoid scratching or damaging the surface of the product Bulky items such as wardrobes and bunk beds should be assembled in the room they will be used in as they may not t through a door once assembl...
Page 4: ...Shelf Panel P6 Shelf Panel P6 Shelf Panel P6 Inner Side Panel P7 Inner Side Panel P7 Back Panel P9 Back Panel P9 Back Panel P11 Shelf Panel P10 Rail P8 4 x Legs P13 26 x Cam Bolts H3 26x Cam Nuts H4 2...
Page 5: ...Right Side Panel P3 with 16 x Screws H17 by tightening with the Phillips Head Screwdriver Attach 1 x CL Runner Track H6 to Left Side Panel P2 and 1 x CR Runner Track H7 to Right Side Panel P3 with 6...
Page 6: ...will need 11 x Cam Nuts H4 Attach 2 x Magnetic Catches H13 to each side of Rail P8 with 8 x Small Screws H5 by tightening with the Phillips Head Screwdriver Phillips Head Screwdriver FLIP This is how...
Page 7: ...ghtening each Cam Nut with the Phillips Head Screwdriver P6 P6 P5 P9 P9 P9 Ensure laminated side of panel is facing inwards You will need Phillips Head Screwdriver 11 x Dowels H1 Step 6 11 x Cam Nuts...
Page 8: ...and Right Side Panels P2 P3 at the bottom of the unit Insert 4 x Dowels H1 into the bottom of Left Right Side Panels P2 P3 and secure Bottom Panel P4 to the bottom of the unit with 4 x Long Screws H2...
Page 9: ...s P13 with 8 x Long Bolts H14 by tightening with the Allen Key H16 Attach 4 x Legs P13 to Bottom Panel P4 with 16 x Bolts H15 by tightening with the Allen Key H16 P2 P3 P4 H15 P13 4 x Cam Bolts H3 Phi...
Page 10: ...hillips Head Screwdriver Attach Drawer Back P18 to Left Right Drawer Sides P15 P16 with 4 x Screws H17 by tightening with the Phillips Head Screwdriver Before securing Ensure the Bottom Panel lines up...
Page 11: ...ning with the Phillips Head Screwdriver H5 H8 H9 H5 Attach 1 x DL Runner H8 to Left Drawer Side P15 and 1 x DR Runner H9 to Right Drawer Side P16 with 4 x Small Screws H5 by tightening with the Philli...
Page 12: ...igger the Catch to bounce the door open If the door does not pop open when pressed or is not sitting ush with the front of the unit reach under the Rail and adjust the head of the Catch by gently turn...
Page 13: ...y strap to the wall securely Make sure it is rmly attached and snug t H20 H21 H22 You will need Step 19 H22 Screw Wall Seek advice from a quali ed trades person on how to attach this safety strap to y...
Page 14: ...Job Complete In the interest of our environment please dispose of all packaging thoughtfully fantasticfurniture com au PAGE 14...
Page 15: ...screw clockwise a litte as shown to make the gap big Turn the screw counterclockwise a litte as shown to make the gap small Pull the hinge forward a little The door should move out a little To adjust...