Version 1.0
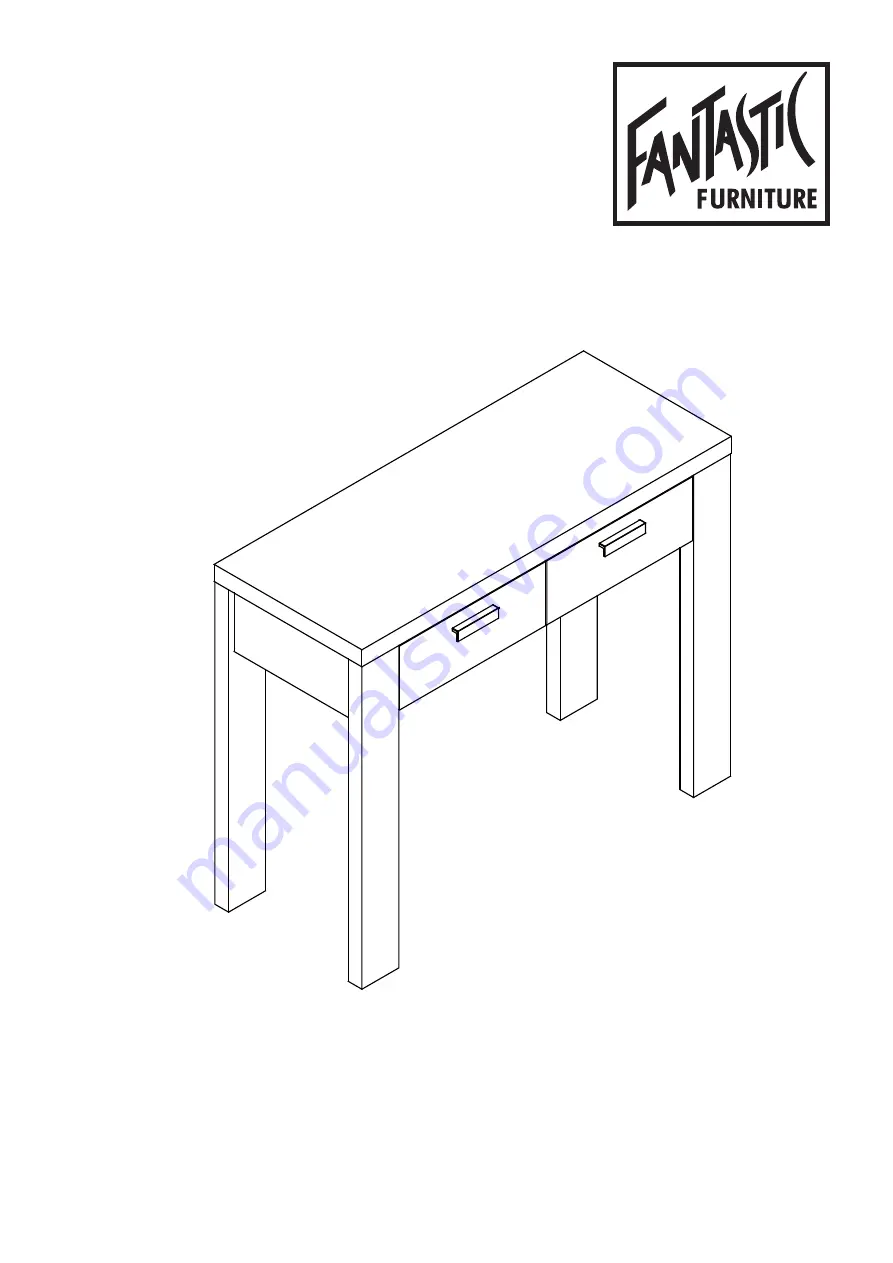
HAVANA
Hall Table 2 Drawer
www.fantasticfurniture.com.au
Page 1: ...Version 1 0 HAVANA Hall Table 2 Drawer www fantasticfurniture com au...
Page 2: ...Enjoy Your purchase from Australia s Best Value Furniture Store www fantasticfurniture com au PAGE 2...
Page 3: ...steners Check the product care label or website for product care instructions Never use any glue until you are certain that the parts belong together Bulky items such as wardrobes and bunk beds should...
Page 4: ...Cam Bolts H10 Left Drawer Side P14 Right Drawer Side P15 Drawer Back P17 Drawer Base P16 Drawer Front P12 P13 2 x CL Runner Tracks H6 4 x Plastic Glides H16 4 x Round Head Bolts H14 2 x CR Runner Tra...
Page 5: ...bolt Insert 3 x Small Dowels H2 into the hole of LF Leg P7 as shown Insert 2 x Cam Nuts H4 into the holes of Rail P4 and Side Panel P2 Rotate the cam nuts so the arrows point towards the incoming cam...
Page 6: ...ighten the cam nut P4 P2 P9 P10 P2 P5 You will need Step 4 Insert 3 x Small Dowels H2 into the hole of Rail P4 and Side Panel P2 Insert 2 x Cam Nuts H4 into the holes of Rail P4 and Side Panel P2 Rota...
Page 7: ...ttach RF Leg P8 to Side Panel P2 and Rail P5 then tighten the cam nuts using a Flat head screwdriver You will need Step 5 P10 P5 P5 P4 P2 P8 H4 H4 H2 H2 H2 Attach 1 x CL Runner Track H6 to Rail P4 wit...
Page 8: ...3 x Small Screws H5 Phillips head screwdriver H7 CR H5 H6 CL H5 Turn Divider P3 over to the other side Attach 1 x CL Runner Track H6 to Divider P3 with 3 x Small Screws H5 You will need Step 9 3 x Sm...
Page 9: ...Screws H15 using a Phillips head screwdriver Attach Rail P6 to Divider P3 with 2 x Wooden Screws H15 using a Phillips head screwdriver You will need Step 10 Phillips head screwdriver You will need St...
Page 10: ...nto place Tighten the cam nuts using a Flat head screwdriver Insert 1 x Small Dowel H2 into RF Leg P8 Insert 3 x Cam Nuts H4 into the holes of Rail P6 and Back Panel P11 Rotate the cam nuts so the arr...
Page 11: ...P7 P8 P9 P10 as shown 4 x Plastic Glides H16 Hammer Carefully turn the frame over to an upright position Insert 8 x Dowels H1 into Legs P7 P8 P9 P10 Insert 6 x Small Dowels H2 into Side Panels P2 and...
Page 12: ...own H3 H3 H3 H3 H3 H3 H3 H3 H3 Insert 10 x Cam Nuts H4 into the holes of Side Panels P2 Divider P3 Back Panel P11 and Legs P7 P8 P9 P10 Rotate the cam nuts so the arrows point towards the incoming cam...
Page 13: ...11 H11 H11 H11 Insert 4 x Small Cam Nuts H11 into the holes of Drawer Sides P14 P15 Rotate the cam nuts so the arrows point towards the incoming cam bolts Align the holes together secure Drawer Sides...
Page 14: ...H14 Attach 1 x DL Runner H8 to the bottom of Left Drawer Side P14 and 1 x DR Runner H9 to the bottom of Right Drawer Side P15 with 4 x Small Screws H5 Tighten Screws using a Phillips head screwdriver...
Page 15: ...Step 24 1 x Safety Strap H17 1 x Screw H18 You will need Step 25 1 x Washer H19 H17 H17 H18 H18 H19 H19 Use Screw H18 and Washer H19 to attach Safety Strap H17 securely on Top Panel P1 as shown We st...
Page 16: ...illips head screwdriver 1 x Washer H19 Screw and Wall Plug which are not provided Please use appropriate fixtures for your wall Move the table to the final position and attach the safety strap to the...