Version 1.0
Coda
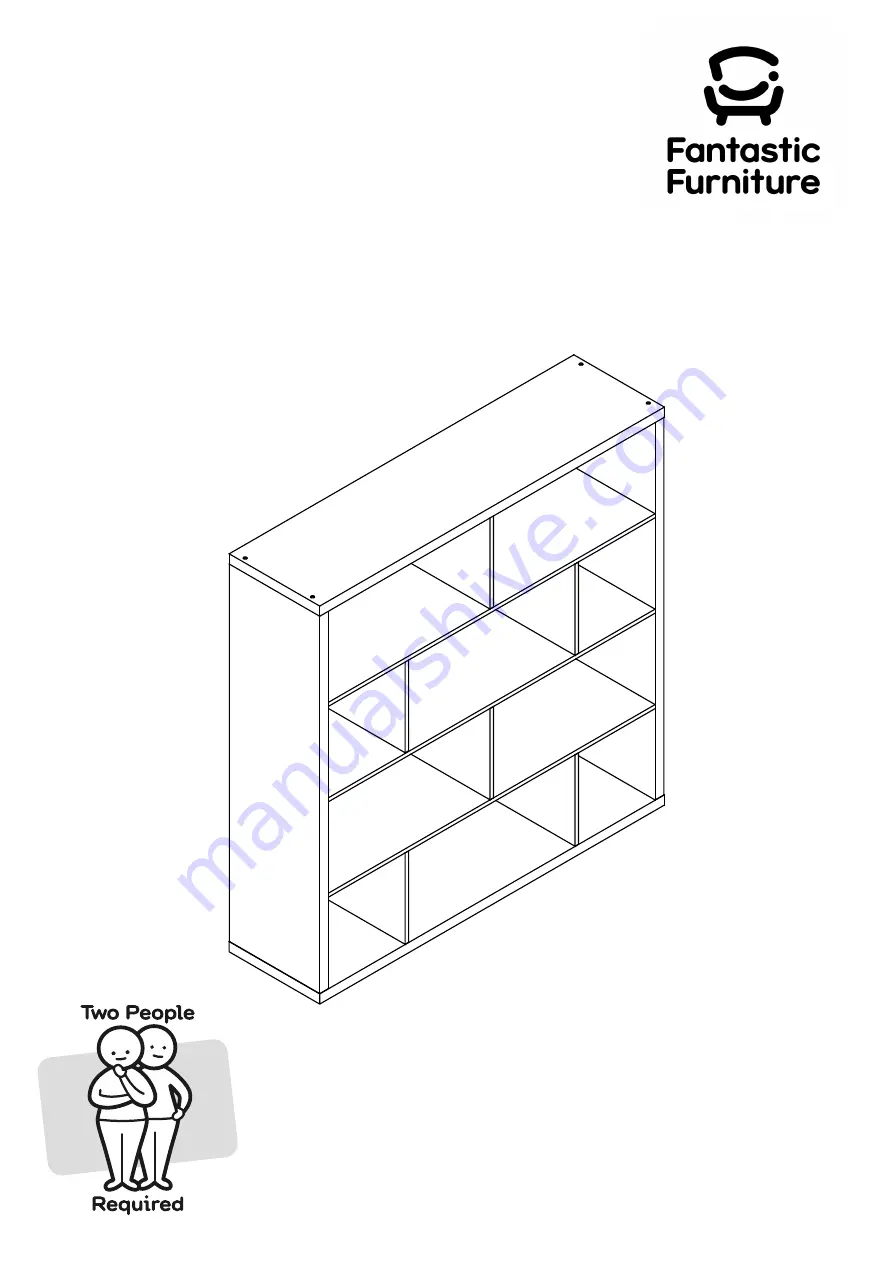
Bookcase 10 Shelf
fantasticfurniture.com.au
Page 1: ...Version 1 0 Coda Bookcase 10 Shelf fantasticfurniture com au ...
Page 2: ...y into stud Please seek professional advice if you are in doubt of what fixing device to use Do not Reduce the risk of furniture tip over accidents with available wood stud S S crew fantasticfurniture com au fantasticfurniture com au Recommended Weight Capacity 10kg shelf ...
Page 3: ...found your Fantastic We re thrilled you ve chosen Fantastic Furniture to help create a home you ll love Love it Share it Fantastic buy Share how it looks at home on Instagram for your chance to win a 250 Fantastic Furniture Gift Card fantasticfurniture ...
Page 4: ...to avoid scratching or damaging the surface of the product Bulky items such as wardrobes and bunk beds should be assembled in the room they will be used in as they may not fit through a door once assembled Never use any glue until you are certain that the parts belong together Periodically check and re tighten all fasteners Check the product care label or website for product care instructions If yo...
Page 5: ...l P3 Divider P6 Divider P5 Divider P5 Divider P5 Divider P5 Divider P6 Parts list Top Panel P1 2 x Side Panels P2 2 x Shelf Panels P3 Shelf Panel P4 4 x Dividers P5 2 x Dividers P6 Bottom Panel P7 8 x Dowels H1 24 x Cam Bolts H3 24 x Cam Nuts H4 1 x Allen Key H7 12 x Inside Hexagonal Bolts H6 16 x Covers H8 8 x Long Screws H5 36 x Small Dowels H2 8 x Plastic Glides H9 2 x Screws H11 2 x Restraint ...
Page 6: ...cfurniture com au H3 P2 x 2 H3 H3 H3 H3 H3 Attach 6 x Cam Bolts H3 into each Side Panel P2 as shown P3 x 2 H3 H3 H3 H3 8 x Cam Bolts H3 Phillips Head Screwdriver Attach 4 x Cam Bolts H3 into each Shelf Panel P3 as shown P4 H3 H3 2 x Cam Bolts H3 Phillips Head Screwdriver Attach 2 x Cam Bolts H3 into Shelf Panel P4 as shown ...
Page 7: ...elf Panel P3 to Divider P5 with 2 x Long Screws H5 Tighten the screws with a Phillips Head Screwdriver Repeat Step 4 for the other Divider P5 and Shelf Panel P3 P5 P5 P4 H5 H5 H5 H5 H2 H2 4 x Long Screws H5 Phillips Head Screwdriver Insert 4 x Small Dowels H2 into the holes of Shelf Panel P4 as shown Attach Dividers P5 to Shelf Panel P4 with 4 x Long Screws H5 Tighten the screws with a Phillips He...
Page 8: ...f Dividers P5 P6 Rotate the Cam Nuts so the arrows point towards the incoming Cam Bolts Push Dividers P5 P6 into place and then tighten the Cam Nuts using a Phillips Head Screwdriver Seal the holes with 10 x Covers H8 as shown 10 x Cam Nuts H4 10 x Covers H8 10 x Small Dowels H2 P2 P3 P4 P3 H2 H4 H4 H2 H2 H4 H4 6 x Cam Nuts H4 6 x Small Dowels H2 Insert 6 x Small Dowels H2 into the holes of Shelf ...
Page 9: ...ls P3 P4 Insert 6 x Cam Nuts H4 into the holes of Shelf Panels P3 P4 Rotate the Cam Nuts so the arrows point towards the incoming Cam Bolts Push Side Panel P2 into place and then tighten the Cam Nuts 6 x Cam Nuts H4 6 x Small Dowels H2 P1 H3 H3 Attach 2 x Cam Bolts H3 into Top Panel P1 as shown 2 x Cam Bolts H3 Phillips Head Screwdriver Phillips Head Screwdriver ...
Page 10: ...nto the holes of Divider P5 Rotate the Cam Nuts so the arrows point towards the incoming Cam Bolts Attach Top Panel P1 to Side Panels P2 and Divider P5 Tighten the Cam Nuts using a Phillips Head Screwdriver Seal the holes with 2 x Covers H8 as shown P2 P2 P1 H6 H8 H8 H8 H6 H6 H7 Secure Top Panel P1 to Side Panels P2 with 4 x Inside Hexagonal Bolts H6 using an Allen Key H7 Seal the holes with 4 x C...
Page 11: ...holes of Side Panels P2 Insert 4 x Small Dowels H2 into the holes of Dividers P6 Attach Bottom Panel P7 to Side Panels P2 and Dividers P6 with 8 x Inside Hexagonal Bolts H6 using an Allen Key H7 4 x Small Dowels H2 You will need Step 13 P7 H9 H9 H9 H9 H9 H9 H9 H9 H9 H9 Place glides 10mm from edge 8 x Plastic Glides H9 Hammer Attach 8 x Plastic Glides H9 to the bottom of Bottom Panel P7 with a Hamm...
Page 12: ...seen Using appropriate wall connection fixtures secure the Bracket to the wall and thread the Restraint Strap through it Be careful not to over tighten the strap which would cause the unit to lean Phillips Head Screwdriver 2 x Restraint Straps H10 2 x Screws H11 4 x Brackets H12 Required Two People We strongly advise that you use the wall safety strap provided to prevent the unit toppling Seek advi...
Page 13: ...Page 13 fantasticfurniture com au Job Complete In the interest of our environment please dispose of all packaging thoughtfully ...