Version 1.0
fantasticfurniture.com.au
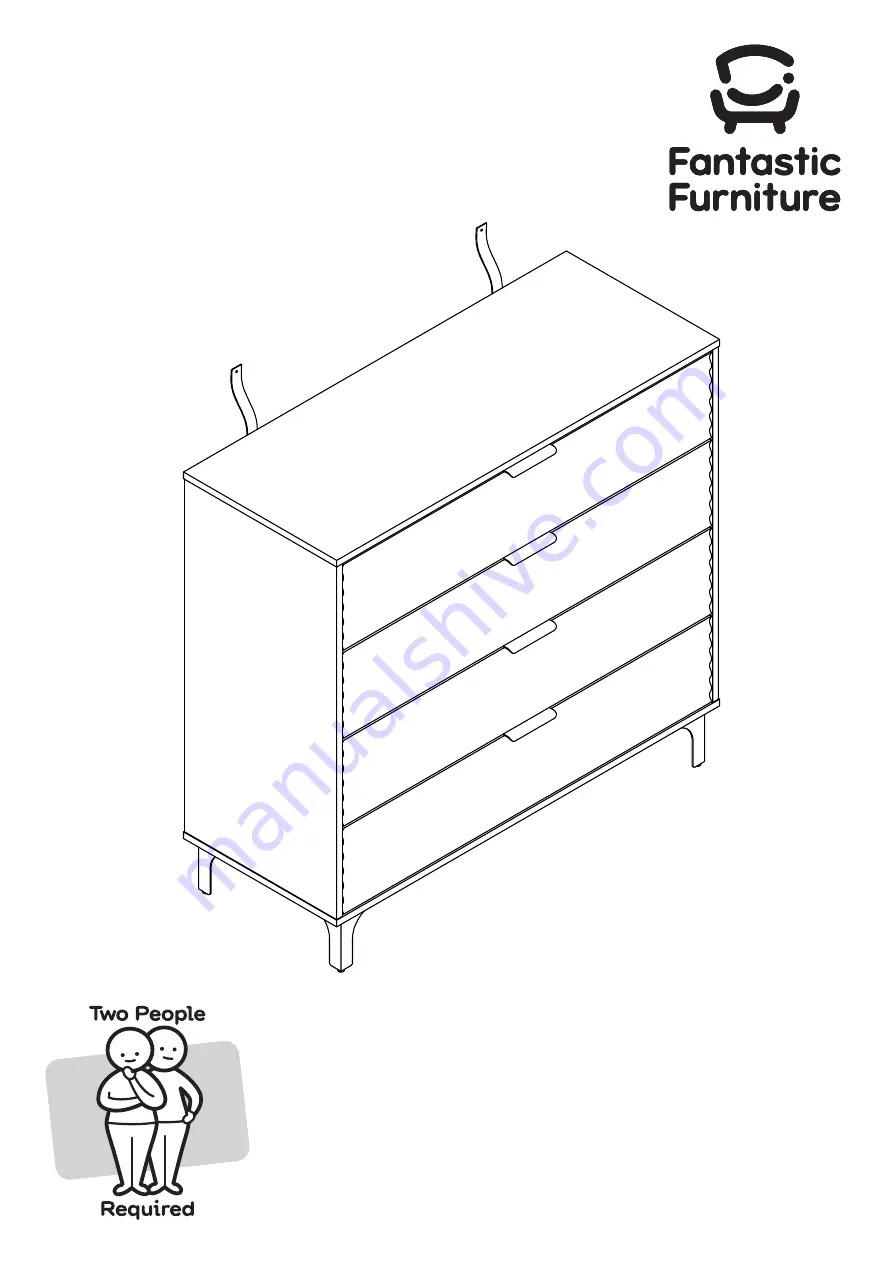
Av alon
oy 4 Drawer Whitewash
Lowb
Page 1: ...Version 1 0 fantasticfurniture com au Av alon oy 4 Drawer Whitewash Lowb...
Page 2: ...ow children to stand climb or hang on furniture It may topple and cause serious injury or death Do not place toys or other child appealing items on top of this furniture and place heaviest items towar...
Page 3: ...ntastic buy Share how it looks at home on Instagram for your chance to win a 250 Fantastic Furniture Gift Card Looks like you ve found your Fantastic We re thrilled you ve chosen Fantastic Furniture t...
Page 4: ...hardware or getting components back to front Always use a so t surface such as carpet or cardboard when assembling your product to avoid scratching or damaging the surface of the product Bulky items...
Page 5: ...DL Runners H10 4 x CR Runner 4 x DR Runners 4 x Handles 12 x Wedges 20 x Screws Box 1 4 x Feet P2 3 x Support Panels P6 4 x Drawer Back Panels P8 4 x Drawer Side Panels L P9 4 x Drawer Side Panels R P...
Page 6: ...Screwdriver H7 14 x Dowels H6 6 x Cam Bolts H6 H7 H7 H7 H7 H7 H7 H7 Insert 6 x Cam Bolts H6 into the Left Side Panel P3 and Right Side Panel P4 by tightening with a Phillips Head Screwdriver Insert 1...
Page 7: ...the cam nut You then turn the cam nut so it tightens over the bolt P3 P6 P6 H5 H5 Attach Steel Bar P14 to the Top Panel P1 with 3 x Screws H2 by tightening with Allen Key H17 Insert 4 x Cam Bolts H6 i...
Page 8: ...P1 to Left Right Side Panel P3 P4 by tightening with the Phillips Head Screwdriver Phillips Head Screwdriver You will need H5 3 x Cam Nuts This is how a cam nut works The head of the cam bolt goes int...
Page 9: ...3 P5 Attach Base Panel P5 into Left Right Side Panel P3 P4 with 4x Screws H16 by tightening with the Phillips Head Screwdriver Ensure the Back Panel P7 is slotted into the groove the Base Panel P5 as...
Page 10: ...H4 H4 H4 Step 10 fantasticfurniture com au Step 9 P4 Secure Back Panel P7 in place with 12 x Wedges H3 using 12 x Screws H4 by tightening with the Phillips Head Screwdriver You will need P5 P2 P2 P2 P...
Page 11: ...P13 x 4 Insert 20 x Cam Bolts H6 into the Drawer Front Panel 4 x P13 by tightening with a Phillips Head Screwdriver You will need H17 1 x Allen Key H8 x Screws 2 H17 H8 H8 P4 P3 H17 H8 P14 Slot in the...
Page 12: ...am Nuts H5 This is how a cam nut works The head of the cam bolt goes into the open mouth of the cam nut You then turn the cam nut so it tightens over the bolt P13 x 4 Insert 5 x Cam Nuts into the Draw...
Page 13: ...P10 with 6 x Runner Screws H13 by tightening with the Phillips Head Screwdriver Repeat process for the remaining drawers H14 You will need Phillips Head Screwdriver 24 x Drawer Screws H14 H14 H14 H14...
Page 14: ...the corresponding compartments as shown Ensure the drawers slide easily along the rails H4 8 x Screws You will need Phillips Head Screwdriver H4 H4 P13 x 4 H1 4 x Handles H1 Attach the 4 x Handles to...
Page 15: ...tures for your wall Seek advice from a quali ed trades person on how to attach this safety strap to your speci c wall Move the unit to the nal position and attach the safety strap to the wall securely...