


SECTION 1 - GENERAL DESCRIPTION
The 350/1 open-top range and G350/2 solid-top
range are two floor standing ranges in the Falcon
350 series. All individual units comprising the Series
are of modular dimensions, enabling suites of
appliances to be installed in a matching line. Some
units are for "counter" mounting, meaning that they
can be installed either on a table or similar, or
alternatively on purpose-made stands, supplied by
Falcon, which ensure perfect matching of hob- height
when installed with floor-standing appliances such as
the ranges.
The G350/1 is a range with 4 open-top burners each
4.3kW(14,700 Btu/hr) heat rating, controlled by safety
taps.
The oven, fitted two doors, is heated by a
thermostatically controlled burner of 4.75kW
(16,200 Btu/hr), protected by a flame failure device
and equipped with push-button ignition.
The oven has a nominal volume of approximately
0.09m
3
(3.26ft
3
) and is supplied with two wire
grid shelves. Five shelf positions are provided.
The G350/2 solid top range has an oven identical to
the G350/1 , but has a heavy-duty solid-top. The solid
top consists of the traditional centre ring and side
fillings and is heated by a single burner of 7.7kW
(26,800 Btu/hr) capacity. It is controlled by a
combined on/off tap and flame-failure device, ignition
of the burner being by a manually-lit pilot. The tap has
indented positions for full flame and "simmer".
Open Top Taps
Oven Control
(Thermostat)
Spark Igniter
Flame Failure
Button (in Front
Button (in Front
Frame behind
Frame behind
LH Door)
RH Door)
Figure 1 - Open Top Range
Solid Top Control
(Thermostat)
Oven Control
(Thermostat)
Spark Igniter
Flame Failure
Button (in Front
Button (in Front
Frame behind
Frame behind
LH Door)
RH Door)
Figure 2 - Solid Top Range
SECTION 2 - LIGHTING and OPERATIONS
2.1 Open Top
All four burners are equally rated and may be used for
fast boiling or simmering. The pan supports, which
are interchangeable, will safely accommodate pans
from125mmdiameter upwards.
The gas taps are of the safety type and include a
flame failure device.
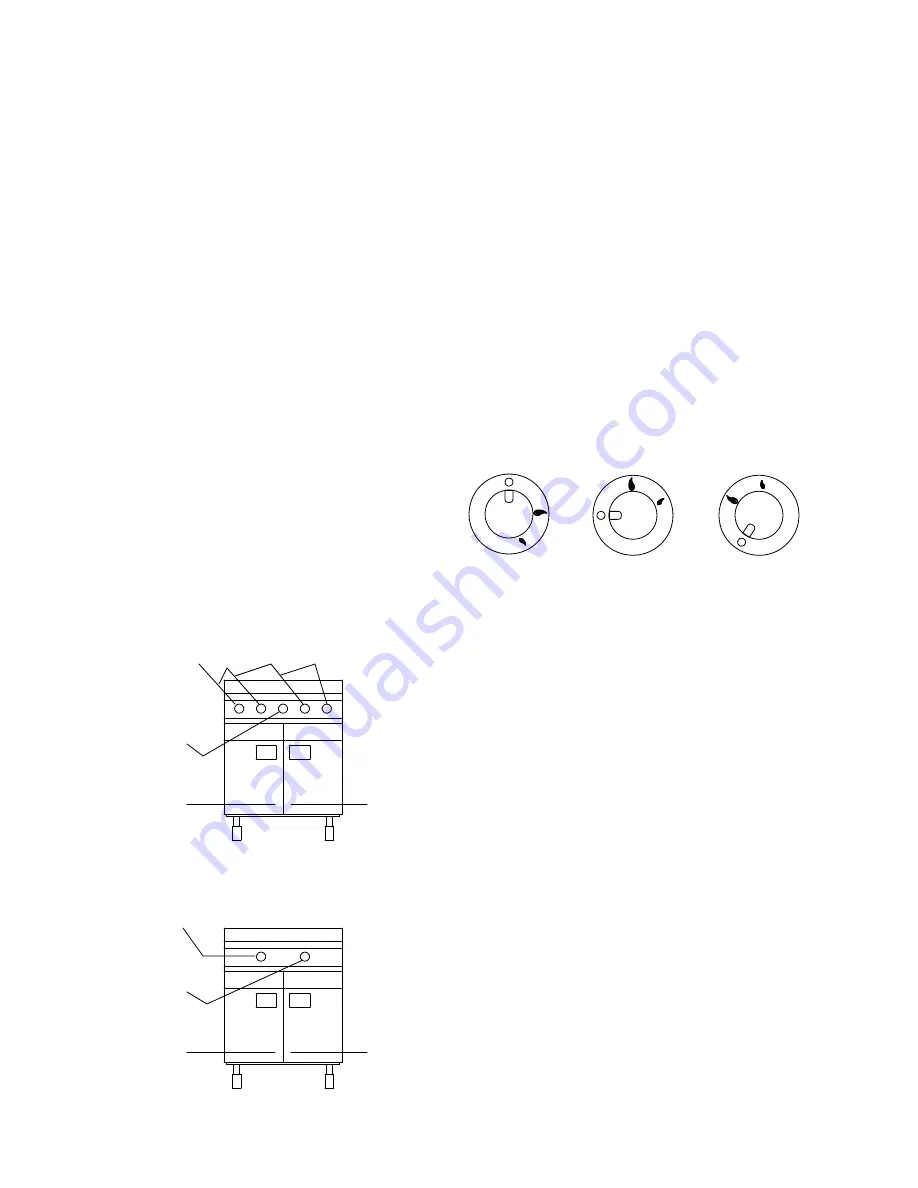
To Light The Burner
Identify appropriate tap by observing the facia panel
marker . Push the tap knobs inwards then turn fully
anti-clockwise to the FULL FLAME setting and hold
the control knob in for approximately 20 seconds
whilst applying a lit match or taper to burner head rim.
The knob can then be turned anti-clockwise to reduce
flame, if desired.
To Turn The Burner OFF
Simply turn knob clockwise as far as it will go
(see Figure 3).
OFF
FULL ON
SIMMER
(turn anti-clockwise)
(turn further
anti-clockwise)
Figure 3
2.2 Solid Top
Warning
If pilot is extinguished intentionally or unintentionally,
no attempt to re-light the gas should be made until at
least 3 minutes have elapsed.
The procedures are as follows -
Lighting The Burner (Refer to Figure 4)
1. Remove solid-top centre ring using special tool
provided.
2. Have a lit taper or match ready in one hand.
3. With other hand, push in control knob and turn it
anti-clockwise until mark on knob is opposite
ignition symbol.
4. Apply light to pilot, still keeping knob pushed in.
5. After about 20 seconds, release knob, pilot should
remain alight. If not, push in control knob and turn
clockwise to OFF position. Wait 3 minutes, then
repeat fromstep 2.
6. With pilot flame established, replace solid top
centre ring.
7. Push knob in again and turn it anti-clockwise to
FULL FLAME symbol thus lighting burner.