FAIRCHILD MODEL 200
PNEUMATIC VOLUME BOOSTER
Installation, Operation and Maintenance Instructions
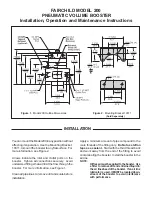
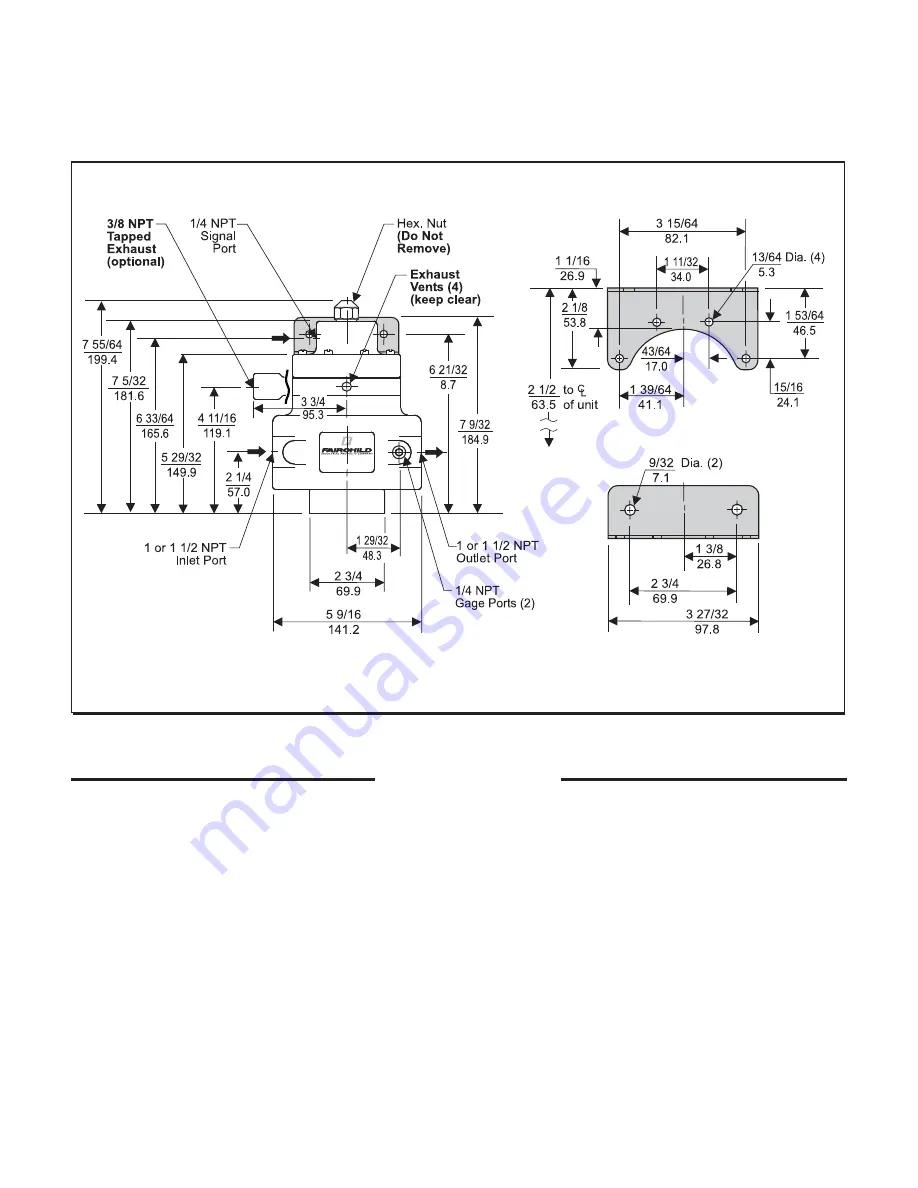
Figure 1.
Model 200 Outline Dimensions
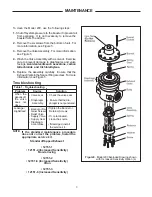
Figure 2.
Mounting Bracket 10311
(Sold Separately)
INSTALLATION
You can mount the Model 200 in any position without
affecting its operation. Use the Mounting Bracket,
10311, to mount the booster to any flat surface. For
more information, see Figure 2.
Arrows indicate the Inlet and Outlet ports on the
booster. Tighten all connections securely. Avoid
undersized fittings that will limit the flow through the
booster. For more information, see Figure 1.
Clean all pipelines to remove dirt and scale before
installation.
Apply a minimum amount of pipe compound to the
male threads of the fitting only.
Do Not use teflon
tape as a sealant.
Start with the third thread back
and work away from the end of the fitting to avoid
contaminating the booster. Install the booster in the
air line.
NOTE:
Oil free air must be applied to the booster. Use
a filter to remove dirt and entrained liquid in
the air line ahead of the booster. If an air line
lubricator is used, it MUST be located down
stream of the booster to avoid interference
with performance
.

