


115
Trendline 3
selecting
Planning
>
Route
. Click on
. The
Send route
window opens. Then
proceed exactly as described above.
If the "Always save" option is marked for a greater numb er of
measurement points in the route you wish to send to the Detector
than are permitted in the Detector memory an error message will
b e output. The data will not b e transferred. Also refer to "System
messages and their meaning
".
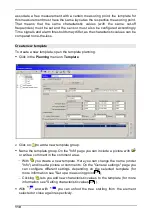
4.8 Download data from Detector
After using the Detector to take a measurement, you must transfer the data to
Trendline software.
Connect the Detector with the data cable to your PC and switch it on.
Click on
Detector
>
Load data from Detector
or on
.
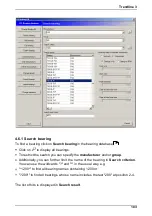
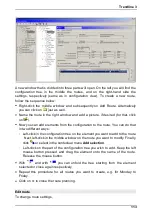
Another way of downloading data from the Detector is directly from route planning
by selecting
Planning
>
Route
. Click on
in the route planning.
All data, i.e. configurations, time signals and free measurements are
downloaded to the PC. This process can take several minutes depending on the
amount of data.
Once all data have been received, they are stored in the respective locations in
the database. It can happen that the program does not automatically sort the
measuring points, e.g. you have taken free measurements or the configuration on
the Detector had been created on a different PC. In this case, the sorting wizard
will be started automatically for sorting the measurements into your
configuration tree.
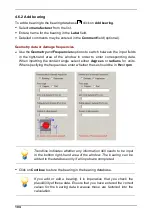
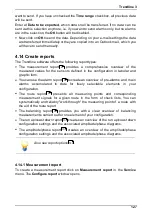
4.8.1 Sorting Wizard
When you start the sorting wizard, Trendline displays an information window
showing you why the data cannot be sorted in.
Click
Next
to continue sorting in the data.
263
115