4
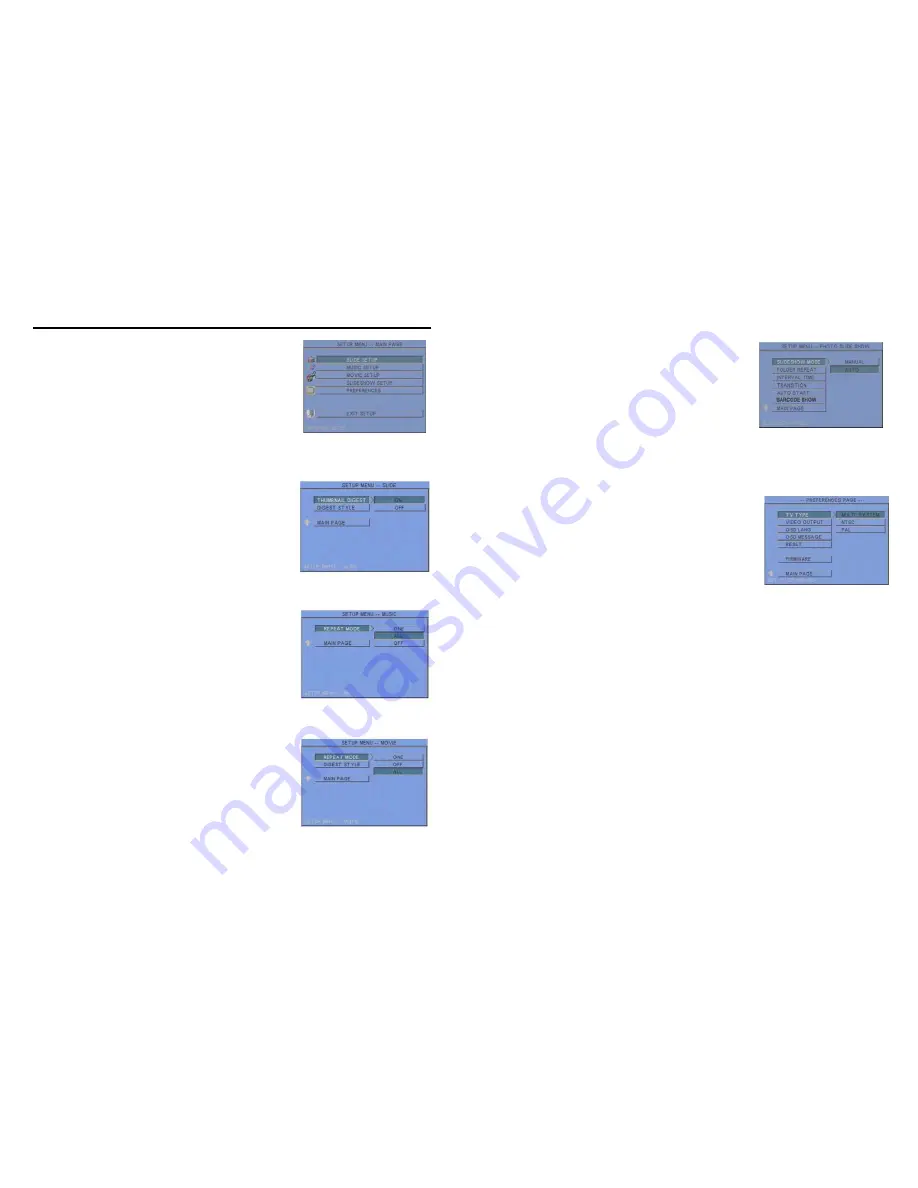
Press the “SETUP” button on the remote control to open the
“SETUP MENU – MAIN PAGE” shown in the following
figure. There are five groups of sub-menu in the setup menu.
Use the “
▲
、
▼
、
▲
、
▼
” buttons to select an item or to
adjust values, and use the “ENTER” button to go into the
function or to confirm the command.
6.1 SLIDE SETUP
THUMBNAIL DIGEST
:
Thumbnails load faster and
allow you to browse photos easily.
DIGEST STYLE
:
Choose the slide preview mode. (2x2 /
3x3)
6.2 MUSIC SETUP
REPEAT MODE
•
ONE
:
Repeat the selected song.
•
ALL
:
Repeat all the songs on the memory card.
•
OFF
:
Turn off the repeat function.
6.3 MOVIE SETUP
REPEAT MODE
•
ONE
:
Repeat the selected movie.
•
OFF
:
Turn off the repeat function.
•
ALL
:
Play all the movies on the memory card.
DIGEST STYLE
:
Choose the movie preview mode. (2x2 / 3x3)
6. SETTING UP
5
6.4 SLIDESHOW SETUP
SLIDESHOW MODE
:
Set the slideshow to start
automatically.
FOLDER REPEAT
:
Set all files (picture, music or movie)
in the folder to show only once or continuously (loop).
INTERVAL TIME
:
Set the time each photo is shown to 1, 3,
5, 10, 30 or 60 seconds.
TRANSITION (EFFECT)
:
Set the transition effect and
auto slide with sequential or random playback.
AUTO START
:
Enable/ disable auto playing media files on the memory card when the device
is turned on.
6.5 PREFERENCE
TV TYPE:
Choose the TV TYPE.
•
MULTI . SYSTEM
:
Set the TV type automatically
.
•
NTSC:
Set the TV type to NTSC.
•
PAL:
Set the TV type to PAL.
VIDEO OUTPUT
:
Select the video output mode.
OSD LANG:
Select the OSD language (ENGLISH, FRENCH, GERMAN, ITALIAN,
JAPANESE, PORTUGUESE, SPANISH and NEDERLANDS).
OSD MESSAGE:
Turn the OSD message function on/ off.
RESET:
Reset all settings to the original (factory) settings.
FIRMWARE :
New F/W can upgraded from the memory card.
•
EDITION :
Show the F/W versions.
•
UPDATE :
Used to update the F/W.
Summary of Contents for P102-8
Page 8: ...12 Code 39 Enable Code 39 Disable 13 Codabar Enable Codabar Disable...
Page 9: ...14 UPC EAN JAN Enable UPC EAN JAN Disable 15 ITF 2 of 5 Enable ITF 2 OF 5 Disable...
Page 10: ...16 Chinese Post Code Enable Chinese Post Code Disable 17 Code 128 Disable...
Page 11: ...18 Code 93 Enable Code 93 Disable 19 EAN 128 Enable EAN 128 Disable...
Page 14: ...24 ADD ON 2 only ADD ON 2 or 5 25 EAN UPC Add on none mandatory EAN UPC Add on mandatory...


