eye
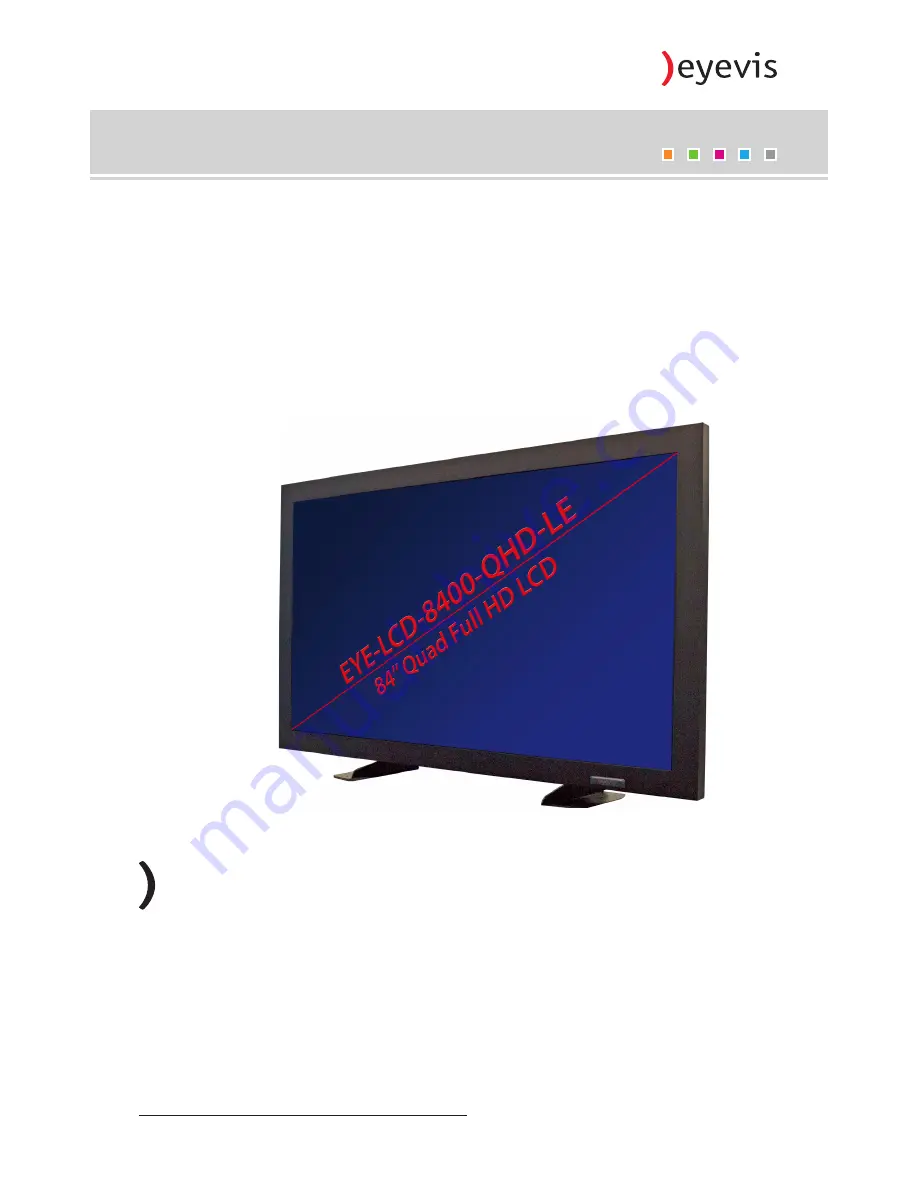
LCD-8400-QHD-LE
EYEVIS LCD LINE
(Product version 1)
User Manual
Version 1.2 (June 2014)
Technical changes reserved.
Page 1: ...eyeLCD 8400 QHD LE EYEVIS LCD LINE Product version 1 User Manual Version 1 2 June 2014 Technical changes reserved...
Page 2: ...icated according to the terms of the licence No part of this documentation may be reproduced stored in databases or transferred in any form electronically mechanically on recording media or in any oth...
Page 3: ...ntrol 28 Opening the On Screen Display OSD 28 Navigating in the OSD 28 Special keys and key sequences 28 Changing the remote control batteries 29 OSD Menu 30 Main Menu 30 Input Status 31 Tools 32 Fan...
Page 4: ...icking memory effect and Mura 49 Failure of pixel 49 Accessories 49 Factory applied serial number 49 Reaction time 49 Advised procedure for raising a claim 50 Consider the manual before raising a clai...
Page 5: ...on History Version Date Page Section Description 1 0 2013 12 All Specification first issued 1 1 2014 06 p 55 Index added 1 2 2014 09 p 54 58 RS232 protocol added EYE LCD 8400 QHD LE 3 Version 1 2 June...
Page 6: ...ies or death In the text section the general warning symbol is used in conjunction with the warning levels described below CAUTION Indicates a hazard that could lead to minor or moderate injuries WARN...
Page 7: ...uct in a place where water may splash onto it Be careful of equipment which drains water such as an air conditioner Ventilation The vents and other openings in the cabinet are designed for ventilation...
Page 8: ...od recommended by the manufacturer Heat sources Keep the product away from heat sources such as radiators heaters stoves and other heat generating products including amplifiers Batteries Incorrect use...
Page 9: ...h as paper clips or pins enter the monitor as this could lead to fire or electric shock Do not place the monitor on top of unstable objects or in unsafe places Do not allow the monitor to receive stro...
Page 10: ...he monitor Do not use the power cord with a power tap Adding an extension cord may lead to fire as a result of overheating Do not remove or insert the power plug with wet hands Doing so could result i...
Page 11: ...suring the monitor is not overhanging the edge of the supporting furniture Not placing the monitor on tall furniture for example cupboards or bookcases without anchoring both the furniture and the mon...
Page 12: ...il wird das allgemeine Warnsymbol in Verbindung mit den nachfolgend beschriebenen Warnstufen verwendet VORSICHT Kennzeichnet eine Gefahr die zu leichten oder mittleren Verletzungen f hren kann WARNUNG...
Page 13: ...zger te bzw Zubeh rteile besteht evtl Unfallgefahr Wasser und Feuchtigkeit Benutzen Sie das Ger t nicht in der N he von Wasser Montieren Sie das Ger t unter keinen Umst nden an einer Stelle an der Was...
Page 14: ...cher dass der Service Techniker nur die vom Hersteller bezeichneten Teile oder Teile mit gleichen Eigenschaften und gleichem Leistungsverm gen wie die Originalteile verwendet Die Verwendung anderer Te...
Page 15: ...ls ein Standbild ber l ngere Zeit hinweg anzeigen da dies ein Nachleuchten am Bildschirm zur Folge haben k nnte Vermeiden Sie es den Monitor mit harten Gegenst nden abzureiben oder zu ber hren Wir bit...
Page 16: ...ms ist und leicht zug nglich ist Das Netzkabel dient als eine Trennvorrichtung Das Netzkabel Besch digen Sie das Netzkabel nicht stellen Sie keine schweren Gegenst nde darauf und berdehnen oder knicke...
Page 17: ...n Sie den Monitor niemals auf ein gro es M belst ck z B einen Schrank oder in ein B cherregal ohne sowohl das M belst ck als auch den Monitor an einem geeigneten Element sicher zu verankern Stellen Si...
Page 18: ...ssures ou la mort Dans le texte le symbole d avertissement g n ral est utilis en conjonction avec les niveaux d alerte d crits ci dessous PR CAUTION Indique un danger qui pourrait provoquer des blessu...
Page 19: ...cidents Eau et humidit N utilisez pas cet appareil pr s de l eau N installez pas le produit un endroit o il pourrait recevoir de l eau vitez en particulier les emplacements sous les appareils vidange...
Page 20: ...une paroi installez le en respectant la m thode recommand e par le fabricant Sources de chaleur Tenez l appareil l cart de sources de chaleur telles que radiateurs dispositifs de chauffage po les et a...
Page 21: ...ucoup de poussi res o le degr d humidit est lev ou encore l o il pourrait se trouver en contact avec de l huile ou de la vapeur car cela pourrait provoquer un d but d incendie Assurez vous que le moni...
Page 22: ...c lectrique Utilisez seulement le cordon d alimentation fourni avec le moniteur Ne branchez pas le cordon d alimentation sur une prise multiple Ajouter une rallonge peut entra ner une surchauffe et pr...
Page 23: ...V rifier que le moniteur ne d passe pas du bord du meuble sur lequel il est pos Ne pas placer le moniteur sur des meubles hauts armoires ou tag res par exemple sans fixer le meuble concern et le monit...
Page 24: ...sual Interface Each input is mapped to one fourth of the total display area quadrant Input Connection Possibilities DVI 1 DVI input for quadrant 1 upper left DVI 2 DVI input for quadrant 2 upper right...
Page 25: ...ce Connections Signal Input No Name Remarks 1 DVI Input quadrant 1 DVI D input 1 2 DVI Input quadrant 2 DVI D input 2 3 DVI Input quadrant 3 DVI D input 3 4 DVI Input quadrant 4 DVI D input 4 Controli...
Page 26: ...itch Value x 10 right switch Value x 1 Example Address 316 left switch 3 center switch 1 right switch 6 10 Standby ON OFF Pushbutton switch 11 All pole mains ON OFF switch Switch off the mains voltage...
Page 27: ...on the backside that allow their quick and simple mounting Optionally eyevis provides wall mounting kits for the displays from the EYE LCD 8400 QHD LE These wall mounting kits consist of wall mounting...
Page 28: ...l increase Operating Time We recommend operating the EYE LCD 8400 QHD LE display not longer than 16 hours per day The remaining 8 hours the display should be switched off not only black screen That en...
Page 29: ...f the display The input signal must be adjusted to 3840x2160 pix resolution 1 2 4 3 NOTE Input signal will not be scaled DVI Input 1920x1080 Signal will arranged centrally per quadrant DVI Input 1920x...
Page 30: ...either use the up down arrow to increase or decrease values or insert the values directly on the number block If using the arrow buttons for entering numerical values holding the keys pressed will tog...
Page 31: ...he direction of the arrow and snap it back into place Used batteries needed to follow the city rule to be discarded Avoid keeping used old batteries inside the remote control causing leakage of intern...
Page 32: ...y settings Press ENTER or to ENTER Fan Status Information about fan values Press ENTER or to ENTER Temperature Status Information about temperature values Press ENTER or to ENTER Info Hard and Softwar...
Page 33: ...on and frequency of input signal 2 Press MENU ENTER or to return to previous menu Input 3 Info Resolution and frequency of input signal 3 Press MENU ENTER or to return to previous menu Input 4 Info Re...
Page 34: ...o previous menu Input Detect Mode Adjusts the input detect mode Press ENTER to ENTER Press or to select the desired setting and then press ENTER Option Auto or User Default Auto Press MENU EXIT to ret...
Page 35: ...ature Press MENU EXIT or to return to the previous menu Fan 1 Status Shows whether Fan 1 is detected to be running OK indicates active indicates inactive Press MENU EXIT or to return to the previous m...
Page 36: ...erature of CPU Board Press MENU EXIT or to return to the previous menu Temp Backlight Current temperature of Backlight Press MENU EXIT or to return to the previous menu NOTICE If the temperature of th...
Page 37: ...r to return to the previous menu CPU DB Version Version of the used CPU Database Press MENU EXIT or to return to the previous menu Input Board 1 FW Firmware version of the Input Board 1 Press MENU EXI...
Page 38: ...EXIT to return to the previous menu Netmask Adjusts the netmask Press ENTER to ENTER Press or to select the desired value and then press ENTER Press MENU EXIT to return to the previous menu Gateway Ad...
Page 39: ...elect the desired level and then press ENTER Range 0 255 Default 128 Press MENU EXIT to return to the previous menu Green Increases or decreases the green level Press ENTER to ENTER Press or to select...
Page 40: ...ress ENTER to ENTER Press or to select the desired preset and then press ENTER Option 1 0 or 5 5 Default 1 0 Press MENU EXIT to return to the previous menu Genlock Activates or deactivates the genlock...
Page 41: ...t signals are suitable and allows activation only in this case An active genlock is disabled automatically if the prerequisites are no longer met e g because one input source is disconnected It will b...
Page 42: ...t Setup Copy the according directory of the included CD to any directory on your computer Start the application eyeDeviceSetup exe Password is not needed for following functions Choose the index Prefe...
Page 43: ...ry time Should be the values adjusted such a way that exist no more satisfying function you can switch OFF and ON and the display reset to the last saved configuration After successfully manipulation...
Page 44: ...detected to be running Fan 3 Speed 0 255 The current speed of Fan 3 Fan 3 Status Ok Shows whether Fan 1 is detected to be running Temp Characteristics Number of temperature characteristics CPU Tempera...
Page 45: ...on it may cause a fire or an electric shock Immediately remove the power plug from the outlet Make sure that the smoke or smell has stopped then contact your dealer for inspection CAUTION Liquids or o...
Page 46: ...mechanisms Heavy Image Sticking may be reversed by long switch off of the LCD TFT displays Image Sticking of TFT panels is excluded from the warranty Mura Further effect is Mura a Japanese term for un...
Page 47: ...8 hours per day enlarges the life time of the product decisively and reduces the risk of image retention NOTICE Operating time for static images The operating time should not be longer than 20 hours...
Page 48: ...defects on page 47 Pollutions By the production process and handling of the displays occurs kinds of pollution in range of vision It applies to inclusions blistering depressions marks scratches The fo...
Page 49: ...2 2 5 5 n 0 0 2xn 10 XGA 1024 x 768 0 786 million pixel 2 2 4 4 n 0 0 2xn 8 SXGA 1280 x 1024 1 310 million pixel 3 3 7 7 n 0 0 2xn 14 WXGA 1366 x 768 1 049 million pixel 3 3 6 6 n 0 0 2xn 12 WXGA 144...
Page 50: ...tify his specialist supplier point of purchase immediately about the defect Otherwise the product will be treated under usual terms of warranty Return to Base Warranty Bring In Warranty Defective part...
Page 51: ...ormal wear and tear or defects caused by lack of service and maintenance e g cleaning the filter Act of God fire flood aggressive chemical aggressive biological activity event of war vandalism acciden...
Page 52: ...omer Packing The customer has to pack the defective device properly in the original box to label it as fragile and to attach the RMA number visibly on the box eyevis can provide a new original box on...
Page 53: ...damage The policy sum regarding all requirements of the warranty does not exceed at discretion of eyevis the original purchase price of the product or alternatively the costs of substitution of the p...
Page 54: ...ser Haze 10 Response Time 12 ms Colour Depth 10 Bit Frequency 50 60 Hz Viewing Angle 176 176 Backlight Edge LED CONNECTORS Input Connection 4 DVI Single Link optional 2 DVI Dual Link POWER SUPPLY Powe...
Page 55: ...Appendix Dimensions EYE LCD 8400 QHD LE EYE LCD 8400 QHD LE 53 Version 1 2 June 2014...
Page 56: ...e communication with the eyevis LC display series is based on an internal database For interfacing to external controls there is an easy to use command parser for communication Commands The following...
Page 57: ...gs on device SAVE All actual parameters will be stored in a database file located on the internal flash storage After power on sequence the display will boot with this values INSTRUCTION DEVICE_ID COM...
Page 58: ...transmitted data Command SAVE DEVICE_ID ALL All actual parameters will be stored in a database file located on the internal flash storage After power on sequence the Display will boot with this Values...
Page 59: ...roller Board 2 0 255 0 DEVICE_ID Get current Device ID 3 0 999 0 DEVICE_TYPE Get Device Type 3 DEVICE_STAT_FAN_1 Shape Fan 1 Status 3 0 1 0 DEVICE_STAT_FAN_2 Shape Fan 2 Status 3 0 1 0 DEVICE_STAT_FAN...
Page 60: ...U_I3_STABLE_ OPERATION Input 3 Source Present 3 0 5000 1000 IPU_I3_V_ACTIVE_SIZE Input 3 Active Lines 3 0 5000 1000 IPU_I3_H_ACTIVE_SIZE Input 3 Active Columns 3 0 5000 1000 IPU_I3_V_TOTAL_SIZE Input...
Page 61: ...7 P PACKAGING 24 BOX CONTENT 24 PACKING LIST 26 PIP 40 PIXEL 56 POLLUTIONS 56 BLISTERING 56 DEPRESSION 56 INCLUSION 56 LINT 56 MARK 56 SCRATCH 56 PORTRAIT 33 POWER 31 R RETENTION 55 IMAGE STICKING 54...
Page 62: ...9 0 7121 4 33 03 0 Fax 49 0 7121 4 33 03 22 Hotline 49 0 7121 4 33 03 290 netPIX eyeCON Hotline 49 0 7121 4 33 03 291 Cubes Displays web www eyevis de e mail info eyevis de service service eyevis de V...