XMP 240 C AT • Dante Controller
92
5.
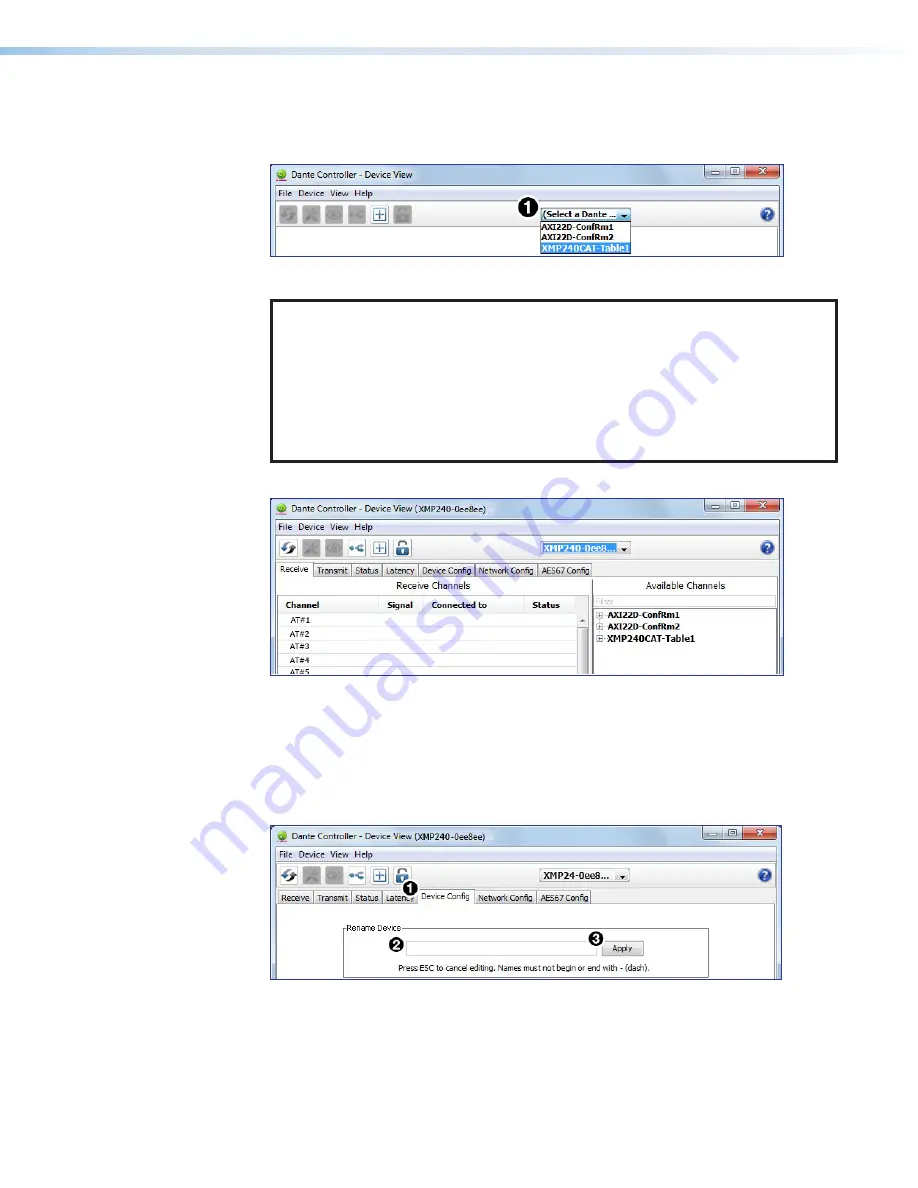
The
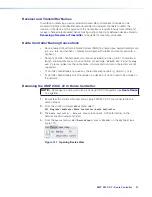
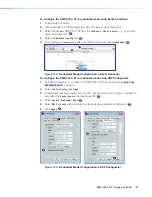
Dante Controller - Device View
dialog opens. Select the device being
configured from the
(Select a Dante Device...)
drop-down menu (see figure 122,
1
).
Figure 122.
Device View and Select a Dante Device Drop-Down
NOTES:
•
If there are multiple XMP 240 C AT devices connected to the network that
have not been renamed, obtain the Dante interface media access code (MAC)
address of the desired device from the white label on the rear panel of the
device in order to identify it in Dante Controller.
•
There are multiple MAC addresses listed on the rear panel of a XMP 240 C AT,
one for the LAN port and one for the Dante interface. The Dante interface MAC
address is listed beneath the LAN port MAC address.
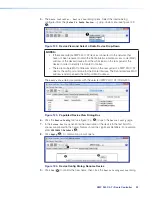
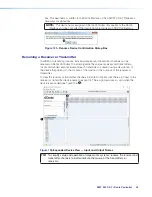
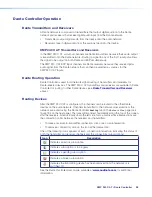
The
Device View
dialog populates with the selected XMP 240 C AT information.
Figure 123.
Populated Device View Dialog Box
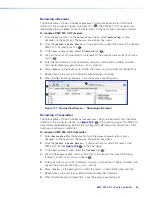
6.
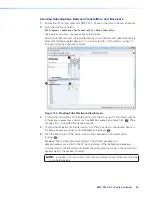
Click the
Device Config
1
) to open the
Device Config
page.
7.
In the
Rename Device
panel, enter the new name of the device in the text field. No
spaces are allowed in the name. Names should be significant identifiers. For example,
enter
XMP240CAT-MainRack
(
2
).
8.
Click
Apply
(
3
). A confirmation prompt opens.
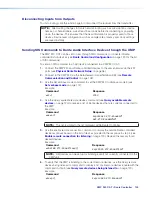
Figure 124.
Device Config Dialog, Rename Device
9.
Click
Yes
(
4
) to confirm the new name, then close the
Device Configuration
dialog
71
Device View and Select a Dante Device Drop-Down
72
Populated Device View Dialog Box
73
Device Config, Rename Device

