To use any menu:
1.
Press the
Menu
button to access the main menu. The menu opens with the
Quick
Setup
menu shown on the display device.
2.
Press the
and
buttons repeatedly to cycle through to the desired submenu (each button press outlines the next item).
3.
Press the
Enter
button to access the desired submenu. The first item is outlined in yellow.
4.
Press the
and
buttons to cycle through the items of the selected submenu until the desired item is outlined.
5.
Press the
Enter
button to select the outlined item (the selected item is highlighted).
6.
Press the
and
buttons to adjust the values within the item. For the items on the
Picture
Controls
submenu, press the right
or left arrow button to select the item on the right or left, then press the
and
buttons to adjust the settings.
7.
Press the
Enter
button to confirm your changes. The yellow highlighting is replaced by the yellow outline on the submenu screen.
8.
Press the
or
to move to another submenu item or press the
Menu
button to exit the submenu. To exit the menu system, press
the
Menu
button twice.
Setting Up the DSC HD-3G A Using the OSD Menu
The
Quick
Setup
submenu is displayed when the OSD opens. Use this submenu to perform a basic system setup and get
started quickly using the DSC. Select the following items from it as needed:
z
Auto-Image™
— Performs an Auto-Image on the video input to adjust the horizontal and vertical size and positioning to the
selected aspect ratio (fill the screen or follow the input device aspect ratio). To perform an Auto-Image, select this item, then
press
Enter
again to initiate the Auto-Image.
z
Input EDID
— Matches the input EDID (extended display identification data) to the output rate or sets a discrete EDID. After
selecting
Input
EDID
, press the
or
button to view the available EDIDs (the default is to match the DSC output rate).
z
Output Resolution
— Lets you select the resolution and refresh rate for the current output from 42 available
factory-installed rates (see "Output Scaler Rates"). Select the
Output
Resolution
submenu, then press the
and
buttons to cycle through the available rates.
z
Auto Memory
— Sets the DSC to automatically save the current input configuration and picture control values according
to the most recent configuration for each different rate. After selecting
Auto
Memory
, press any arrow button to toggle Auto
Memories on and off.
z
Aspect Ratio
— Lets you specify how much of the display the image fills. The submenu items are
Fill
(fills the entire
screen) or
Follow
(uses the aspect ratio of the input). After selecting
Aspect
Ratio
, press any arrow button to toggle
between
Fill
and
Follow
.
z
Input Audio Format
— Lets you select the format of the audio to embed in the output. After selecting
Input
Audio
Format
, press any arrow button to cycle through the items:
None
(mute the audio),
Analog
(embed analog audio onto the
SDI output),
LPCM-2CH
(use the first channel pair),
Multi-Ch
(use the first four channel pairs).
z
Test Pattern
—
Lets you select from seven test patterns to aid in setting up the DSC and the output display.
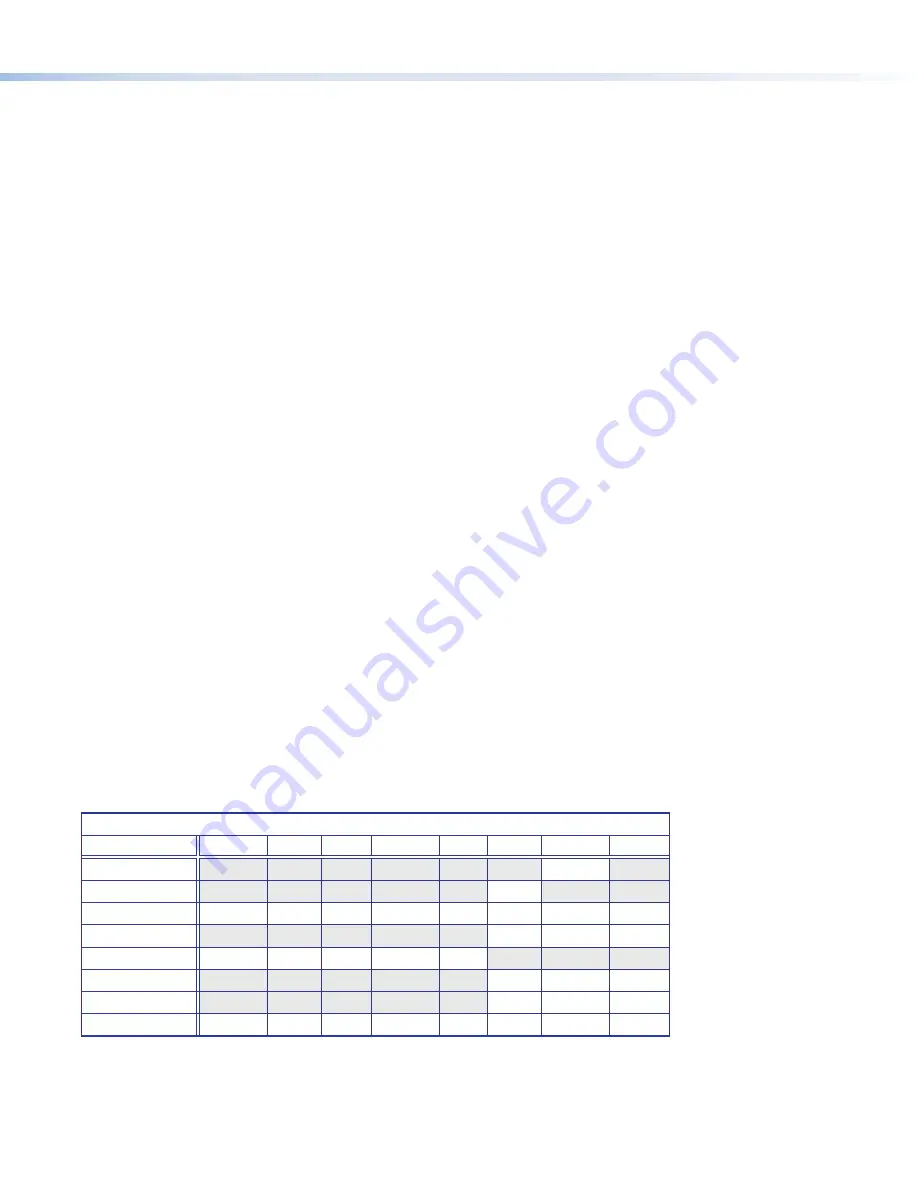
Output Scaler Rates
Output rates can be set using the OSD menu or SIS commands. The table below gives the rates and their SIS variables (see
page 4 for the
commands
).
SIS Variables for DSC HD-3G A Resolutions and Refresh Rates (
X2)
=
68
through
303
)
Resolution
23.98 Hz
24 Hz
25 Hz 29.97 Hz 30 Hz 50 Hz 59.94 Hz
60 Hz
480i
93
576i
94
720p
95
96
68
69
70
71
72*
73
1080i
74
75
76
1080p
77
78
79
80
81
1080p (level A)
82
83
84
1080p (level B)
301
302
303
2048x1080 (2K)
85
86
87
88
89
90
91
92
*Default output resolution
Output Rate Reset
If an image cannot be displayed due to an incompatible output rate, you can reset the output rate as follows:
With the OSD
closed
, press and hold the
button for approximately 5 seconds to toggle between 1080i @ 59.94 Hz and
720p @ 59.94 Hz.
3


